Cricket bat sanding is a meticulous process that refines a rough, unrefined piece of willow into a smooth cricket bat.
The process is time-consuming, requiring several hours of meticulous work per bat, but the result is a cricket bat that looks aesthetically pleasing and is nearly ready to use. This process is the same for our kids english willow cricket bats, all the way up to our adult cricket bats.
But why do cricket bats need to be sanded?
Sanding a new bat is crucial, as it smooths the surface, removes imperfections, and prepares it for optimal performance. This process enhances the bat’s durability, ensures a comfortable grip, and improves its overall aesthetics, making it ready for the rigours of batting.
This guide will walk you through the comprehensive steps involved in sanding a new cricket bat, which we at Trogon undertake.
Preparing Your Cricket Bat
Preparing your cricket bat is an essential step in ensuring its longevity and optimal performance, as cricket bats are not inexpensive.
A well-prepared bat can significantly improve your game, providing a better feel, improved durability, and enhanced overall performance.
Whether you are a seasoned player or a beginner, taking the time to prepare your cricket bat, all cricket bat types, shapes, and sizes properly, will pay off in the long run.
This process involves several key steps, each designed to optimise the bat’s condition and readiness for play.
How to Remove Residue from a Cricket Bat
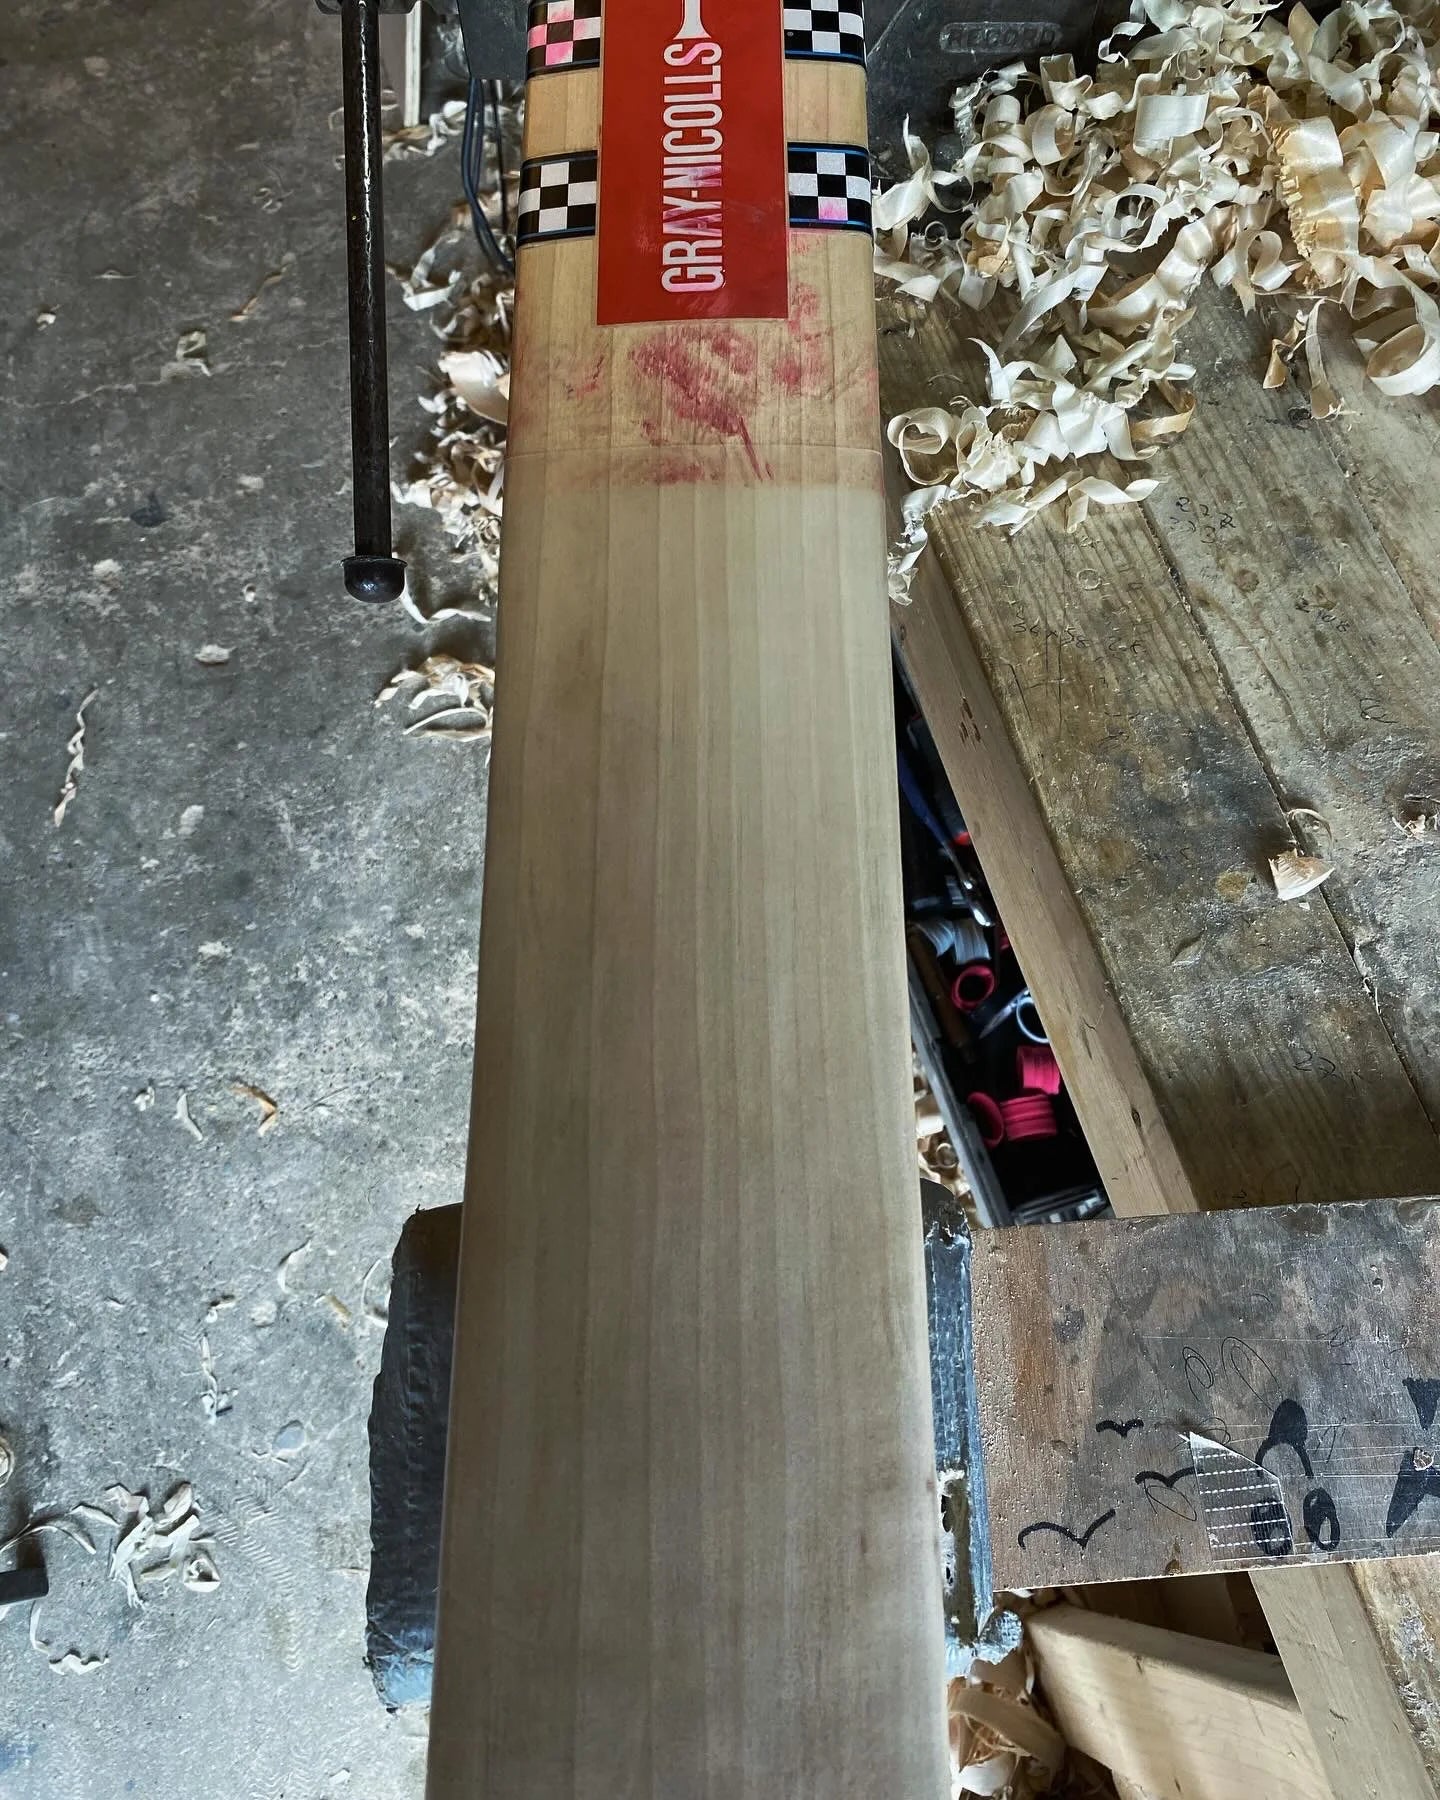
Before sanding or oiling a cricket bat, it’s important to ensure the surface is clean and free from residue.
Old scuff sheets, adhesives, or excess linseed oil can prevent smooth sanding and unevenly absorb oil later. To remove sticky residue, use a soft cloth lightly dampened with warm water or a small amount of white spirit, but never soak the wood.
If you’re dealing with stubborn glue marks, gentle scraping with a plastic blade or credit card can help without damaging the willow.
Once clean and dry, the bat will be ready for sanding, giving you an even finish across the face and edges.
How to Clean a Cricket Bat Without Sandpaper
While sanding is often the go-to method for preparing or refreshing a cricket bat, there are times when a simple clean is all that’s needed.
If your cricket bat just has surface dirt or marks, avoid unnecessary sanding. Instead, wipe the bat gently with a soft, slightly damp cloth to remove any mud, dust, or residue.
Avoid using detergents or solvents, as these can damage the cricket bat’s finish or dry out the willow.
Once cleaned, let the bat air-dry completely before oiling or storing it. Regular light cleaning helps maintain the bat’s appearance and extends its lifespan, eliminating the need for constant sanding or a full refurbishment.
Choosing the Right Sandpaper
Choosing the right sandpaper is crucial in preparing a cricket bat. The correct grit can significantly affect the final finish and performance of the bat.
Using the wrong grit can lead to an uneven surface or even damage the bat, so selecting the appropriate sandpaper for each stage of the process is essential.
Selecting the Correct Grit for Each Stage
When selecting sandpaper, it is essential to choose the correct grit for each stage of the preparation process.
Lower grit sandpaper (80-120) is used for the initial sanding stage, effectively removing excess wood and evening out any irregularities.
This initial sanding sets the foundation for the finer sanding stages. As you progress, higher grit sandpaper (220-320) further smooths the surface, preparing it for the final stages.
Using the correct grit sandpaper ensures a smooth finish and prevents damage to the bat, ultimately enhancing its performance and durability.
Let's examine each of these in a bit more detail.
Starting with the Rough: 80 Grit Sanding
The journey of sanding cricket bats begins with 80-grit sandpaper on a sanding drum, followed by 120-grit sandpaper.
This initial stage is crucial for finalising the traditional profile and centralising its spine.
The rough texture of 80-grit sandpaper effectively removes excess wood and evens out irregularities on the surface, preparing the surface for finer sanding processes.

The above image shows me using our sanding drum, which flattens the edges caused by the multiple planes used to create the cricket all cricket bat profiles. The process takes approximately 15 minutes, after which I proceed to hand-sanding, as shown in the image below.
We have numerous videos of our sanding drum process, which can be viewed on our social media channels.

The image above shows how we at Trogon Cricket hand sand. Each cricket bat is sanded for over an hour to achieve its final finish.
Progressing to Finer Grits
120 Grit: Smoothing the Surface
After the initial shaping, the bat is further smoothed using 120-grit sandpaper. This stage involves light sanding to refine the surface, preparing it for even finer grits.
220 and 320 Grit: Enhancing the Finish
Moving on, fine sandpaper with 220- and 320-grit is used. Each step further smoothens the cricket bat, making the surface more even and preparing it for the ultra-fine sanding stages.
The Ultra-Fine Stage: 800 to 1500 Grit
Ultra-fine sanding begins with 800-grit sandpaper and is followed by 1500-grit sandpaper. These stages, where you lightly sand the face, are crucial for achieving a silky-smooth texture.
The bat’s surface becomes progressively finer, which is essential for optimally applying protective coatings and achieving the perfect look and feel.
The Final Touch Cricket Bat Sanding: 3000 Grit
The final touch in cricket bat preparation is applying 3000-grit sandpaper. This fine-grit sandpaper ensures a silky-smooth texture and a high-gloss finish.
The final stage in preparing the cricket bat is using 3000-grit sandpaper, which is crucial for achieving a professional finish. This step enhances the bat’s appearance and ensures that it is ready for applying protective coatings, making it fully prepared for the rigours of the game.
The Final Touch in Cricket Bat Sanding: 3000 Grit and Raw Linseed Oil
3000-grit sandpaper is used to achieve an almost polished surface. This fine-grit sandpaper ensures that every inch of the cricket bat is smooth to the touch and visually appealing.
Achieving Perfection: 5000 or 10,000 Grit Finishing
The final sanding stages involve using an orbital sander or my hands with either 5000- or 10,000-grit sandpaper.
This step is crucial in achieving the perfect finish. The orbital sander evenly distributes pressure across the bat’s surface, ensuring a uniform and flawless finish.
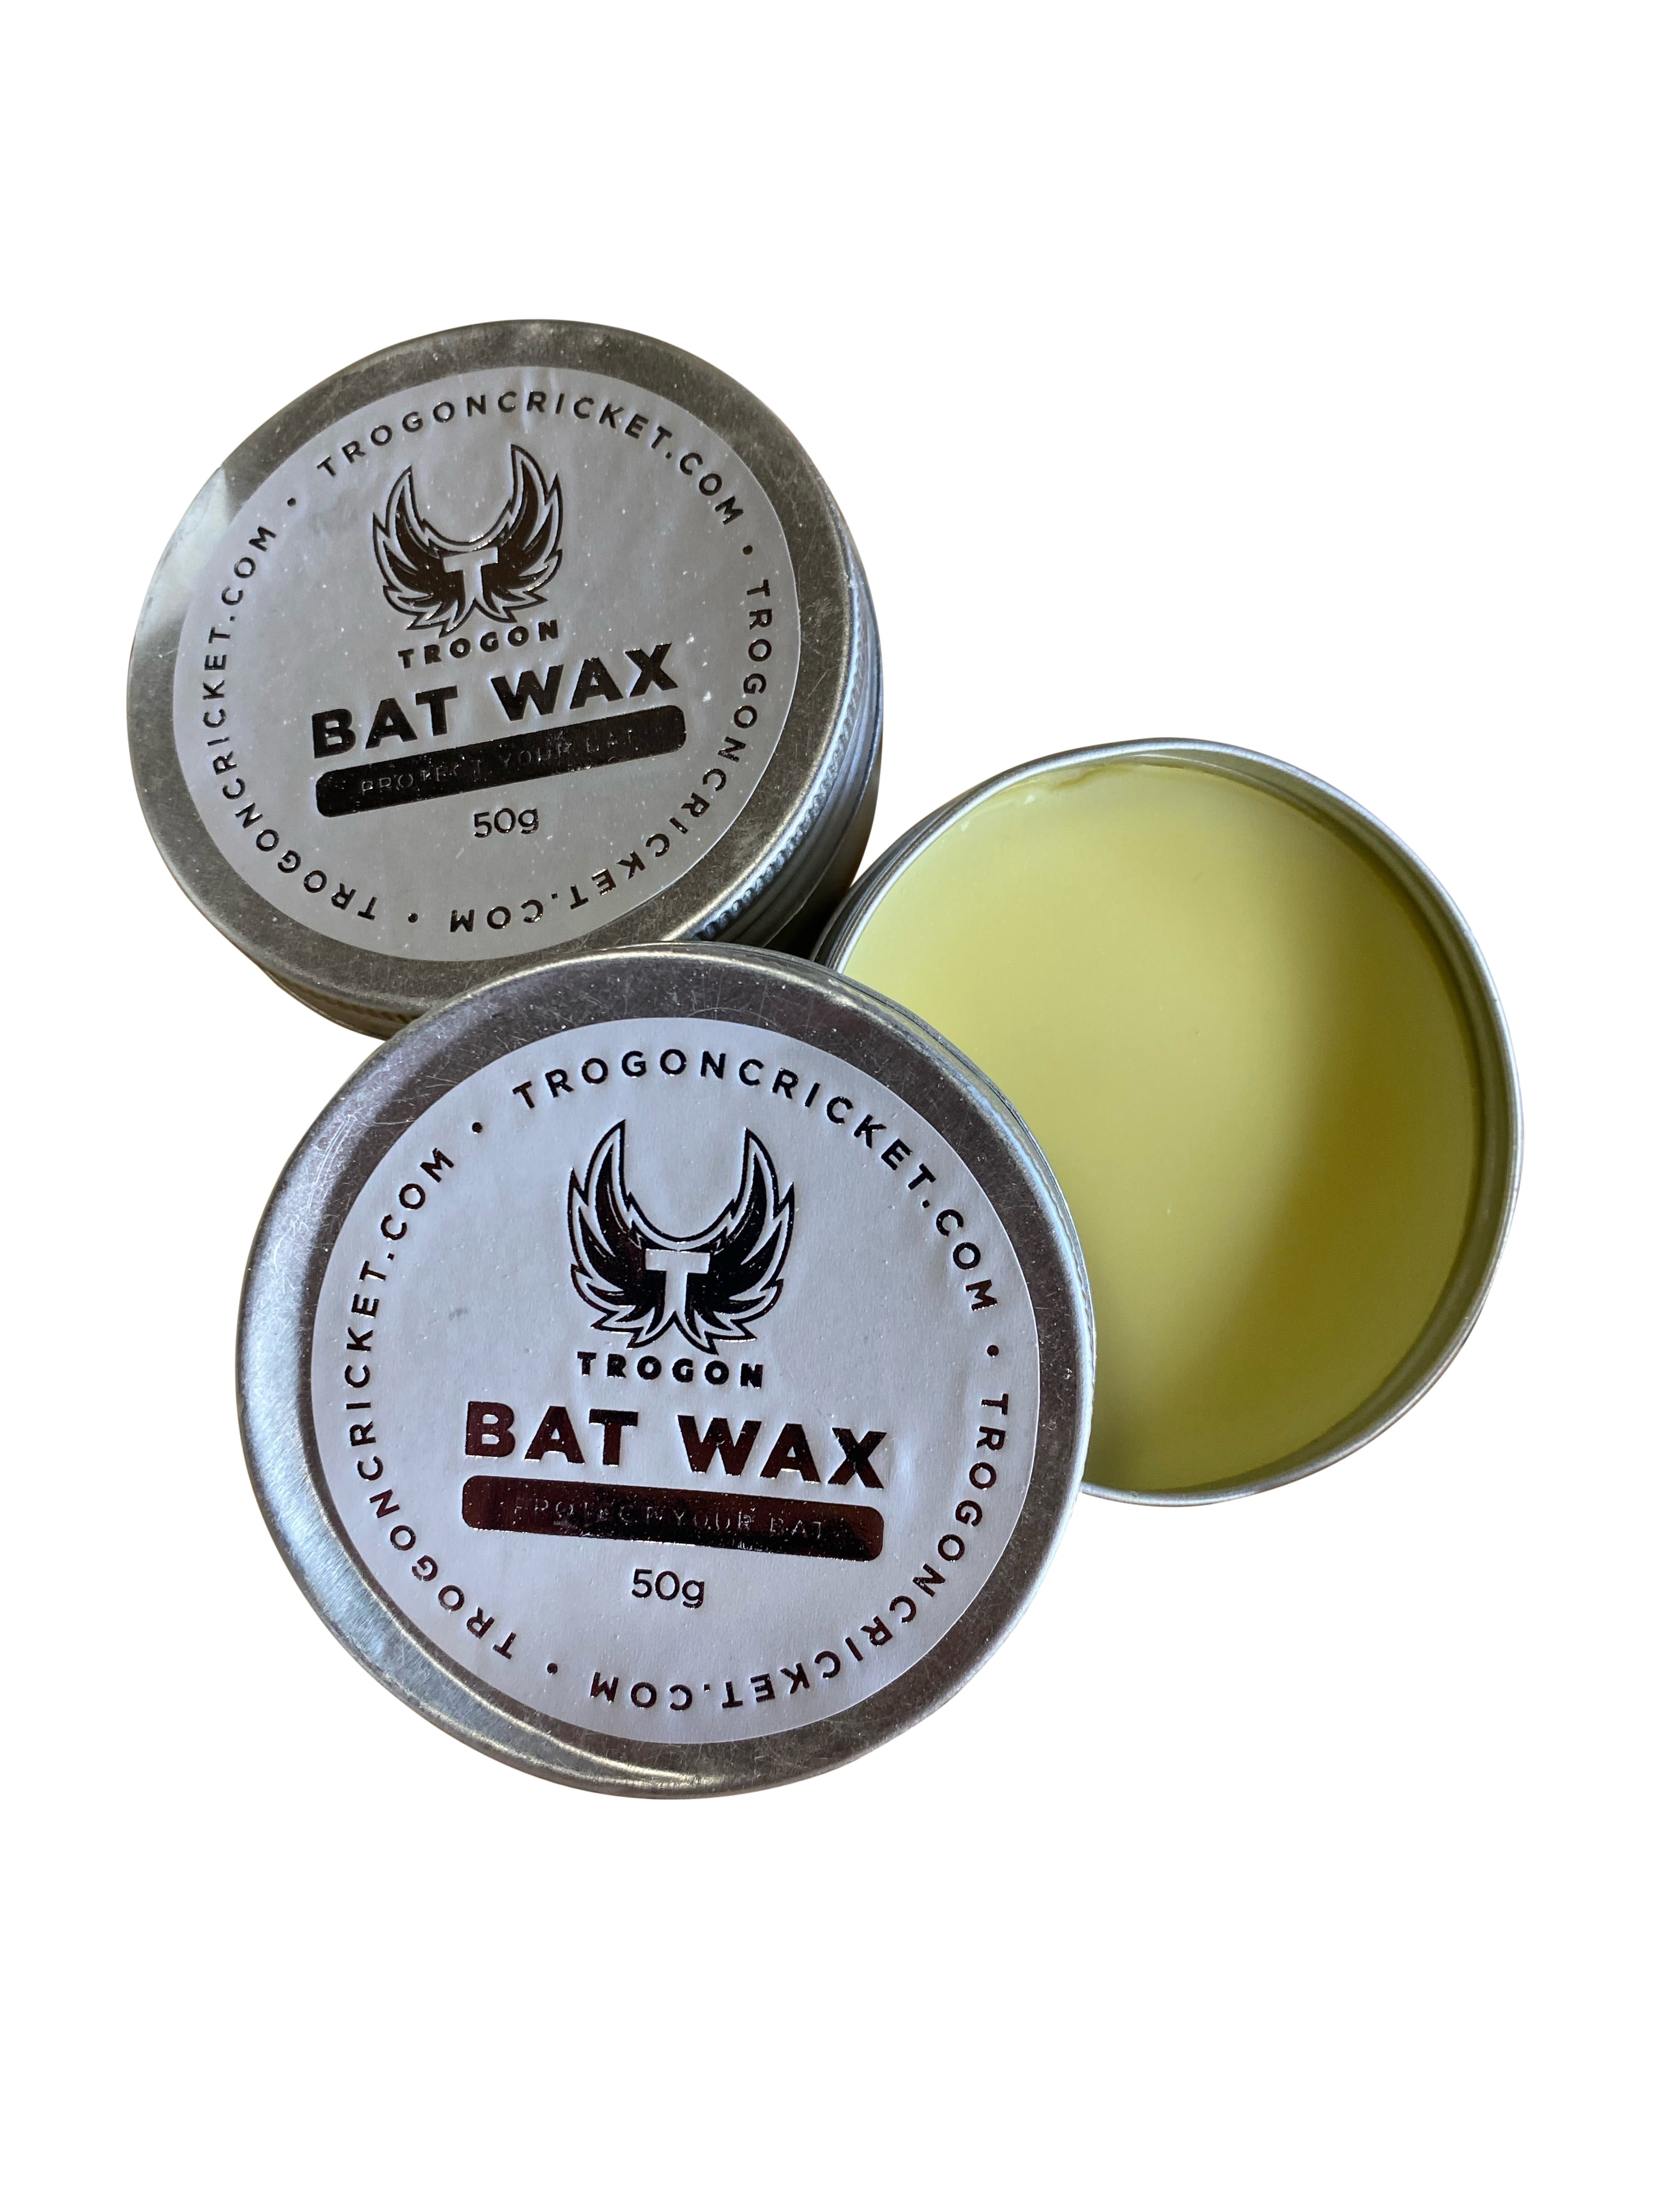
Why Oiling After Sanding is Essential
Oiling your cricket bat after sanding is one of the most critical steps in maintaining its health and durability.
Once the surface has been sanded smooth, the pores of the willow are open and ready to absorb linseed oil. This natural oil nourishes the wood, helps prevent cracking, and protects the bat from moisture absorption.
Skipping this stage can leave the bat dry and brittle, reducing its ability to withstand ball impact and shortening its lifespan.
A thin, even coat of raw linseed oil or linseed wax, allowed to soak in for 24 hours, ensures the perfect balance between flexibility and strength and means your cricket bat has been properly looked after, which can prolong the life of your bat.
How to Reduce Bat Weight with Sandpaper
Sanding can also be used to make minor adjustments to a bat’s weight. By carefully sanding specific areas of the blade, usually the spine or the toe, you can remove a small amount of willow to fine-tune the pickup and balance.
However, this should always be done with care, as over-sanding can weaken the structure or alter the profile of the bat.
At Trogon Cricket, we offer a cricket bat weight reduction service designed to reduce bat weight while maintaining performance and strength safely.
Whether you need a slight reduction or a complete re-balance, we can achieve it through precise sanding and reshaping techniques.
Our Commitment to Perfection at Trogon Cricket
At Trogon Cricket, we strive for perfection in every cricket bat we make. Our dedication to quality is evident in our meticulous sanding process, where each bat undergoes careful hand-sanding through various grits, from the initial 80-grit to the ultra-fine 10,000-grit.
This attention to detail ensures that every bat not only meets but exceeds our highest standards of performance and aesthetics, and doesn't leave our workshop until we have reached this level.
Cricket Bat Sanding: A Touch of Craftsmanship
Aside from the initial shaping with the 80-grit sandpaper on the sanding drum and the final finishing with 5000 or 10,000 grit using the orbital sander, all other sanding stages are meticulously done by hand.
This hand-sanding process enables a higher level of precision and a more personal touch, ensuring that every cricket bat meets the high standards of quality and performance before it is shipped from the workshop.
Customisation and Personalisation at Trogon Cricket
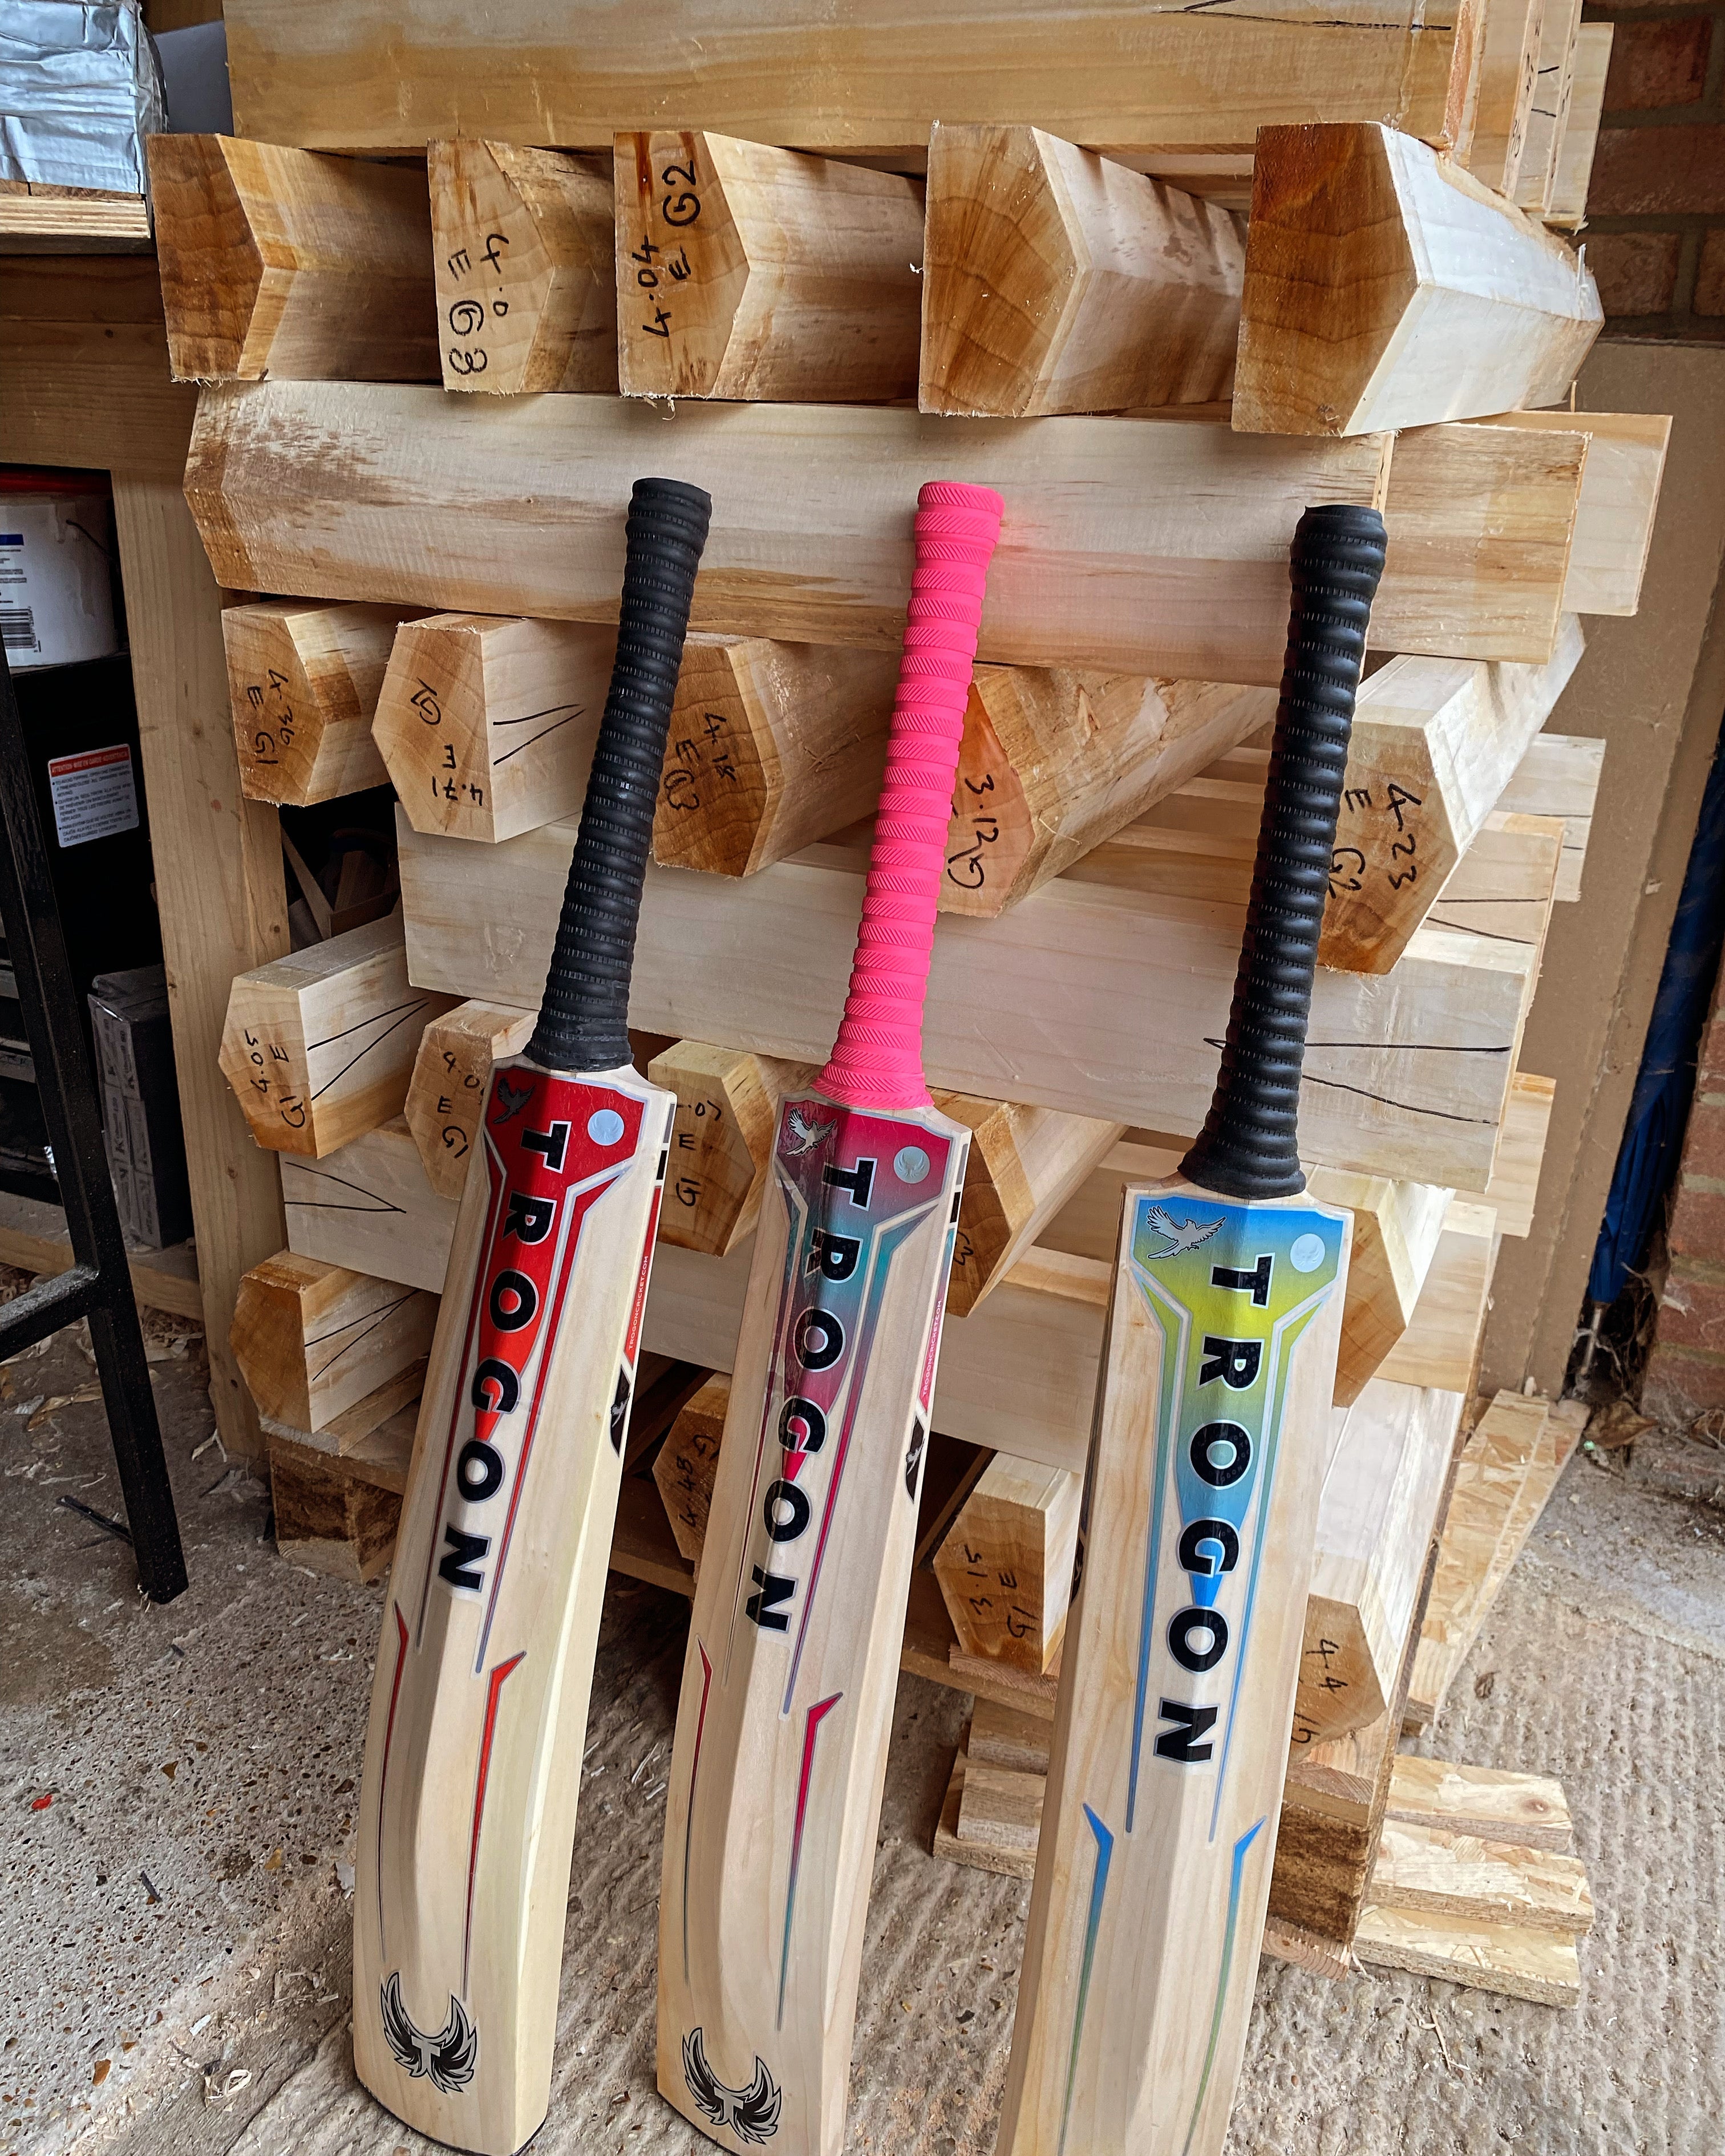
Trogon Cricket prides itself on crafting handmade cricket bats that cater to a wide range of shapes, sizes, and weights at a price point for everyone.
The customisation options extend to the handle shape, allowing for the best bat profile that is tailored to the batter’s requirements.
Whether you are looking for a light cricket bat for quick strokes or a heavier one for power-hitting, we have you covered. If you are considering a new bat, we offer guidance on preparation and maintenance to ensure optimal performance.
We stock all grades of English willow, including grade 1, grade 2, grade 3, butterfly, and our alternative willows, Kashmir and Dutch, which are perfect for junior bats or replica bats.
How Long Does a Cricket Bat Last?
A well-maintained cricket bat can last anywhere between one and five seasons, depending on how often it’s used, how well it’s prepared, and how it’s looked after.
Regular sanding, oiling all play a role in extending the life of the bat. Even the finest Grade 1 English willow will eventually show signs of wear, especially for heavy hitters, but consistent care helps prevent premature cracking or surface damage.
At Trogon Cricket, we offer bat servicing and repairs to give your bat a second life, from sanding and refinishing to full refurbishments. With proper maintenance, your bat can deliver outstanding performance year after year.
Conclusion: Meeting Every Cricketer's Needs
In conclusion, cricket bat sanding is a blend of art and precision. At Trogon Cricket, every bat is hand-sanded with the utmost care, passing through various grits, from 80 to an astonishing 10,000.
This meticulous process ensures that each new bat not only meets but exceeds the expectations of cricketers, regardless of their skill level or playing style, with a commitment to quality, customisation, and affordability.
Playing Our Part in Your Cricket Story
We know that cricket is more than just a game; it’s a passion, a community, and a lifetime of memories. That’s why every Trogon bat is made with care, dedication, and pride. We see our role as more than just bat makers; we’re part of your cricket journey.
From the first knock in the nets to the biggest innings of your career, we want to be there with you.
Choosing Trogon means choosing a bat made with honesty, integrity, and the same love for the game that you carry to the crease.
Trogon Product Guarantee
When you buy from Trogon, you’re covered by our 6-month bat guarantee. If your bat cracks or breaks within that period and has been knocked in correctly, we’ll replace it with a new one, simple, fast, and hassle-free. Combine that with your statutory online protections, and you can shop with total peace of mind.