Knocking in your cricket bat is not just a preparatory step; it's an essential rite of passage for every cricket bat, ensuring it performs to its fullest potential on the field and there is nothing better then getting a new bat and spending hours knocking it in, driving your parents and siblings round the bend in the process, marvelous!
This comprehensive blog post walks you through each key step (6 in total), ensuring your bat is ready to face fast bowlers and spin wizards alike.
But, before we jump in, what does knocking-in your cricket bat mean?
Knocking in your cricket bat involves gradually compressing the bat's fibers using a mallet, enhancing its durability and performance. It's crucial because it prevents damage from ball impacts, ensuring the bat is conditioned and ready for use in matches, ultimately prolonging its lifespan.
Right, let's jump and get all the nitty-gritty details - step 1!
Step 1: Application of Raw Linseed Oil
The journey of knocking in your cricket bat begins with the application of raw linseed oil.
This initial step is crucial as it prepares the willow, making it more flexible and less prone to damage when used.
Apply 2 to 3 teaspoons of oil evenly across the face, edges, and back of the bat. It's imperative to avoid oiling the splice, handle, or any labelled areas to prevent any adverse effects on the bat's performance. Over-oiling can deaden the bat’s fibers, affecting its responsiveness and durability.
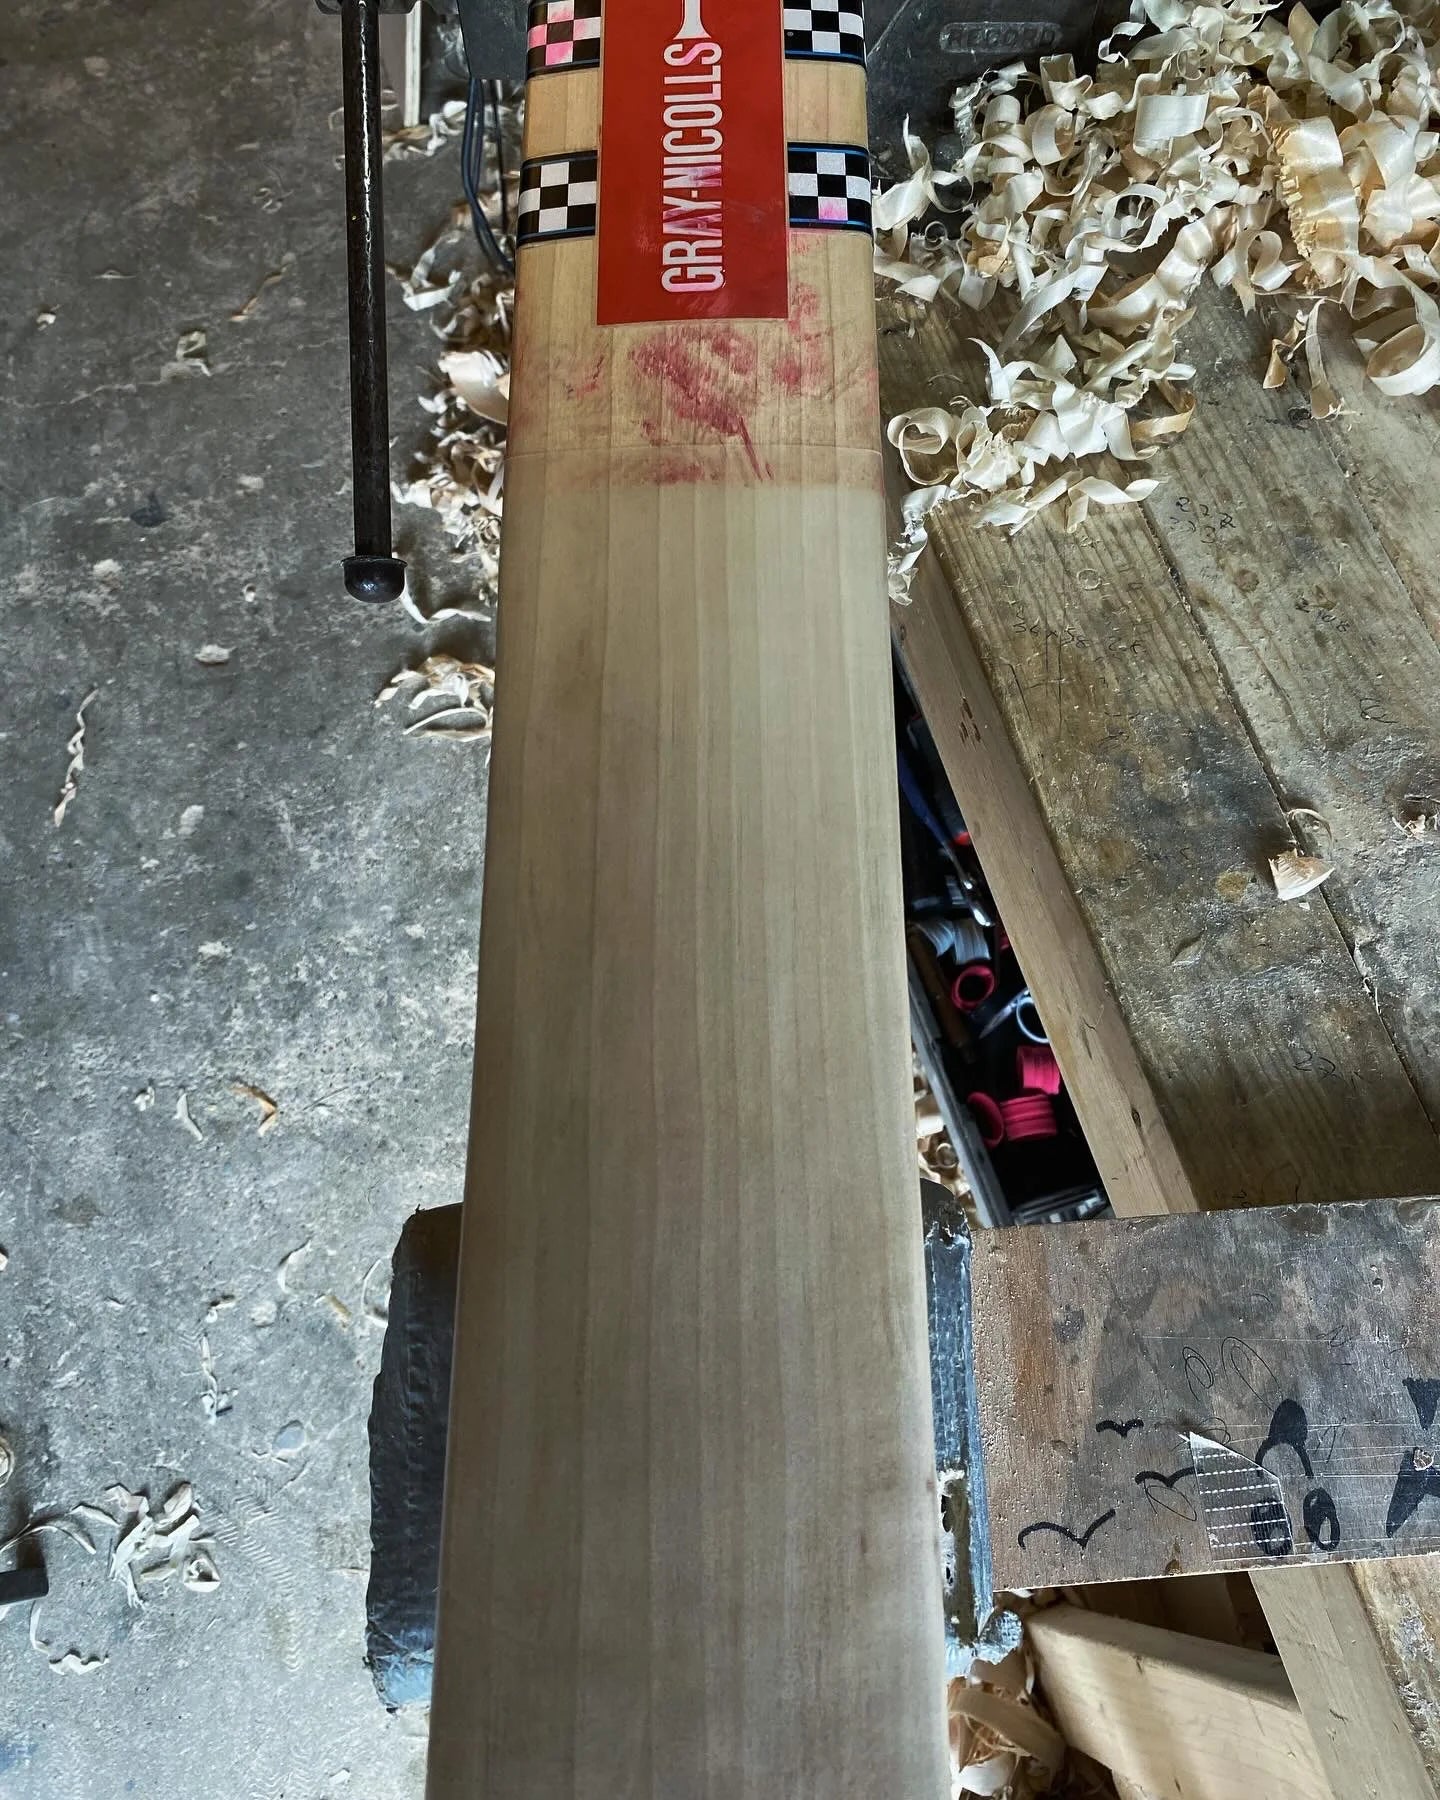
The below image shows a bat I oiled a few months back, you can see the moderate amount of oil I used which was then rubbed in by hand.

The below image shows the colour difference once the oil has been rubbed in. You can see where I have stopped oiling, ensuring I don't oil around the splice area.

Step 2: Drying
After oiling, the bat must be left horizontal, face up, to dry for 24 hours. This waiting period allows the oil to penetrate deeply into the wood, conditioning it from within.
The oil moisturizes the wood, preventing it from becoming brittle and susceptible to cracks.
Step 3: Repeating Oiling (If Required)
Depending on whether you intend to use the bat in its natural state or protect it with an anti-scuff sheet, this step may vary.
For bats used in their natural state, repeat the oiling process (Steps 1 and 2) twice more to ensure thorough conditioning. However, if you’re applying an anti-scuff or extra tech sheet, a single round of oiling is sufficient.
Please note, if you are looking for extra-tech to be added as face protection, you can't add oil as the face protection doesn't stick.
Step 4: The Knocking In Process
Now, the actual knocking in begins. Using a specialized bat mallet, gently but firmly knock in the bat for around 4 hours.
Focus particularly on the edges and the toe, employing glancing blows to harden and round these areas. It’s vital to avoid direct strikes on the bat's edges, toe, or back, as this will cause damage.
Start with lighter blows, gradually increasing in force, but never so hard as to damage the bat. This process compacts the fibers, enhancing the bat’s durability and performance.
I personally use a grid, I break the bat into different grids (usally 4) and make sure I move from grid making sure each is getting enough time.

The above image shows me knocking in the edges, gently producing glancing blows and not striking the edges directly.
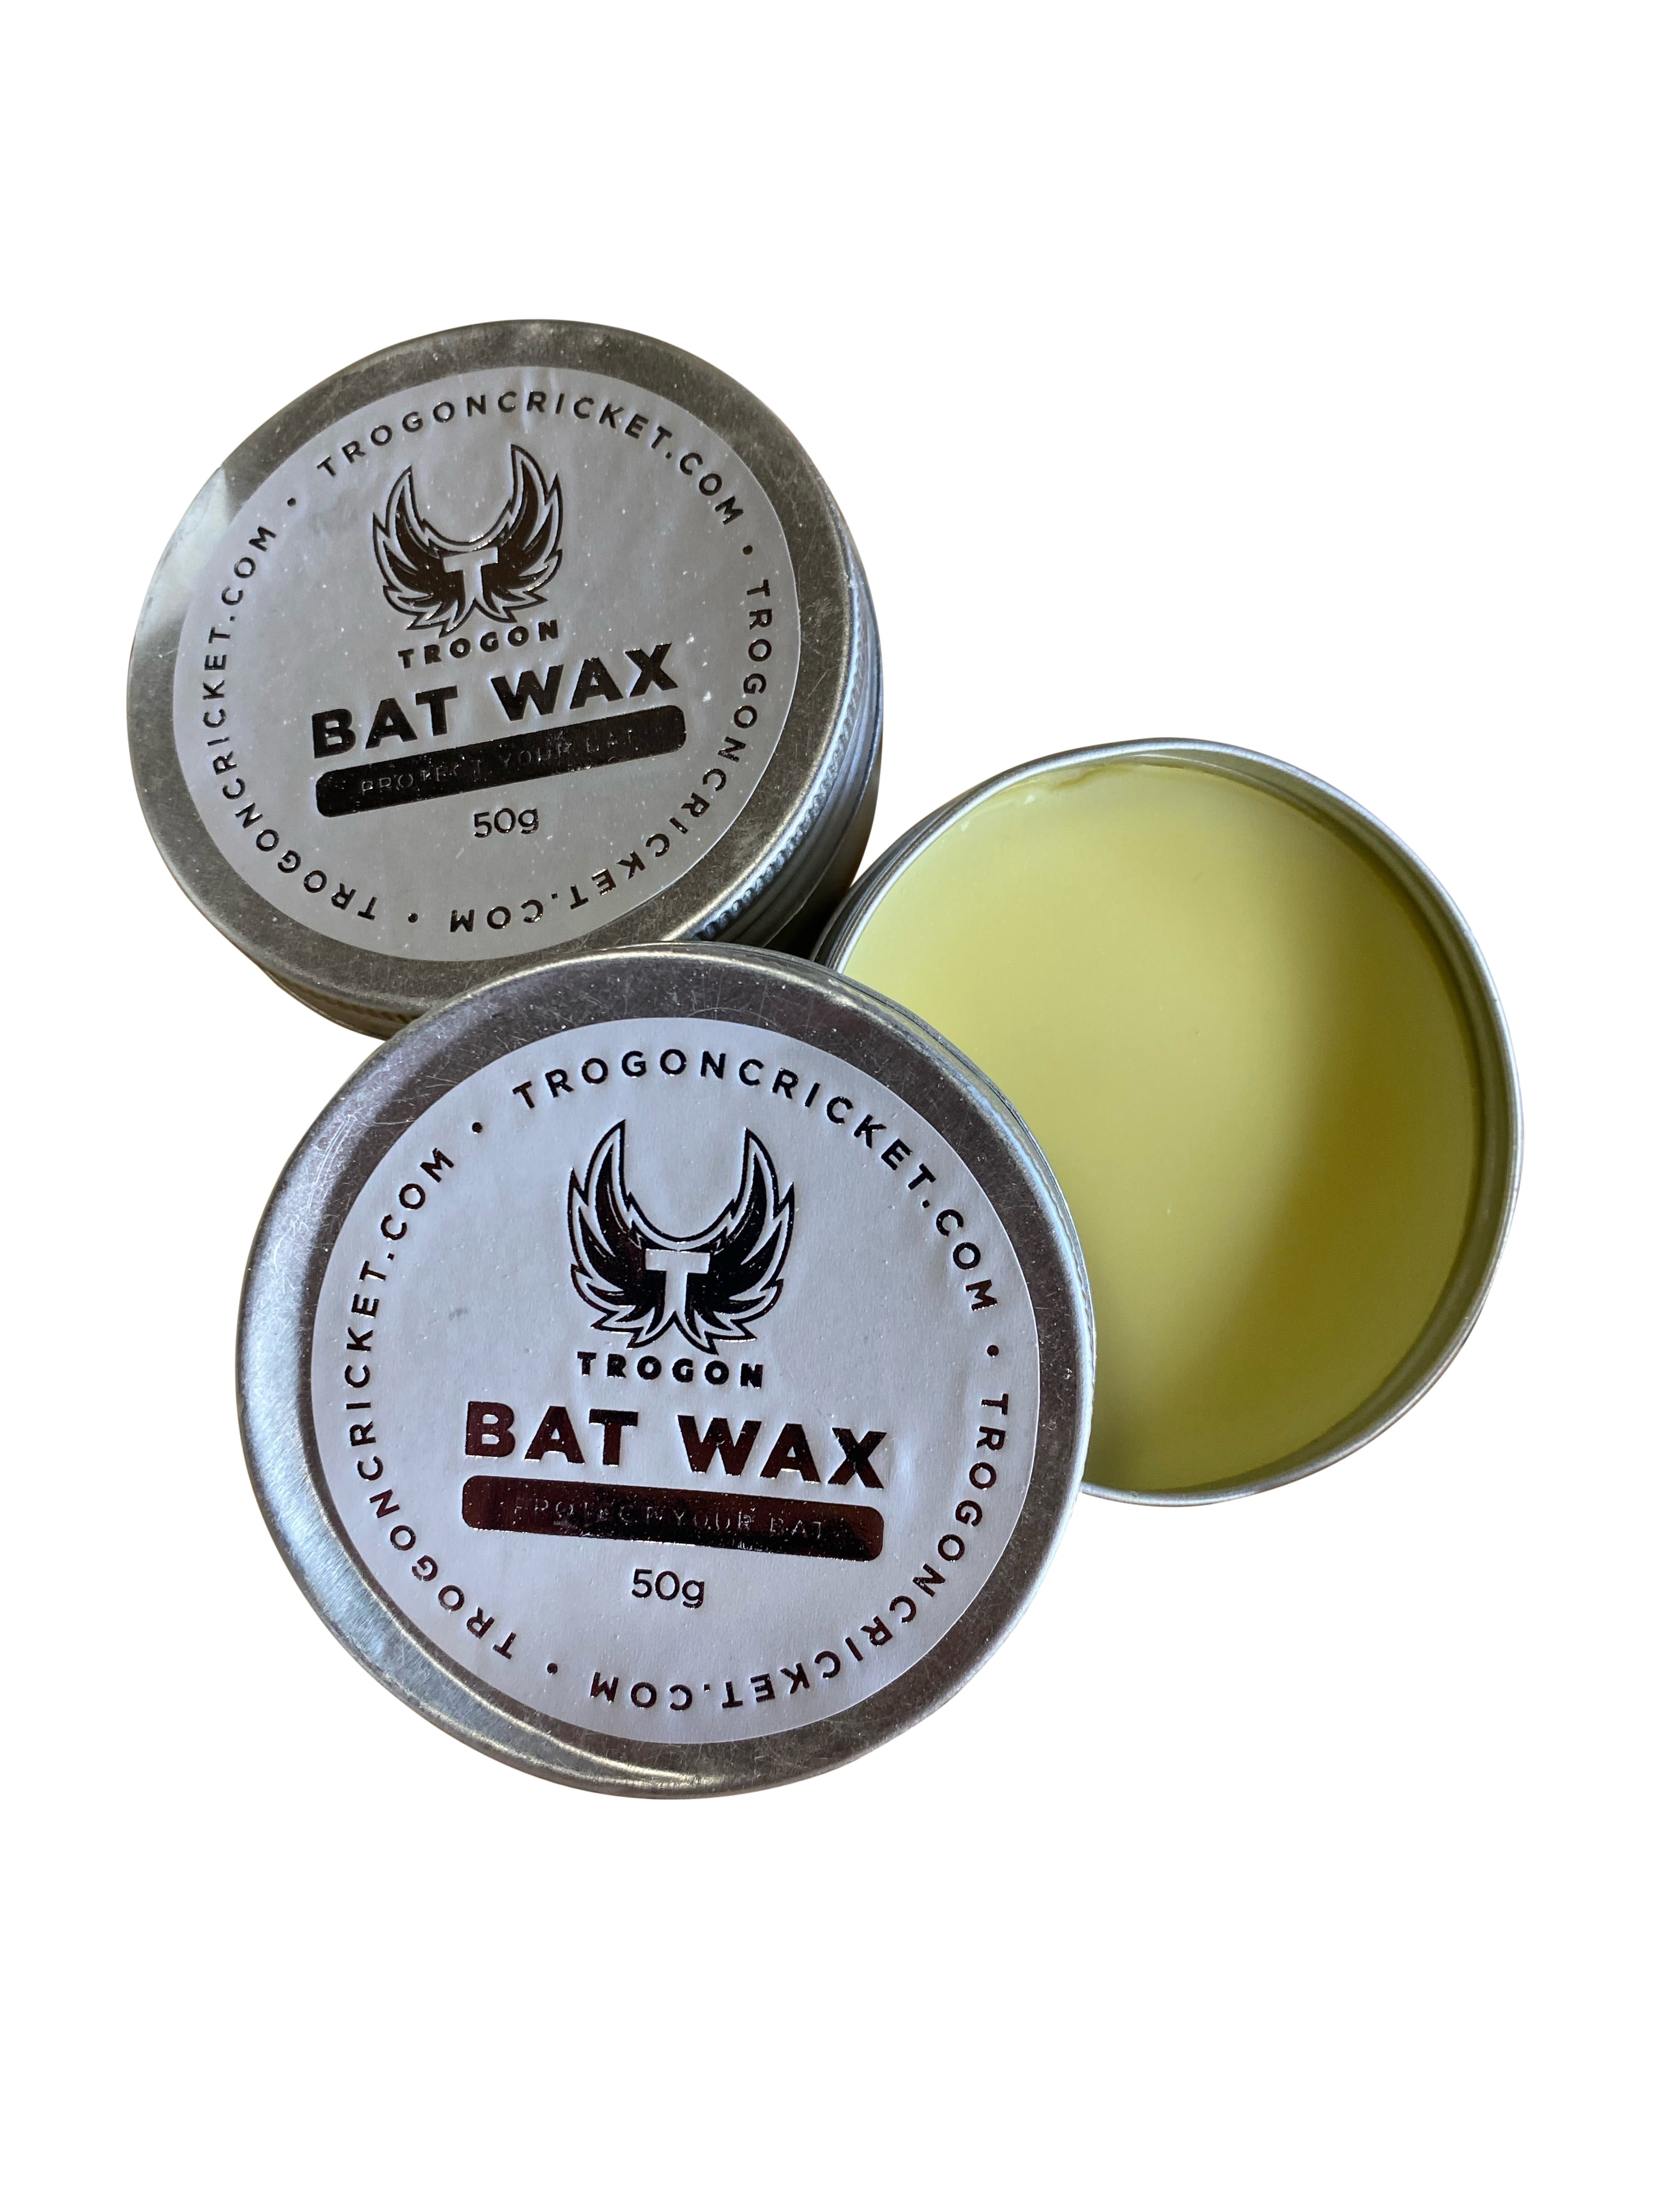
Step 5: Application of Fibre Tape and Anti-Scuff Sheet
Following the knocking in process, apply fibre tape to the bat's edges for added protection. Then, if desired, fit an anti-scuff or extra tech sheet over the face of the bat.
This step is highly recommended as it significantly extends the life of the bat, offering additional protection without compromising its performance.
I have written extensively about is bat protection worth it its definately worth a read.
Step 6: Testing
The final step involves testing the bat with a good quality old ball, either during a light net session or by having throw-downs.
This is to ensure the bat is adequately prepared; any seam marks or indentations indicate that further knocking in is required.
Ok, so these are the steps required, but what are the advantages of a well knocked in cricket bat?
The Advantages of a well knocked in cricket bat
- Enhanced Durability: A well-knocked-in cricket bat undergoes a thorough compression of its fibers, significantly reducing the risk of cracking or splitting.
- Improved Performance: The knocking-in process compacts the wood fibers, leading to a more resilient surface that can transfer greater energy to the ball.
- Increased Sweet Spot: Through careful and consistent knocking in, especially around the edges and the toe of the bat, the sweet spot - the area that generates the maximum response for a shot - can be expanded. This makes the bat more forgiving and efficient, allowing for a wider range of shots.
- Better Shock Absorption: The compression of fibers throughout the knocking-in process enhances the bat's ability to absorb shock upon impact.
- Prevention of Surface Damage: Regular and meticulous knocking in creates a hardened surface that is less susceptible to wear and tear from ball impacts.
- Optimized Balance and Weight Distribution: As the bat is knocked in, particularly around the edges and toe, it undergoes subtle changes in weight distribution. This can lead to improved balance, making the bat feel lighter and more manageable.
- MOST IMPORTANTLY - Long-term Cost Savings: While the initial investment of time and effort in knocking in a bat might seem daunting, it ultimately leads to cost savings as well-prepared bat lasts longer, reducing the frequency of replacements and repairs.
However, on the last point if your bat does need a repair or refurb, we offer a full cricket bat repair service.
Not to scare you, but to emphasise how important knocking in your cricket bat is, below are the disadvantages of NOT knocking in your cricket bat.
5 Disadvantages of NOT knocking in your cricket bat
- Increased Risk of Damage: Without proper knocking in, the cricket bat's fibers remain uncompressed and vulnerable to the high-impact forces of cricket balls. This significantly increases the likelihood of the bat developing cracks or splits, especially along the edges and toe, areas most susceptible to direct hits.
- Reduced Lifespan: A bat that hasn't been knocked in is more prone to wear and tear from regular use. The constant impact with cricket balls can quickly degrade its surface and internal structure, leading to a shorter usable life and necessitating more frequent replacements or repairs.
- Compromised Performance: Without the process of knocking in to enhance the wood's flexibility and resilience, the bat fails to achieve its optimal performance level.
- Increased Vibration and Discomfort: Uncompressed fibers in a non-knocked-in bat can lead to increased shock and vibration upon impact with the ball. This not only makes the batting experience uncomfortable but can also lead to hand and wrist strain.
Make sure you knock in your new cricket bat.
Conclusion
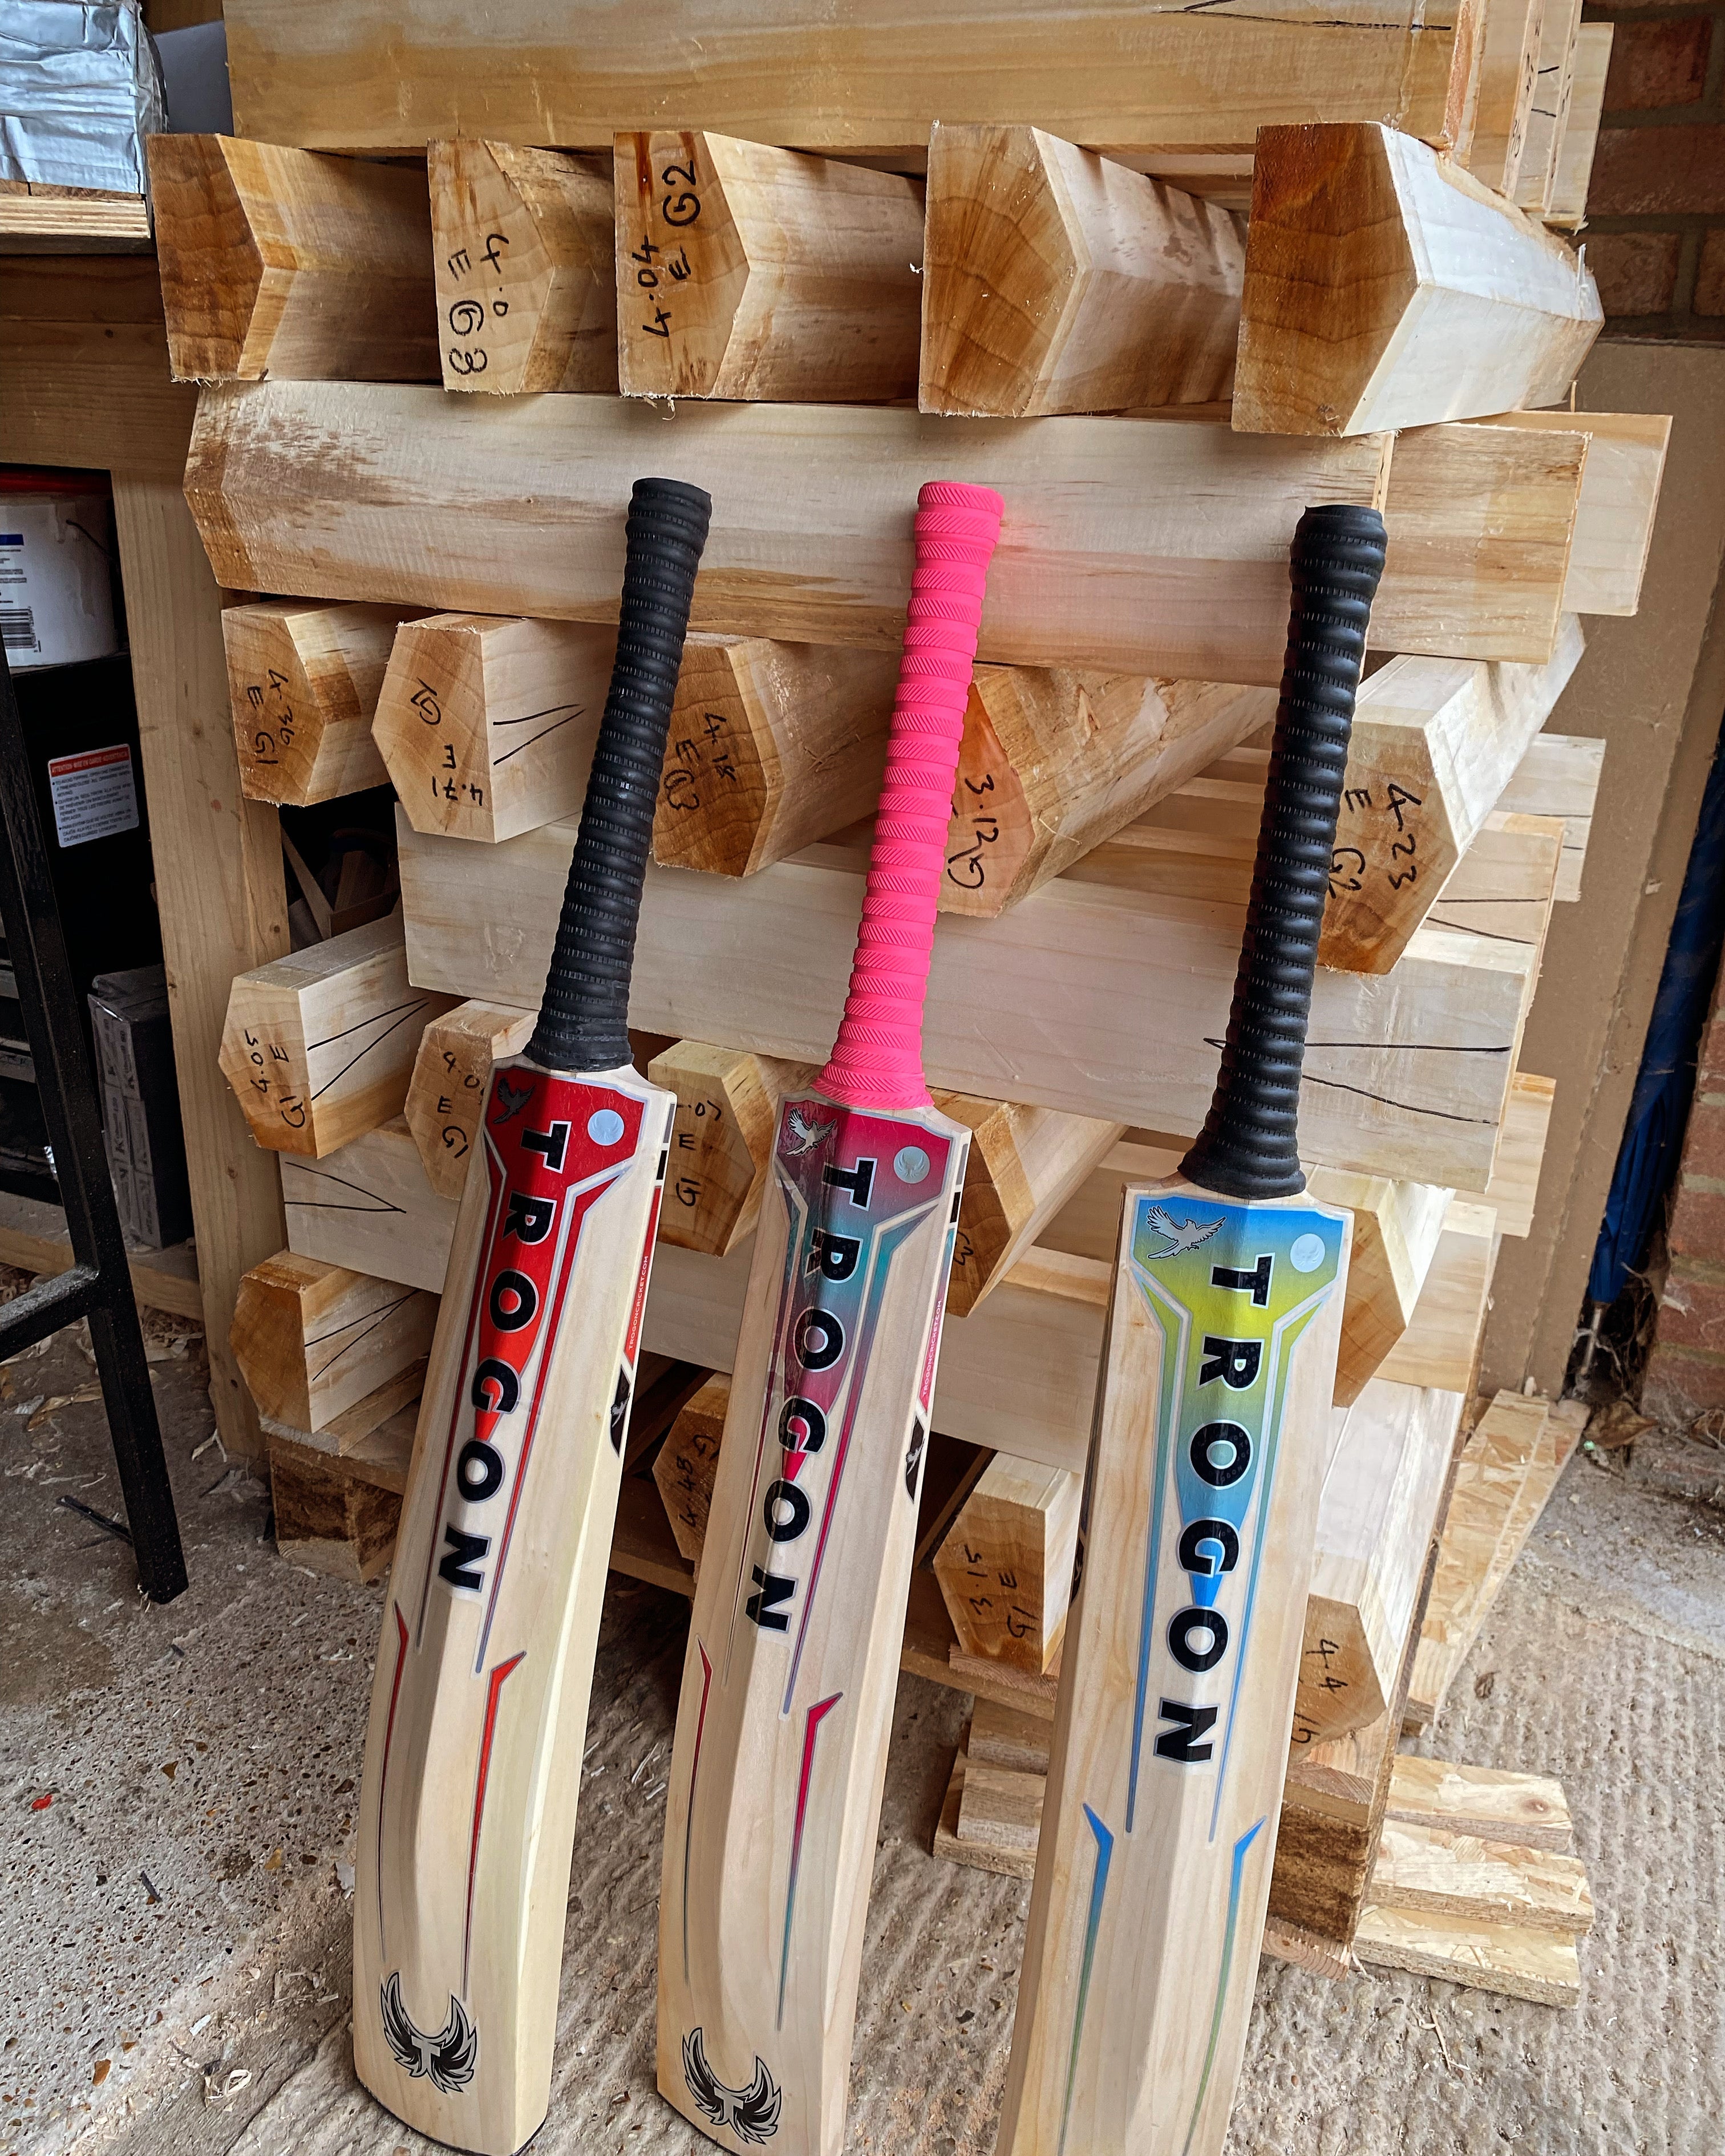
Trogon Cricket takes pride in crafting handmade cricket bats that cater to every cricketer's unique needs.
Whether you're looking for a bat with a specific shape, size, weight, or middle position, Trogon Cricket offers full customization to meet your personal requirements.
With a vast selection of grade 1, grade 2, and grade 3 clefts of English willow available, we ensure there’s a perfect match for every batter at various price points.
Knocking in your cricket bat is a meticulous process, but with patience and precision, your Trogon Cricket bat will be ready.
Buying With Confidence from Trogon
If you've reached this point, I sincerely thank you for reading it all through. Your interest and support mean the world to me, and it's greatly appreciated.
Whether you're here to learn more about our cricket bats or other products or just out of curiosity, your engagement makes a real difference. Thank you for being part of our Trogon journey.

Trogon Product Guarantee
6-month guarantee on all cricket bats. That means if you purchase a bat through us and it breaks, as long as it has been knocked in properly, we will replace it like for like. This is our commitment to you on top of your statutory protections when buying products online.
Click on the below link and see our collection of cricket bat protection products