Harrow cricket bats have become increasingly popular for juniors and adults a like, they are the perfect bat based on height for a number of different reasons.
In this blog post, we will delve into the process of creating Harrow custom-made cricket bat, highlighting every step from the initial discussion with the customer to the final touches.
But before we start, what is a harrow cricket bat?
A Harrow cricket bat is a size of bat specifically designed for young players typically aged 12-14 years, with a height range of 1.63m to 1.68m. It's lighter and smaller than adult bats, usually weighing between 2lb 3oz to 2lb 5oz, providing a suitable balance and comfortable handling for junior cricketers.
Right, let's delve in and get all the nitty-gritty details of harrow cricket bats.
Initial Discussion with the Customer About there New Harrow Cricket Bat
The journey of crafting a custom cricket bat starts with a detailed conversation with the customer which is part of our Trogon cricket bespoke service.
This initial discussion is crucial to understand the specific needs and preferences of the player. We focus on several key aspects such as edge size, middle position (low middle cricket bats, mid-high cricket bats or high middle cricket bats), weight, handle shape, toe shape, and other customization features.
For players with a height range of 1.63m to 1.68m, the target harrow cricket bat weight is typically between 2lb 3oz to 2lb 5oz.
However, this can be adjusted based on the player's preference and playing style, especially if you are an adult who requires a harrow bat, then the weight will increase dramatically.
We take special care in ensuring that the weight, balance, and feel of the bat are in perfect harmony with the player's requirements.
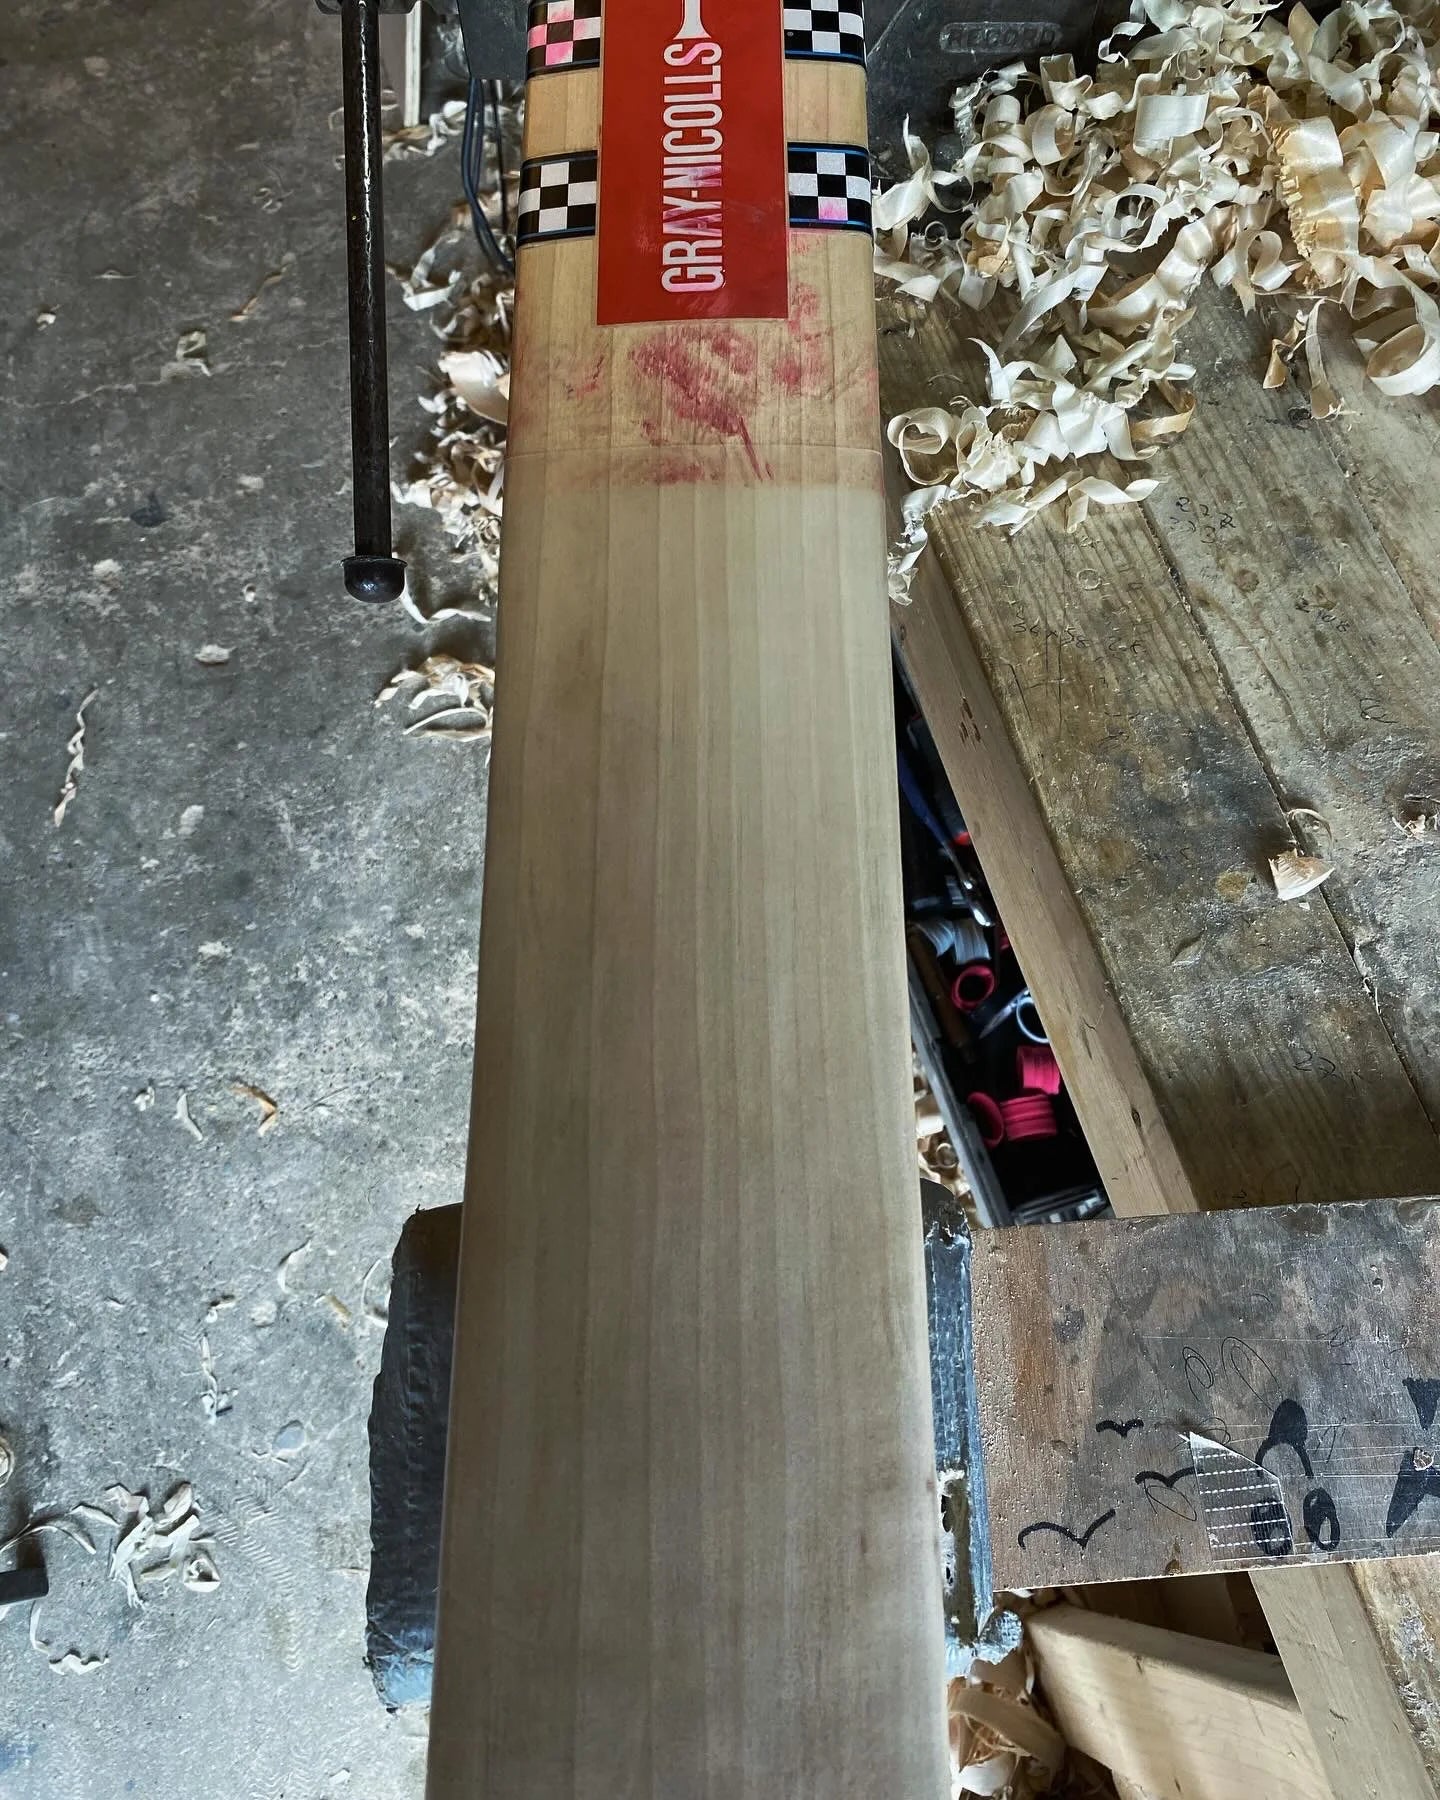
Selecting the Correct Cleft Based on the Grade of Willow
Once the customer's preferences are understood, we move on to selecting the right cleft of willow.
Choosing the right cleft of willow is a critical step in crafting a Harrow custom-made cricket bat.
The grade of willow not only influences the performance of the bat but also its aesthetic appeal and durability.
Here, we break down the characteristics of Players Grade, Grades 1, Grades 2, Grades 3 and Butterfly English willow clefts:
Players Grade Willow Clefts
- Pinnacle of Quality: Players Grade willow represents the absolute best in cricket bat willow, often reserved for professional cricketers.
- Aesthetics: Exhibits a perfect, straight grain structure with at least 8-12 visible grains and no blemishes. The look is pristine, indicating the cleft's superior quality.
- Performance: Provides exceptional rebound qualities and performance. The density and structure of the wood are optimized for high-level play, offering maximum power and durability.
- Durability: Extremely durable, able to withstand the rigours of professional cricket. Its resilience is unmatched, making it a long-lasting choice for elite players.
- Cost: This is the most premium option, reflecting its top-tier status in both performance and quality.
Grade 1 Willow Clefts
- Highest Quality: Grade 1 willow is the top-tier quality, used for professional-level bats.
- Aesthetics: These clefts have a straight and even grain structure, typically with 6 to 12 grains visible. They are free from blemishes and knots, offering a clean and attractive look.
- Performance: Offers the best rebound and performance characteristics. The tight grain structure provides excellent strength, allowing for a thinner yet more durable blade with excellent ping and rebound.
- Cost: The most expensive due to its superior quality and limited availability.
Grade 2 Willow Clefts
- Great Quality: Grade 2 willow is a high-quality option that balances performance with affordability. Suitable for advanced and club-level players.
- Aesthetics: These clefts may have slight irregularities in grain structure and can contain minor blemishes or colour variations, but they still maintain an attractive appearance.
- Performance: Provides a very good level of performance, with a slightly lesser rebound quality compared to Grade 1. Ideal for players who seek quality performance without the premium price tag.
- Cost: More affordable than Grade 1, making it a popular choice for a wider range of players.
Grade 3 Willow Clefts
- Good Quality: Grade 3 willow is a more economical choice, suitable for beginners and casual players.
- Aesthetics: These clefts have more irregularities and blemishes compared to higher grades. The grain can be uneven, and more color variations are present.
- Performance: Offers decent performance suitable for recreational play.
- Cost: The most affordable option, making it accessible to beginners or those on a tight budget.
Butterfly Willow Clefts
- Unique Aesthetic and Strength: Butterfly willow is named for its distinctive grain pattern that resembles the wings of a butterfly. This pattern is a result of the wood reacting to stresses in its natural environment, creating a harder and more resilient surface.
- Aesthetics: Marked by a striking contrast in wood color and grain patterns. The "butterfly" markings are not only unique but are also thought to add strength to the bat.
- Performance: Known for its excellent shock absorption qualities, making it less prone to cracking compared to regular willow. It is especially valued by players for its durability and performance.
- Durability: The dense and tough nature of butterfly willow enhances the bat's longevity, making it a preferred choice for players who prioritize durability.
- Cost: While unique, butterfly willow bats are often priced similarly to Grade 2 or Grade 3 bats, offering a balance between performance, durability, and cost.
With all clefts, the bat maker decides what grading each cleft receives.
Once the cleft is selected, we move on to pressing the cleft.
Pressing the Cleft
Pressing the cleft is a critical step in the bat-making process. It involves compressing the wood to enhance its strength and durability.
This process also affects the bat's performance, influencing the rebound effect when the ball strikes the bat. Precision in pressing is key to ensuring the bat performs well and lasts long.

The above image shows me pressing a raw cleft on our pressing machine. First, I've cleaned the face of the cleft and then added water to the face to stop the cleft from cracking under pressure. Then, I start running the cleft through the press, testing the performance, and listening to the performance.
Splicing or Adding the Handle
The handle is spliced or added to the main body of the bat after the cleft is pressed. The handle is crucial for the grip and overall balance of the bat.
We pay close attention to the shape and size of the handle to ensure it fits comfortably in the player's hands, enhancing control and manoeuvrability when in your hands.

The above image shows me using our custom-made handle jig for cutting the handle to shape.
Shaping the Blade
Shaping the blade is where the artistry of bat-making truly shines. This step involves carving and shaping the willow to the desired profile, keeping in mind the player's specific requirements discussed earlier.
The skill of the craftsman is paramount in ensuring the bat has the right balance and weight distribution, to achieve this I use a combination of traditional tools that have been used for over a hundred years of bat making.

The above image shows me using a traditional wooden plane (although this one is relatively new). Wooden planes are the best to use. This is me starting to shape the toe of the cricket bat.
Sanding
Sanding is essential for smoothing out the surface of the bat (it's actually one of my favorite parts of the bat-making process).
It removes any rough spots and prepares the bat for further finishing. A smooth finish is not only aesthetically pleasing but also helps in reducing friction when the ball makes contact with the bat.

The above image shows me using the hand-made sanding drum. This is the first part of sanding; more videos of me using our sanding drum can be seen on our socials. Once this part of the sanding is complete, I move onto hand sanding, which can be seen in the image below.

In the above image, you can see me hand-sanding the harrow cricket bat. Hand sanding takes over an hour for each new cricket bat we make.
Binding the Handle
Binding the handle is an important step for durability and shock absorption. The handle is wrapped with a special twine that helps in absorbing the impact when the bat strikes the ball, reducing the risk of handle breakage and providing a better grip.

The above image shows me using our custom-built cricket bat binding machine. First, glue is added to the handle, then we wrap the twine and start the machine.
Polishing and Waxing
Polishing and waxing give the bat its final look and feel. This process enhances the natural beauty of the willow and provides a protective layer against moisture and wear.
A well-polished and waxed bat looks absolutely stunning!

The above shows me applying beeswax to the polishing wheel.
Beeswax acts as a protective coating on the surface, enhancing the wood's shine.

Stickering
Stickering is the process of adding the brand and model details to the bat. This is more than just a cosmetic step; it's a mark of quality and craftsmanship.
Our stickers are carefully designed to complement the aesthetics of the bat without affecting its performance.
Finishing the Bat with Anti-Scuff or Extra Tech
The final step in the bat-making process is the application of anti-scuff sheets or extra tech.
These provide additional protection to the bat, ensuring it remains in top condition for longer. However, as with everything relating to cricket bats its completely your decision if you want additional protection on your new bat, I have written extensively about cricket bat face protection called 'bat face protection, is it worth it'? where you can make your own mind up.
So, there you have it, that is how we make a Harrow cricket bat at Trogon cricket.
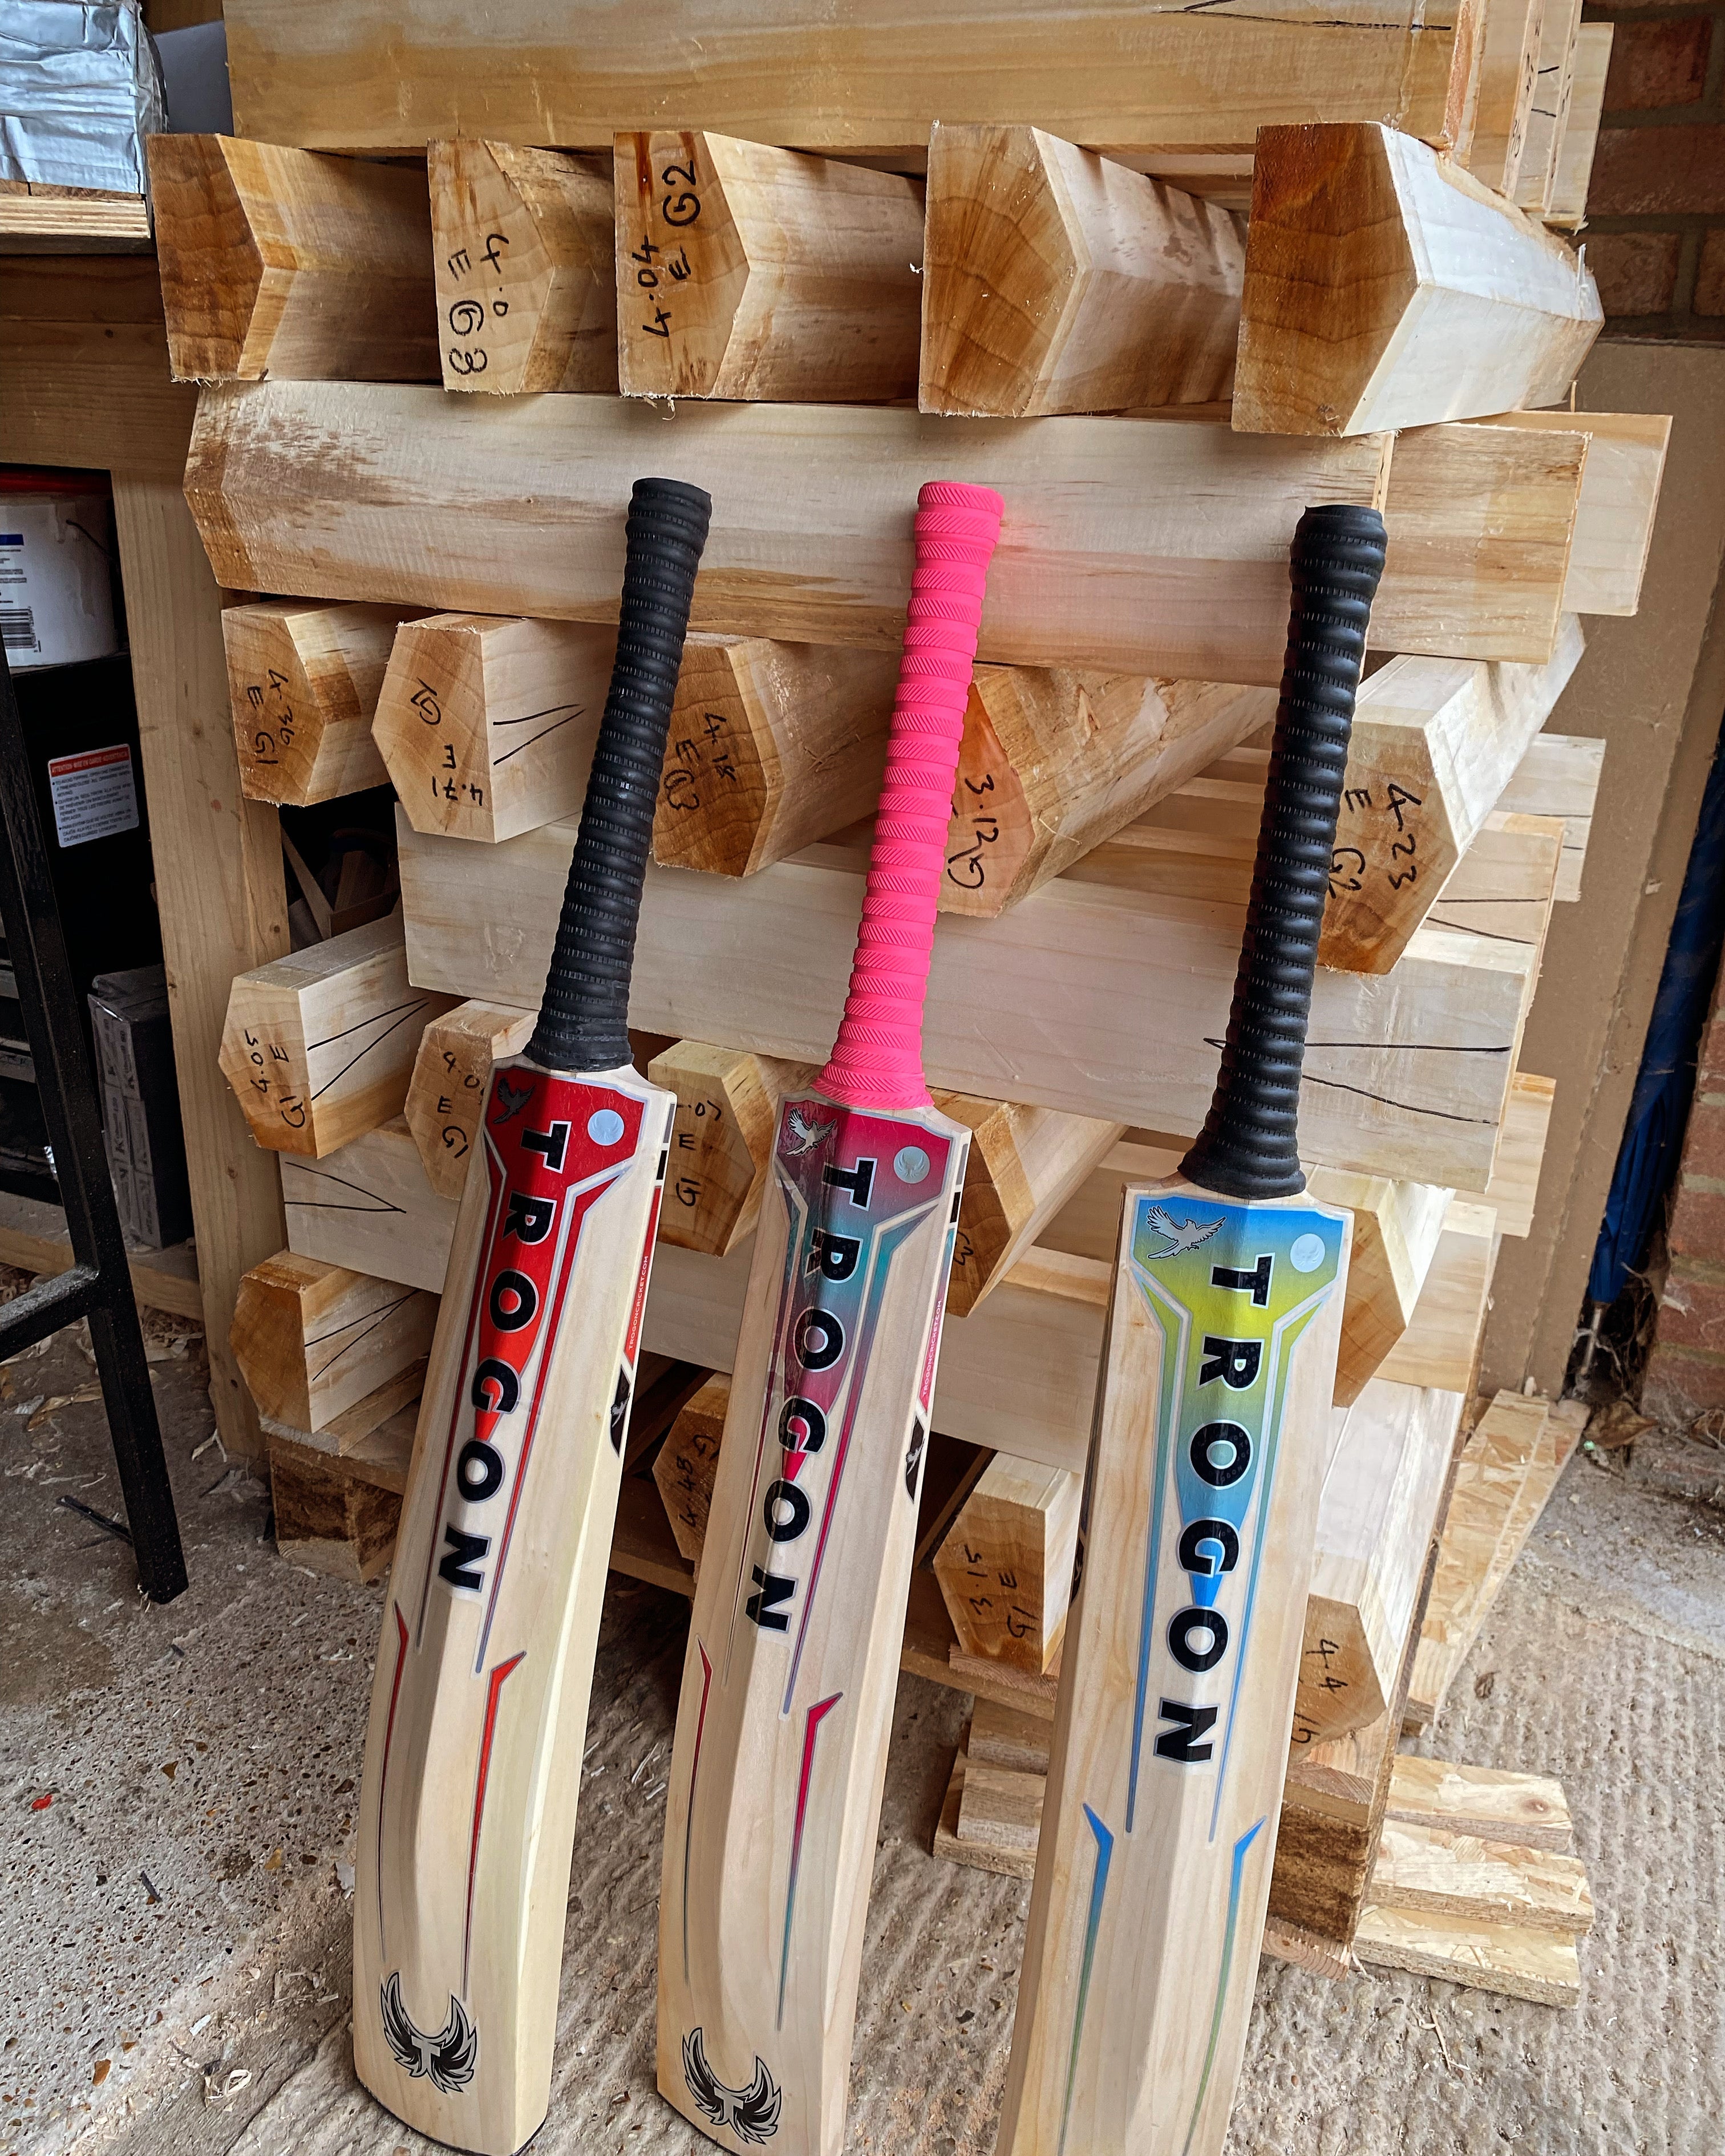
You can see a selection of our English Willow Harrow size cricket bats here
Conclusion
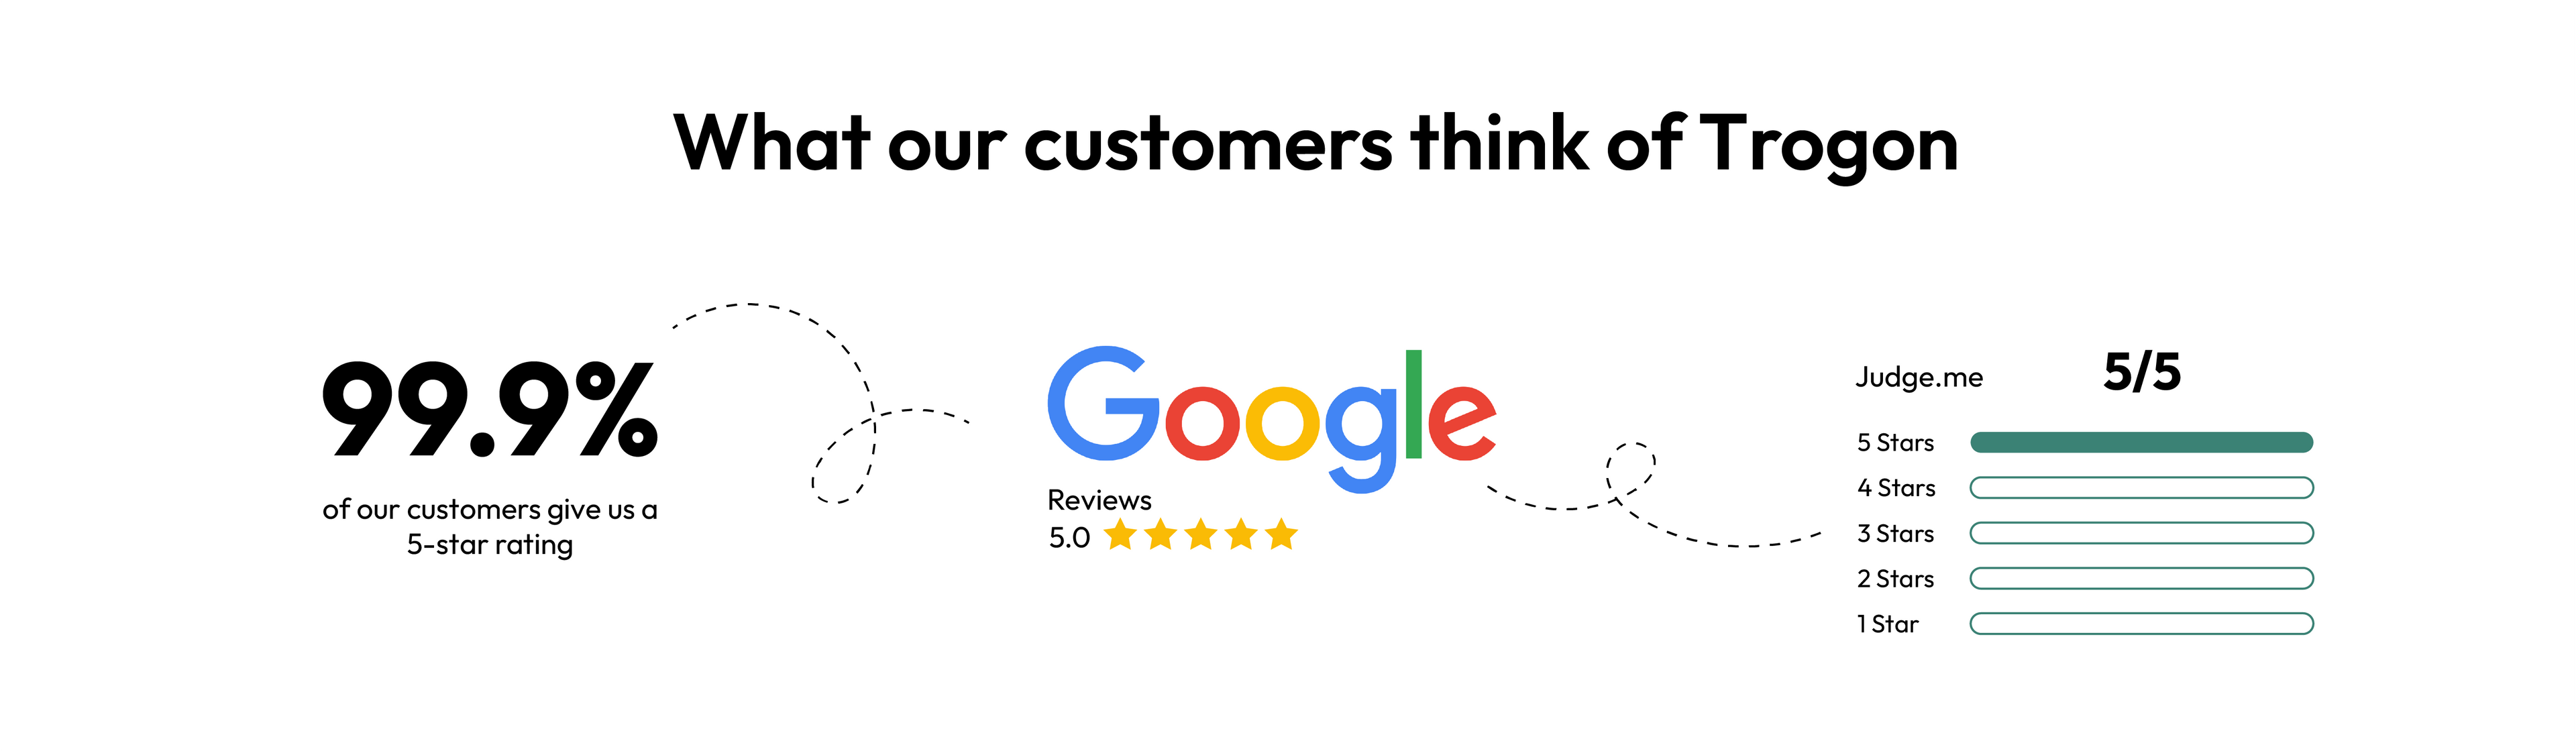
At Trogon Cricket, we take pride in crafting hand-made cricket bats that cater to all shapes, sizes, and weights, with full customization to meet the batter's personal requirements.
We offer a vast selection of Grade 1, Grade 2, and Grade 3 clefts of English willow, ensuring there is a perfect bat for every player and every budget. Whether you are looking for a lightweight harrow cricket bat or a heavier harrow custom-made cricket bat, we ensure that every bat we make is a perfect match for the player.
Buying With Confidence from Trogon
If you've reached this point, I sincerely thank you for reading it all through. Your interest and support mean the world to me, and it's greatly appreciated.
Whether you're here to learn more about our cricket bats or other products or just out of curiosity, your engagement makes a real difference. Thank you for being part of our Trogon journey.

Trogon Product Guarantee
6-month guarantee on all cricket bats. That means if you purchase a bat through us and it breaks, as long as it has been knocked in properly, we will replace it like for like. This is our commitment to you on top of your statutory protections when buying products online.
Click on the below link and see our beautiful collection of Harrow Cricket bats