Cricket bats are expensive, and there is no getting away from that; they require consistent care and maintenance to perform at their peak and last for a long time.
One of the most critical aspects of bat care is oiling.
This guide will cover everything you need to know about oiling a cricket bat, including why it’s necessary, how to do it correctly, and why professionals often avoid oiling their bats.
So, keep reading to get all the details and ensure your cricket bat is oiled and ready for the season ahead.
Why Do We Oil Cricket Bats?
Oiling a cricket bat is essential for several reasons, primarily to preserve the bat's longevity, enhance its performance, and protect it from damage.
Here are the main reasons for oiling:
1. Moisture Retention
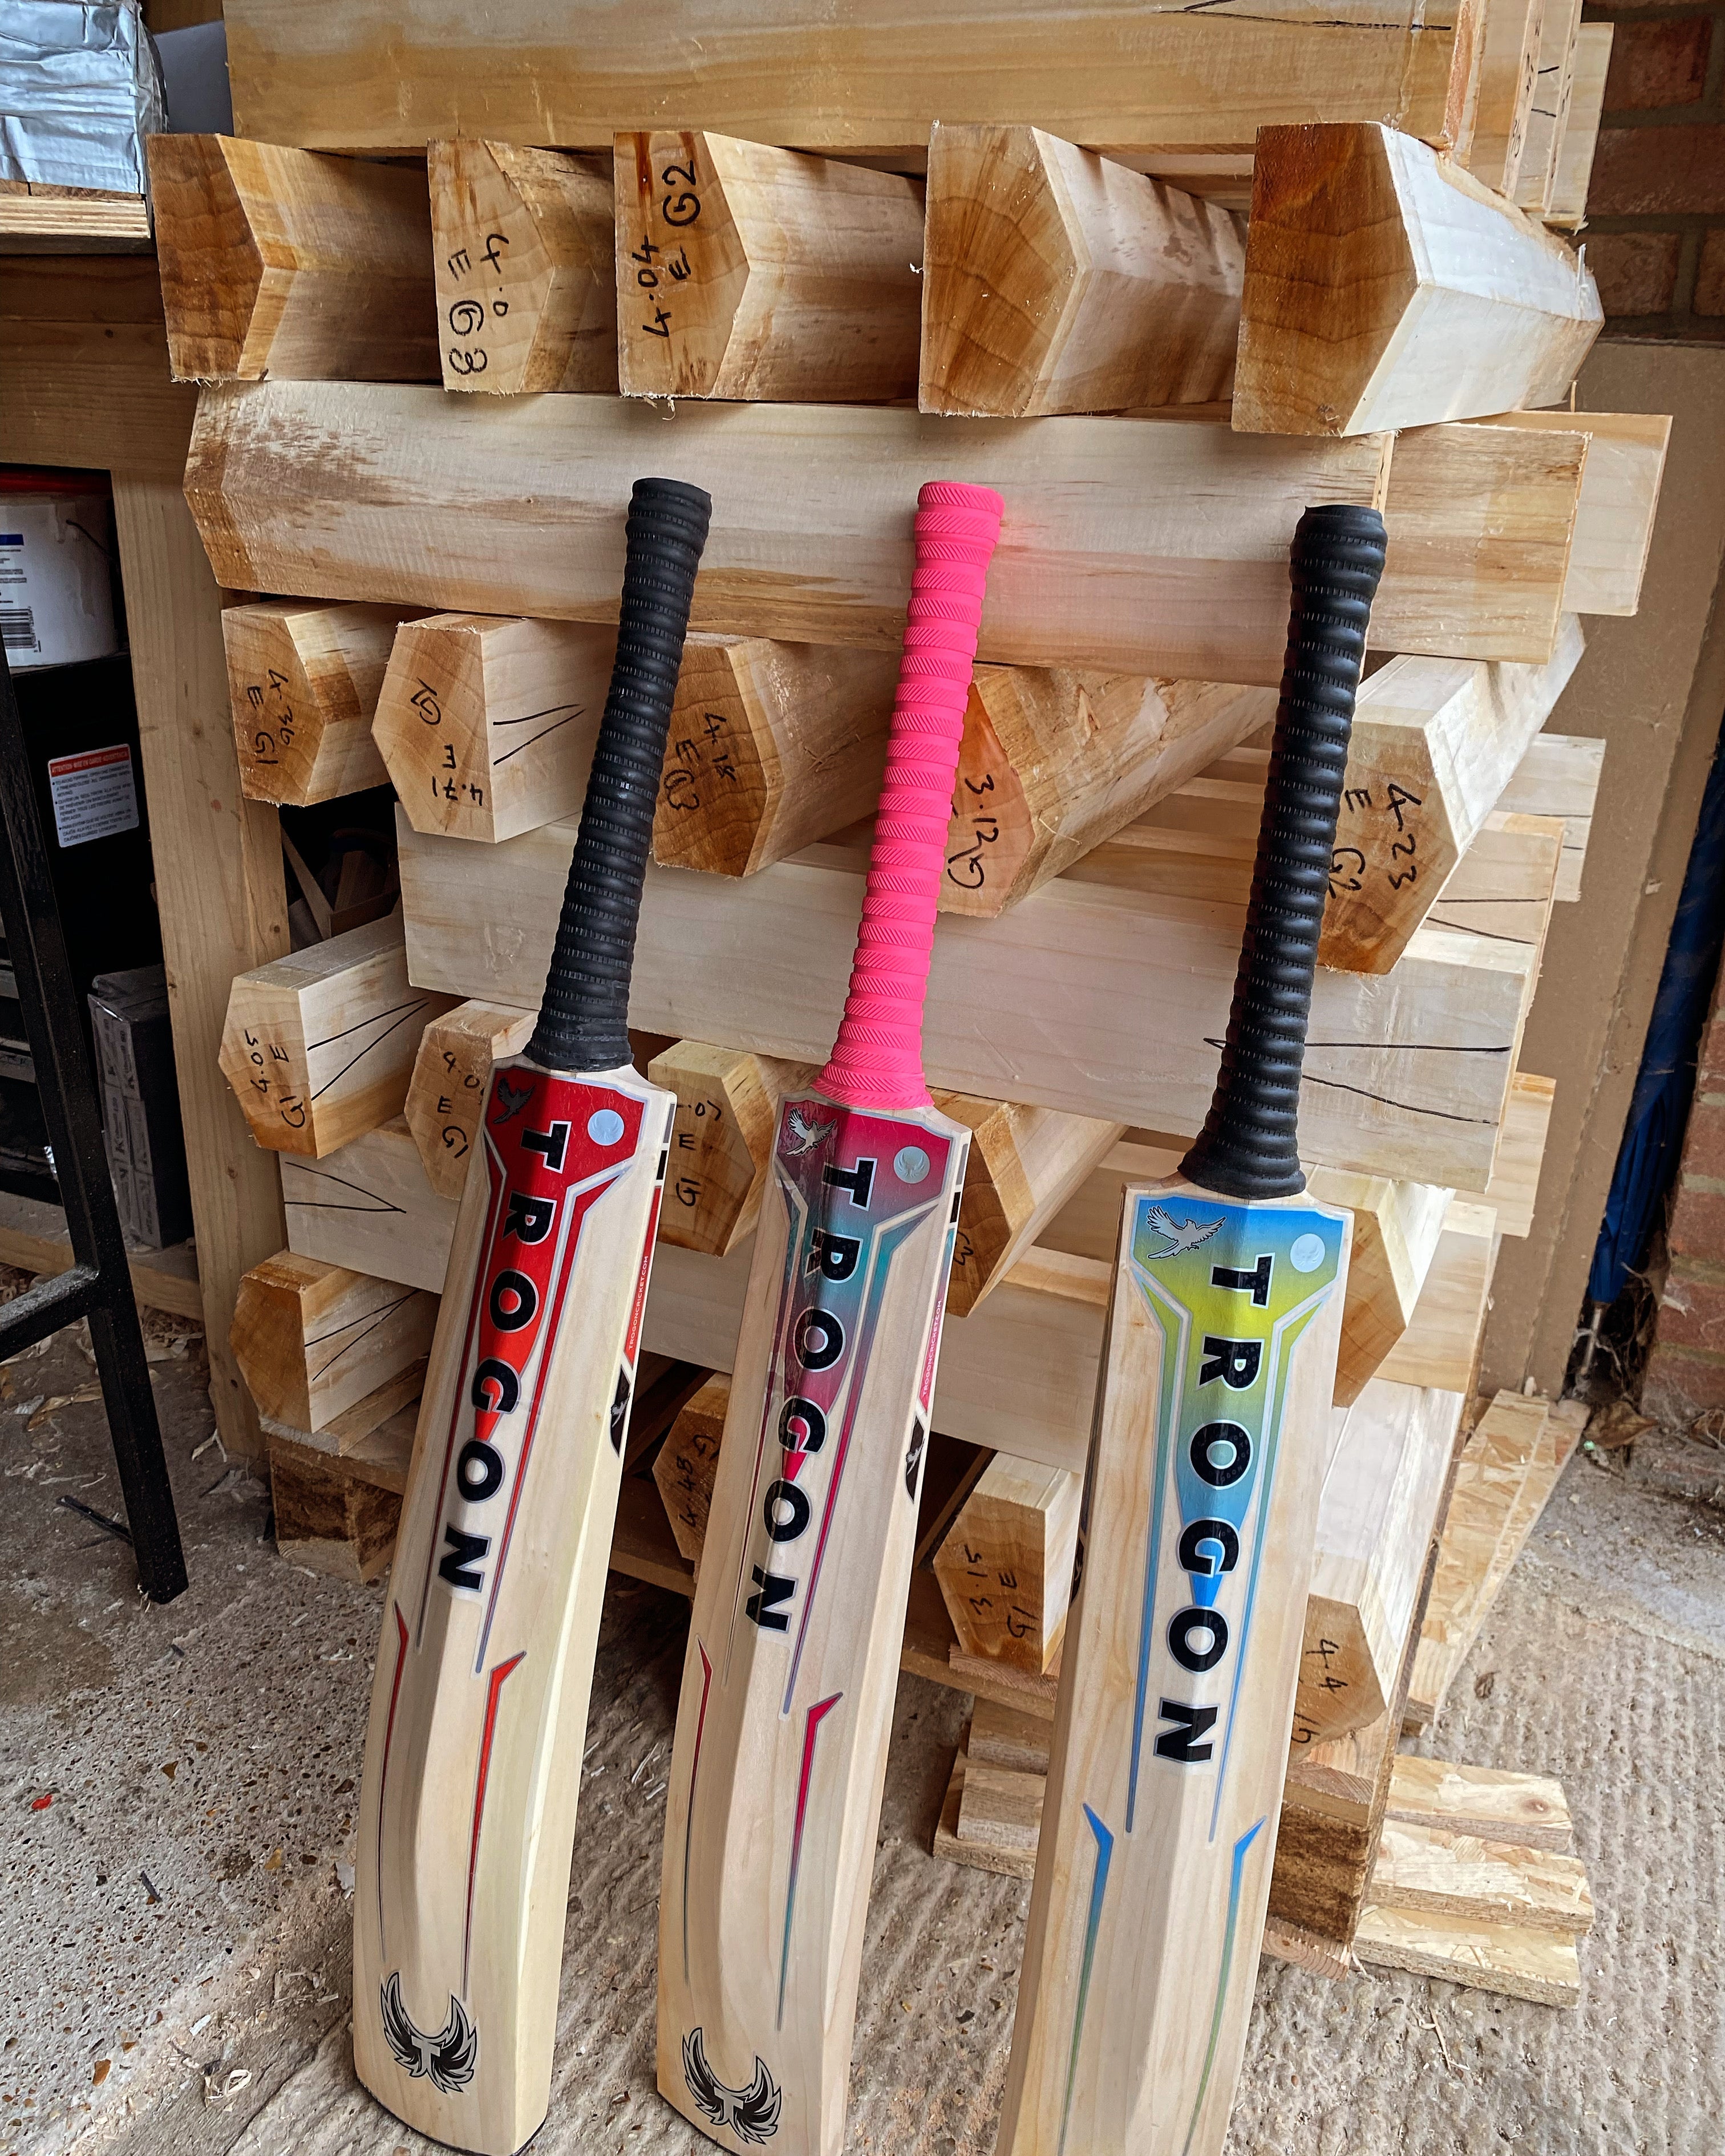
Cricket bats are made from English willow (alternatives are available), a natural, fibrous wood that requires a balanced moisture content to remain resilient and effective.
Without sufficient moisture, the wood becomes dry and brittle, making it prone to cracking under the impact of hitting 100s of cricket balls. Oiling helps the bat retain its natural moisture, keeping the wood supple and preventing premature damage.
2. Protection from Cracking
When a cricket bat is exposed to fluctuating weather conditions, such as extreme heat or cold, it can lose its natural moisture. This results in small cracks, which can worsen over time, compromising the bat's structural integrity. Linseed oil acts as a protective barrier, reducing the risk of cracking and splitting.
Right, back to the main blog post....
Why Do We Use Linseed Oil for Cricket Bats?
Linseed oil is the preferred choice for cricket bat care, and for good reason:
1. Natural Compatibility with Willow
Linseed oil is derived from the seeds of the flax plant and has properties that complement the natural fibres of English willow. It penetrates deeply into the wood, nourishing and conditioning it effectively.
2. Slow Drying for Deep Absorption
Unlike other oils, linseed oil dries slowly, allowing it to penetrate deeply into the bat's surface. This ensures the wood is thoroughly conditioned and protected.
3. Water-Resistant Barrier
Linseed oil creates a thin, water-resistant layer that prevents the wood from absorbing excess moisture, which could otherwise lead to swelling or warping.
This is really important, especially for the amateur game, as (especially in England) we train in slightly damp conditions at the beginning of the season, so we always recommend getting a toe guard fitted, especially for junior cricketers.
Oil or Wax – Which Is Better for a Cricket Bat?
Both linseed oil and bat wax have benefits, and many bat makers recommend using them together.
Linseed oil penetrates the willow deeply, nourishing it from within and maintaining ideal moisture levels. Bat wax, on the other hand, forms a protective surface layer that seals the wood and adds a clean finish.
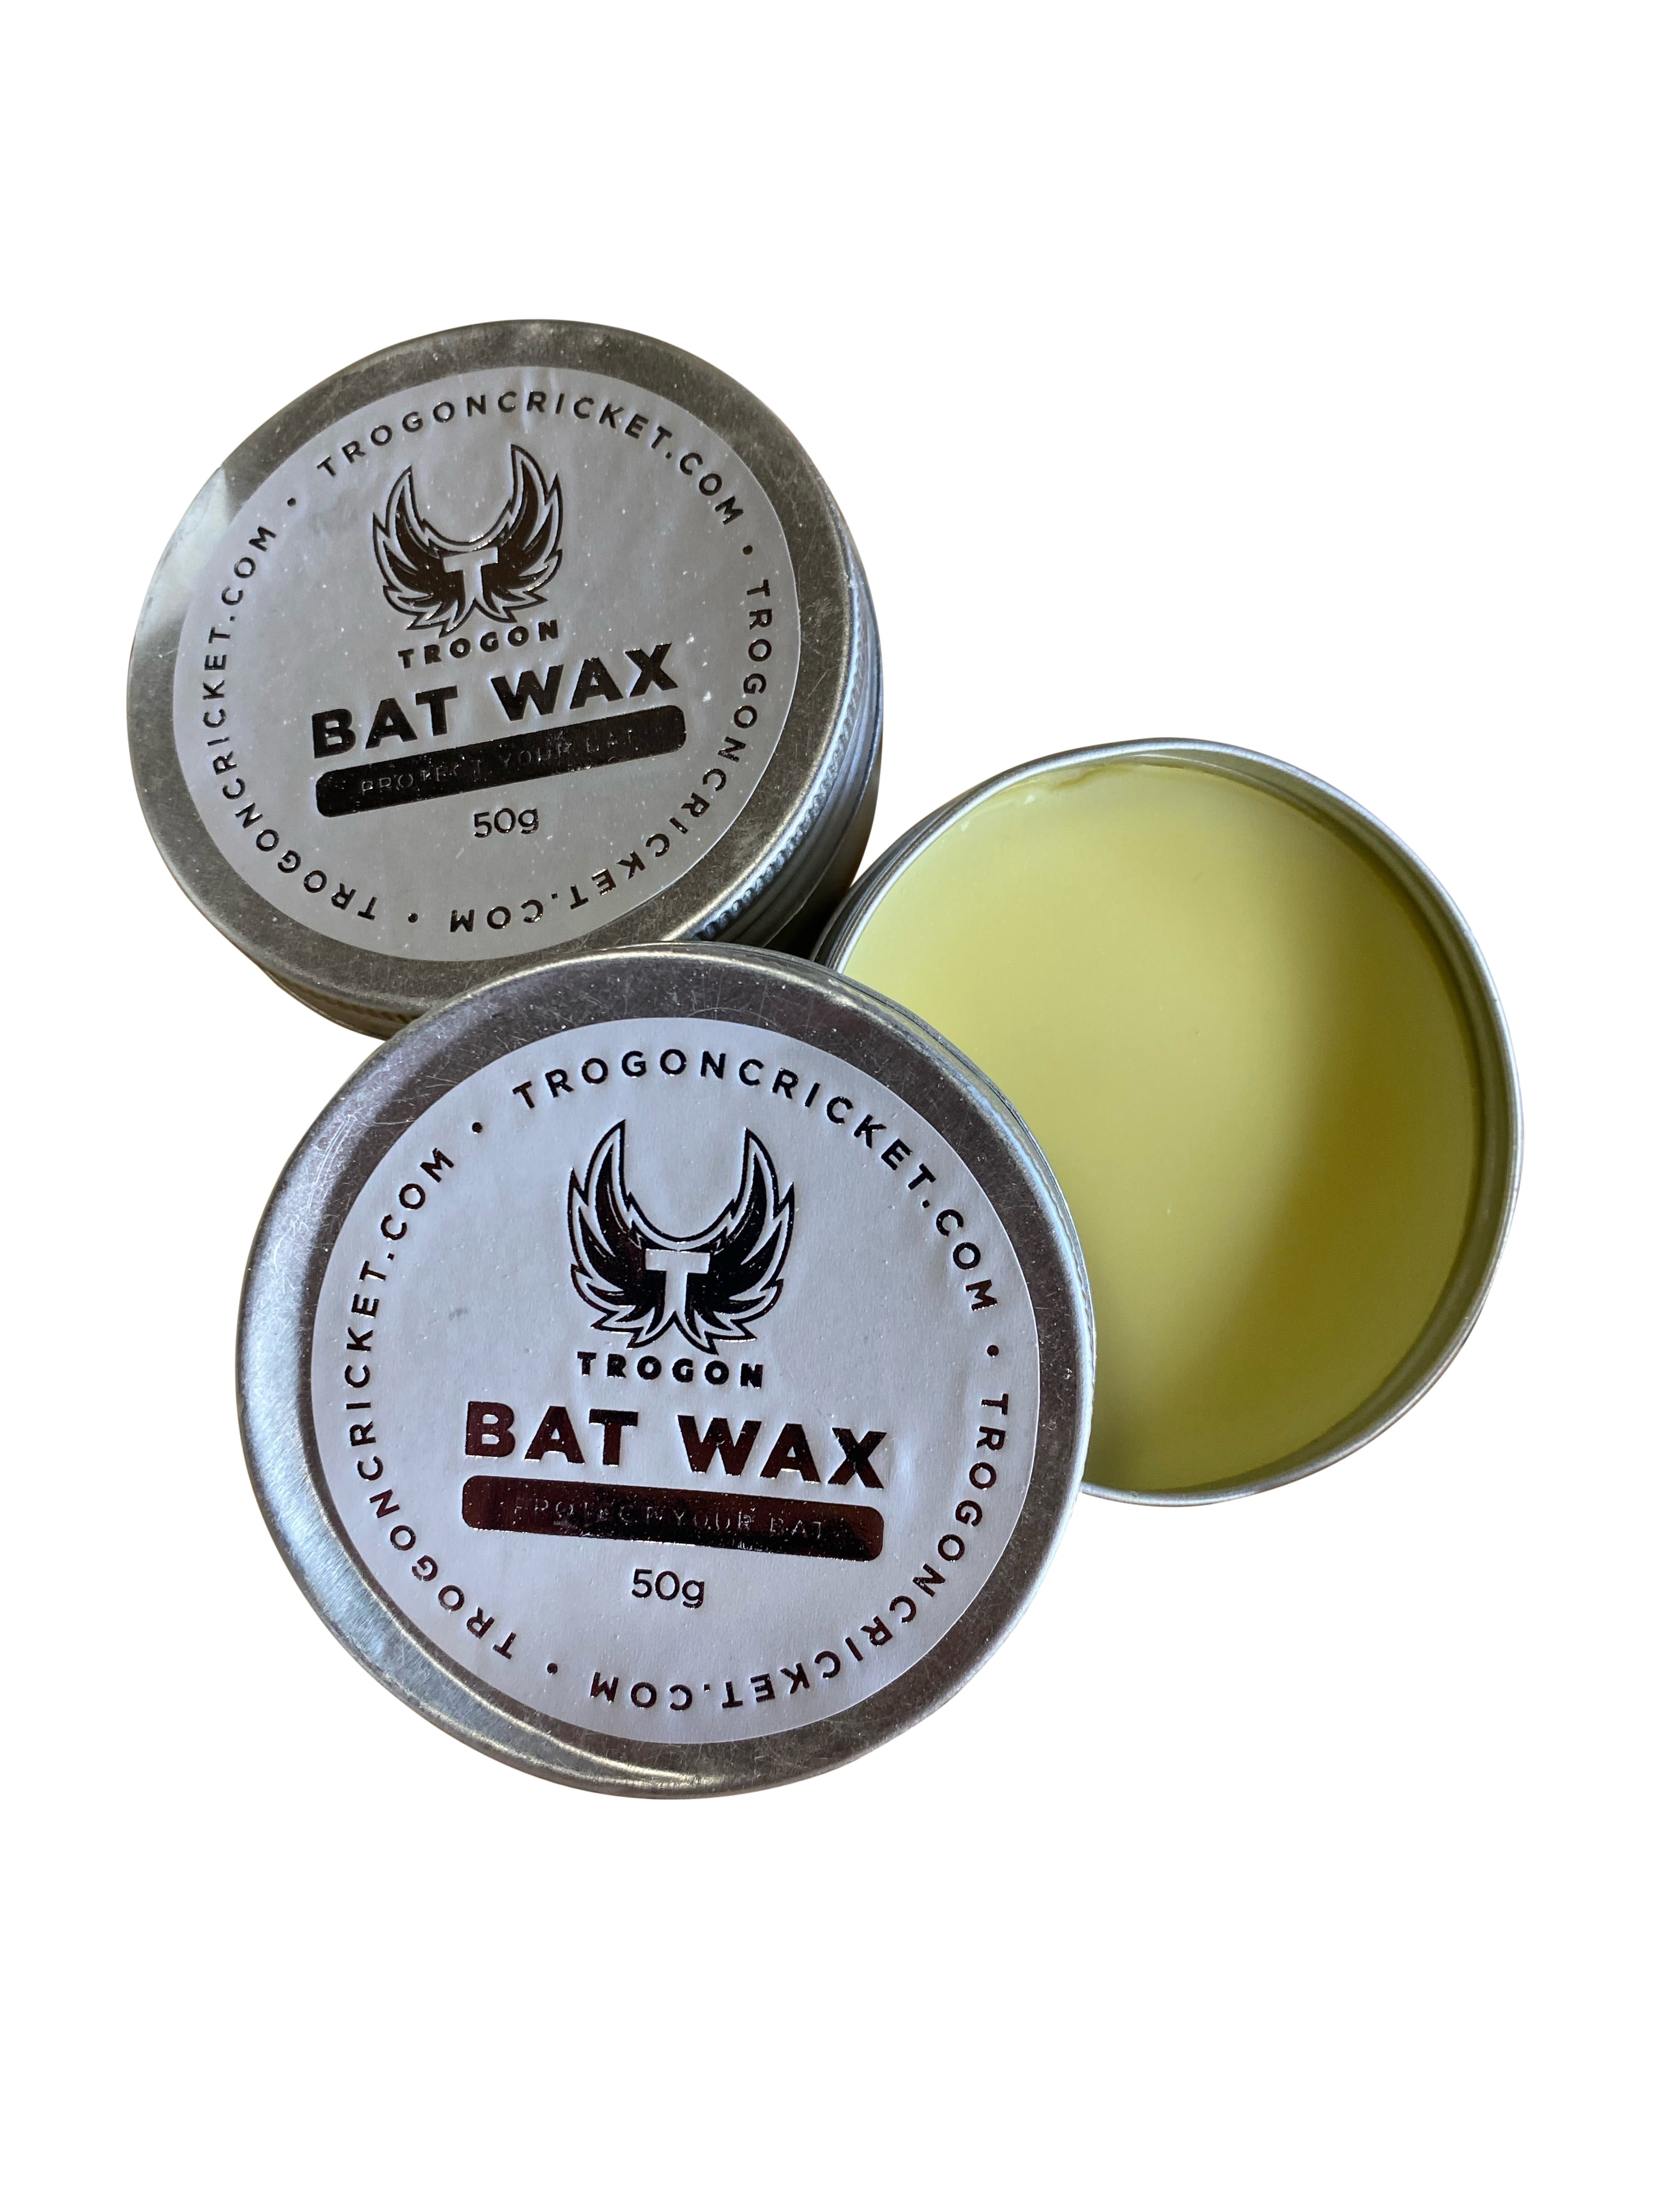
At Trogon, we use linseed bat wax as part of our care process. It combines the moisture retention of oil with a subtle polish. For most players, one or two light coats of oil, followed by a wax finish, provide the best of both worlds.
Are There Alternatives to Linseed Oil?
While linseed oil is the traditional and most reliable choice, some players experiment with alternatives like bat wax blends or specialist cricket oils.
Coconut oil or furniture oils are not recommended, as they can soften the wood excessively or leave a sticky residue.
Only use products specifically designed for cricket bats; these are tested for compatibility with English willow. If in doubt, opt for raw linseed oil or professional-grade beeswax for proven long-term protection, that is if you don't have any linseed oil, linseed oil should always be your first choice.
How to Know If Your Cricket Bat Needs Oiling
Over time, the surface of your cricket bat can reveal signs that it’s drying out. Run your fingers along the face; if it feels rough or chalky rather than smooth, the willow likely needs a fresh coat of oil.
Another clear indicator is colour: a dry bat looks pale or faded compared to a well-conditioned one. Light hairline cracks can also mean the moisture levels have dropped too low.
If your bat has an anti-scuff sheet, only the exposed willow on the back and edges needs to be oiled. Regular inspection helps you stay ahead of damage and maintain optimal performance.
What Happens If You Don’t Oil Your Cricket Bat?
If you neglect to oil your cricket bat, several issues can arise:
- Drying Out: The bat may lose its natural moisture, becoming dry and brittle.
- Cracking and Splitting: Dry wood is more prone to cracking under impact, which can render the bat unusable.
- Reduced Performance: A dry bat has diminished ping (rebound quality) and may not transfer energy efficiently, resulting in a weaker shot.
- Shortened Lifespan: Without proper maintenance, the bat is more likely to suffer damage, requiring repairs or replacement sooner than expected.
Oiling is a simple yet crucial step in bat care that can prevent these issues and ensure your bat remains in top condition.
I have written an extensive piece about preparing your cricket bat at the end of the season, which explains that most people throw their kit in the cold garage and don't look at it again until winter nets - they do this without preparing the bat and giving it another coat of oil.
How to Oil a Cricket Bat Properly
Oiling a cricket bat requires attention to detail to avoid over-oiling or under-oiling.
Here is a step-by-step guide to oiling your cricket bat:
Step 1: Gather Your Supplies
- Raw linseed oil (avoid boiled linseed oil, which can damage the bat), at Trogon, we also use bat wax.
- A clean, lint-free cloth or soft brush.
Step 2: Prepare the Bat
- Clean the Surface: Ensure the bat is clean and free of dirt, dust, and grease. Use a dry cloth to wipe it down.
- Light Sanding (if necessary): If the bat has an anti-scuff sheet or old oil buildup, you may need to lightly sand the surface using fine-grit sandpaper (e.g., 180 or 240 grit). Sand only the exposed willow areas, avoiding stickers or edges.
Should You Sand a Bat Before Oiling?
If your cricket bat is brand new and free from coatings, light sanding usually isn’t required.
However, for older cricket bats or those with residual oil or scuff marks, gently sanding the exposed willow using fine-grit sandpaper (180–240 grit) helps remove build-up and open the wood’s pores.
This allows the linseed oil to penetrate evenly throughout the blade's face. Be sure to avoid stickers and the splice area.
After sanding, always wipe the surface clean before applying oil; this ensures an even, professional finish and prevents patchy absorption.
Step 3: Apply the Oil
- Start with Small Quantities: Pour a small amount of linseed oil (about a teaspoon) onto the cloth.
- Rub Gently: Apply the oil in thin, even layers across the face, edges, and back of the bat. Avoid the splice (where the handle meets the blade) and the handle itself.
- Focus on Exposed Wood: Concentrate on areas where the willow is exposed. If the bat has a toe guard, avoid applying oil directly to it.

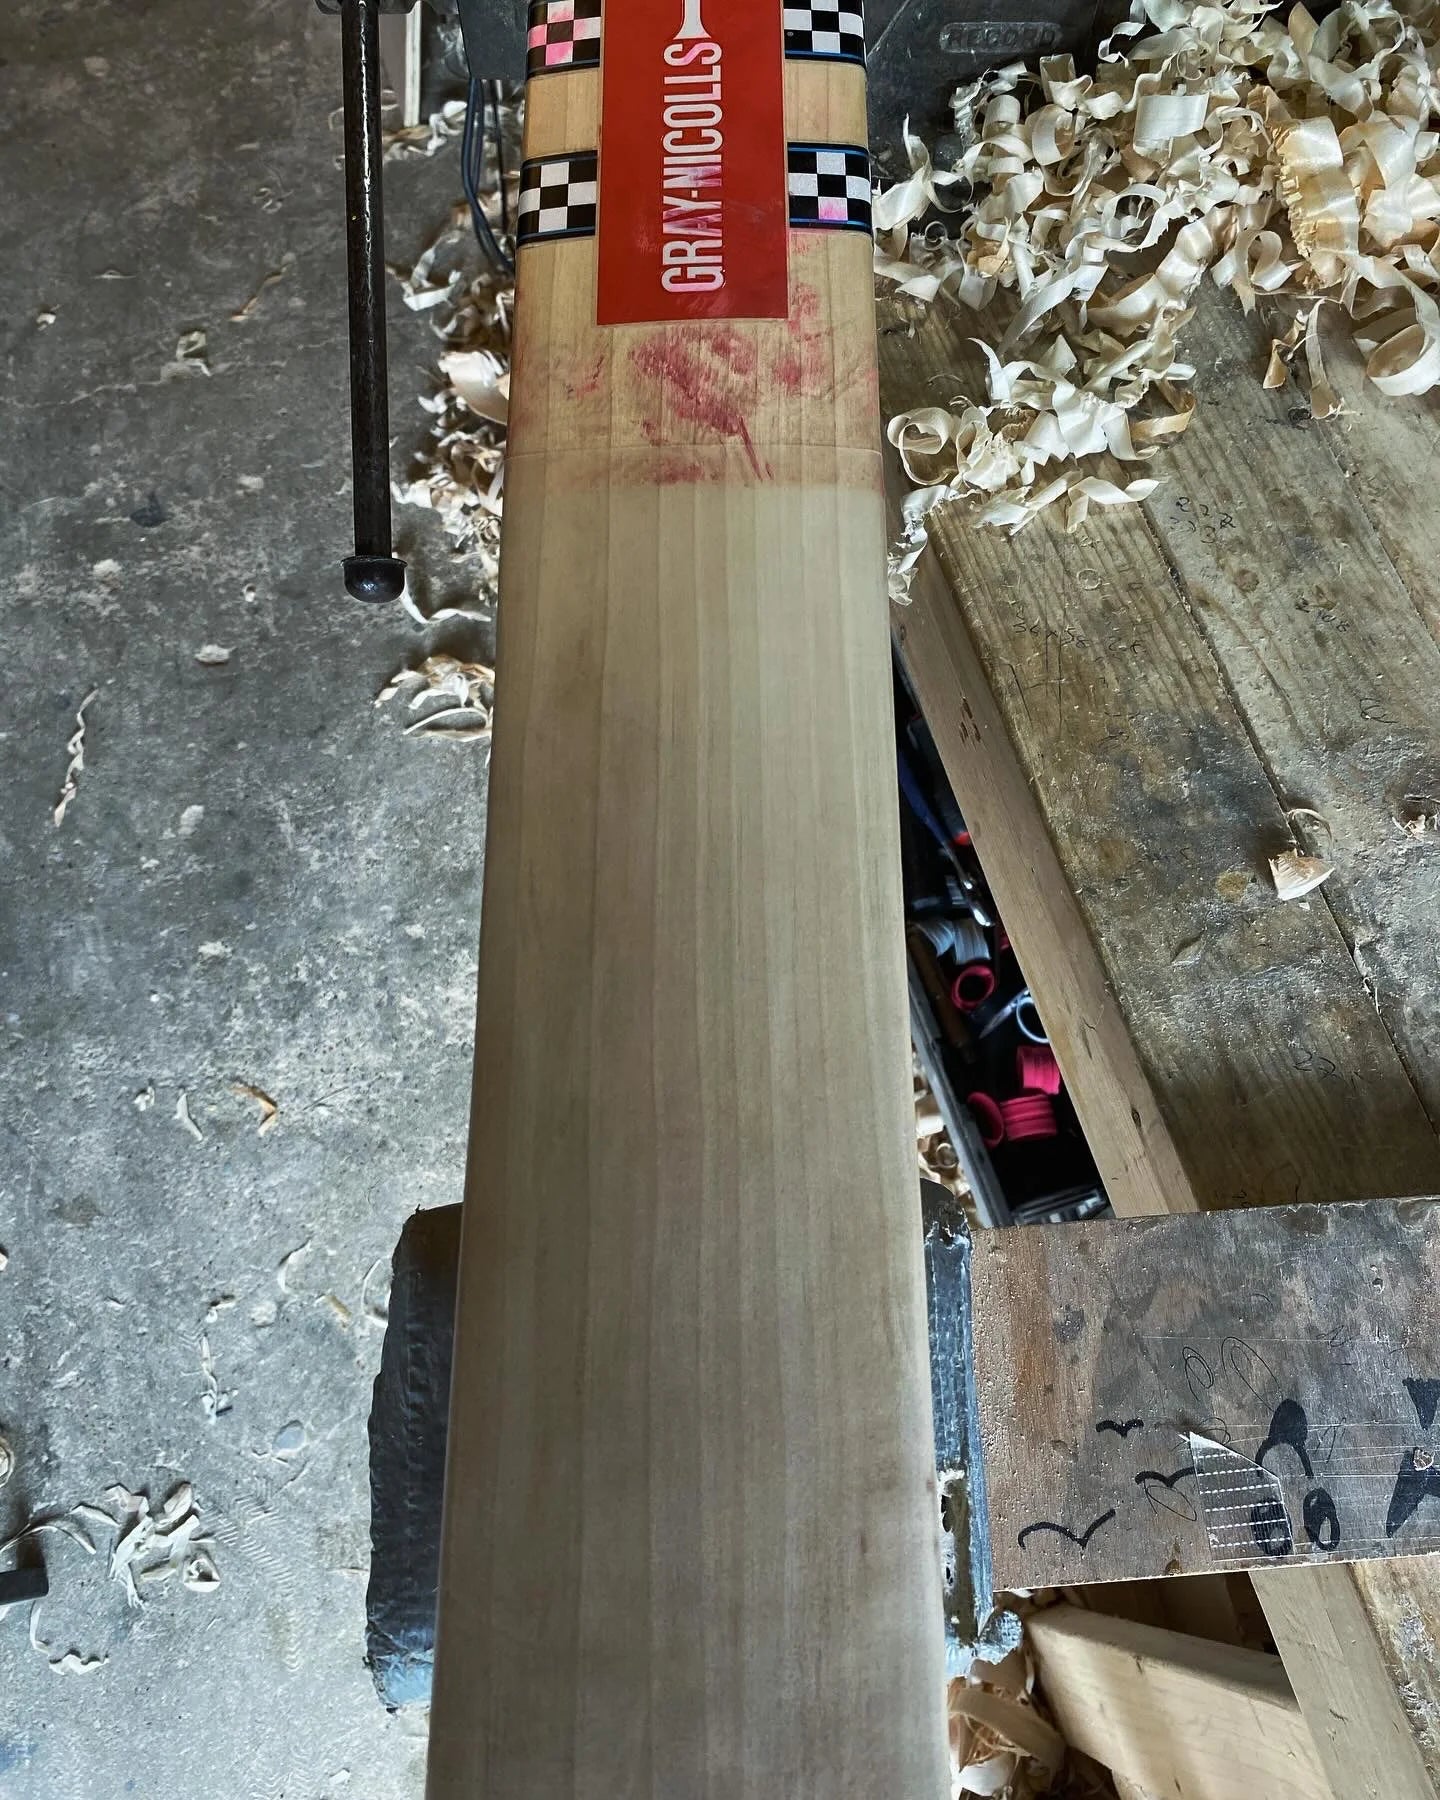
The above image shows how much oil we use and the below image shows where we oil up to on the blade, you can see the slight colour change below the splice.

Step 4: Allow the Bat to Absorb the Oil
- Place the bat in a horizontal position with the face up and leave it in a cool, dry place for 24 hours. This allows the oil to be absorbed into the wood.
- Avoid exposing the bat to direct sunlight or heat during this period.
How Long Does It Take for the Oil to Dry?
After each application, allow the oil to soak into the willow for around 24 hours. In cooler or more humid environments, it may take closer to 36 hours.
The bat should feel dry to the touch, not sticky or oily, before applying the next coat. Avoid rushing this process or placing the bat near heaters or in direct sunlight, as uneven drying can damage the wood’s structure.
Step 5: Repeat the Process
- After 24 hours, check the bat. If it appears dry, repeat the process with a second, thinner layer of oil. Typically, two to three coats are sufficient for a new bat.
Step 6: Remove Excess Oil
- Use a clean cloth to wipe away any excess oil after the final coat. Excess oil can create a sticky surface, attracting dirt.
Step 7: Rest the Bat
- Allow the bat to rest for an additional 48 hours before use or knocking in. This ensures the oil has fully settled.
How Often Should You Oil a Cricket Bat?
The ideal frequency depends on how often you play and your storage conditions. For most players, a new bat should be oiled two to three times before its first use.
After that, reapply a thin coat every 3–6 months, especially before and after each season.
Bats stored in dry or centrally heated rooms may need slightly more frequent oiling.
You’ll know it’s time when the surface begins to look dry or loses its natural sheen, and avoid excessive oiling; too much can soften the wood and reduce power. Remember, a light, regular touch-up is far better than overdoing it and you get the wonderful smell of linseed oil on your hands.
Common Mistakes to Avoid when Oiling a Cricket Bat
Properly oiling a cricket bat requires care and precision. Many people make errors during this process, which can lead to unintended damage or reduced performance.
Below is a list of common mistakes to avoid, with explanations of why they matter and how to prevent them: (these are important)
1. Over-Oiling the Bat
- What happens: Applying too much oil saturates the wood, making the bat unnecessarily heavy. It can also cause the bat to feel unbalanced, affecting the player's ability to control shots.
- Why It’s a Problem: Over-saturated wood may lose its natural resilience, leading to a deadened ping and diminished performance.
- How to Avoid: Always apply oil sparingly. It’s better to use multiple thin coats than a single thick one. Typically, one teaspoon of linseed oil is sufficient for each coat.
2. Neglecting the Toe
- What happens: Some players forget to oil the toe of the bat, focusing solely on the face and edges.
- Why It’s a Problem: The toe is particularly vulnerable to damage from moisture absorption (e.g., from damp pitches (nets) or wet grass). Without oil, the wood at the toe can swell or split.
- How to Avoid: Apply a small amount of oil to the toe, ensuring even coverage if your bat has a toe guard, and oil around its edges rather than directly on the guard.
3. Oiling the Handle or Splice
- What happens: Applying oil to the handle or the splice (where the handle meets the blade) can weaken these areas.
- Why It’s a Problem: The handle is designed to provide grip and absorb shock, not to absorb oil. Oiling this area can make the handle slippery and compromise its structural integrity. Similarly, the splice’s adhesive bond can deteriorate if exposed to oil.
- How to Avoid: Stick to oiling the exposed willow areas, the face, edges, back, and toe. Avoid oiling the handle or splice entirely. Refer to the image above again.
4. Skipping Surface Preparation
- What happens: Applying oil directly onto a dirty or uneven bat surface can result in uneven absorption.
- Why It’s a Problem: Dirt or old oil build-up blocks the fresh oil from penetrating the wood, reducing its effectiveness. Additionally, rough surfaces can lead to patchy oiling, leaving some areas unprotected.
- How to Avoid: Always clean the bat thoroughly before oiling. If necessary, lightly sand the exposed willow with fine-grit sandpaper to create a smooth, clean surface.
5. Rushing the Process
- What happens: Some players rush the oiling process, either by skipping rest periods between coats or applying multiple layers in quick succession.
- Why It’s a Problem: Without adequate time for absorption, the oil may remain on the surface rather than penetrating the wood. This can create a sticky layer and leave the bat unevenly conditioned.
- How to Avoid: Allow at least 24 hours between coats for proper absorption. After the final coat, give the bat an additional 48 hours before using or knocking it in.
6. Ignoring the Edges
- What happens: Some players focus only on the face of the bat and forget to oil the edges.
- Why It’s a Problem: The edges are one of the most vulnerable parts of the bat and are often exposed to ball impact. Without proper oiling, they can dry out and crack over time.
- How to Avoid: Use a cloth to carefully oil the edges, taking care not to over-saturate them. A light coating is sufficient to keep them protected.
7. Using the Wrong Type of Oil
- What Happens: Some players use alternative oils like cooking oil, mineral oil, or furniture polish instead of raw linseed oil, it seems mad to say this but it's true.
- Why It’s a Problem: These oils are not suitable for cricket bats and can damage the wood, alter its natural properties, or leave a sticky residue.
- How to Avoid: Always use raw linseed oil or linseed wax designed explicitly for cricket bats.
8. Not Removing Excess Oil
- What happens: Players often leave excess oil on the bat surface after application.
- Why It’s a Problem: Excess oil can create a sticky residue, attract dirt, and make the bat's surface uneven.
- How to Avoid: After 24 hours of absorption, wipe off any remaining oil with a clean, dry cloth.
9. Failing to Protect the Bat During Oiling
- What happens: Leaving the bat in direct sunlight, near a heat source, or in a damp environment during the oiling process can affect the outcome.
- Why It’s a Problem: Heat can cause the oil to dry too quickly, while damp conditions can lead to moisture absorption, negating the benefits of oiling.
- How to Avoid: Always place the bat in a cool, dry, and well-ventilated area while oiling and during the resting period.
10. Overlooking Post-Oiling Maintenance
- What happens: Some players believe oiling is a one-time task and neglect regular maintenance.
- Why It’s a Problem: Over time, the bat can lose its moisture balance, requiring re-oiling to maintain its condition.
- How to Avoid: Check your bat regularly for signs of dryness or cracking. Reapply a thin coat of oil every 3–6 months or as needed, depending on usage and storage conditions.
By avoiding these common mistakes, you can ensure that your cricket bat receives the proper care it needs to stay in peak condition, offering optimal performance and durability for many seasons to come.
Proper oiling, done thoughtfully and carefully, is an investment in your bat, after all, you've spent a lot of money on it and want it to last.
Should You Oil a Bat Before Knocking It In?
Yes, always oil your cricket bat before starting the knocking-in process. Oiling softens the outer fibres of the willow, allowing it to compress evenly under the mallet. Apply two to three thin coats of raw linseed oil, allowing 24 hours between each coat to allow it to soak in.
Once the final coat is dry, the bat is ready for knocking in. Skipping this step can cause the surface to dry out too quickly, leading to premature cracking during the first few sessions.
You should also find out when buying a new bat if it has been oiled. All cricket bats purchased from Trogon have been oiled and are ready to be knocked-in.
Why Professionals Don’t Oil Their Cricket Bats
Interestingly, professional cricketers often avoid oiling their bats.
Here’s why:
1. Pre-Prepared Bats
Modern professional-grade bats often come pre-prepared, which includes factory oiling and knocking-in. These bats are ready for use straight out of the box, eliminating the need for additional oiling.
2. Protective Coverings
Many professionals use anti-scuff sheets and protective edges on their bats. These coverings act as a barrier, reducing the need for oiling while protecting the bat from surface damage.
3. High Turnover of Bats
Professionals frequently replace their bats due to sponsorships or the demanding nature of the game. Since their bats have a shorter lifespan in professional cricket, the long-term benefits of oiling become less relevant.
4. Consistency in Performance
Professionals prioritise consistency in performance. Over-oiling can alter the bat's weight and balance, affecting its feel. By avoiding oiling, they maintain the bat's original characteristics.
5. Regular Maintenance Teams
Professional cricketers often have access to expert bat care specialists who handle all aspects of maintenance, including oiling if required. This reduces the need for players to oil their own bats.
Our Conclusion
Oiling a cricket bat is an essential maintenance practice that ensures the bat remains in excellent condition, performs well, and lasts longer.
By understanding the importance of linseed oil and following the proper steps, you can protect your bat from cracking, drying out, and reduced performance.
While professional cricketers may not oil their bats due to the specific demands of their careers and the pre-prepared nature of their equipment, for amateur players and enthusiasts, oiling remains a critical step in bat care. Take the time to oil your bat properly, and it will reward you with consistent performance and durability on the pitch.
With regular care and attention, your cricket bat will remain a trusted partner in your cricketing journey for seasons to come.
Playing Our Part in Your Cricket Story
We know that cricket is more than just a game; it’s a passion, a community, and a lifetime of memories. That’s why every Trogon bat is made with care, dedication, and pride. We see our role as more than just bat makers; we’re part of your cricket journey.
From the first knock in the nets to the biggest innings of your career, we want to be there with you.
Choosing Trogon means choosing a bat made with honesty, integrity, and the same love for the game that you carry to the crease.
Trogon Product Guarantee
When you buy from Trogon, you’re covered by our 6-month bat guarantee. If your bat cracks or breaks within that period and has been knocked in correctly, we’ll replace it with a new one, simple, fast, and hassle-free. Combine that with your statutory online protections, and you can shop with total peace of mind.