Getting a new cricket bat is an exciting moment for any cricketer, young or old.
It’s not just a piece of equipment; it’s a companion that will carry you through matches, help you perfect your shots, and represent your style of play.
However, ensuring that your new bat performs and lasts for as long as possible requires proper care and preparation.
In this guide, we’ll explore the key aspects of preparing your new cricket bat, from understanding the material to mastering the art of knocking it in and getting it ready for its first net session.
So, keep reading and get all the nitty-gritty details.
The Excitement of Getting Your New Bat
Unboxing a brand-new cricket bat is an exhilarating experience. The polished finish, the grains on the willow, and the fresh smell of natural wood embody the promise of many great innings to come.
As you hold it for the first time, you can’t help but imagine the shots you’ll play and the runs you’ll score, you imagine yourself walking down the steps at Lords or the MCG and holding it aloft to a cheering crowd when you get your first ton with it.
We can all be dreamers!
However, a cricket bat is more than just an object of beauty; it’s a finely crafted tool that requires care and preparation to perform at its best.
Taking the time to prepare it correctly ensures that the excitement of owning a new bat isn’t short-lived.
Understanding the Costs Associated with Buying a New Cricket Bat
A high-quality cricket bat is an investment. The cost of a bat often reflects the quality of the willow, craftsmanship, and brand reputation.
Top-tier bats made from players-grade English willow can cost hundreds of pounds, but this price tag represents the meticulous effort involved in creating the bat.
From selecting premium willow to handcrafting and finishing the product, a new cricket bat is a culmination of skilled labor and natural resources.
Understanding this helps players appreciate their bat’s value and motivates them to care for it properly, especially for the younger generation which these last couple of paragraphs are aimed at.
If, like my kids (9 and 12 years old) they think money grows on trees and mummy and daddy can buy a new one every month (which we can't), they need to understand how much cricket bats cost.
Understanding Your Bat: The Willow and Craftsmanship
Cricket bats are predominantly made from two types of willow: English willow, known for its superior quality, and Kashmir willow, which is more affordable but less resilient, there is also a third willow coming to the market, Dutch Willow which here at Trogon we are very excited to stock.
English willow is prized for its lightweight nature, excellent ping, and durability.
The process of crafting a bat is both time-consuming and intricate. It can take weeks to turn raw willow into a finished product.
After drying the clefts, skilled bat makers press, shape, and finish the blade, ensuring it meets performance standards.
This combination of natural material and craftsmanship underscores why bats need proper preparation before use.
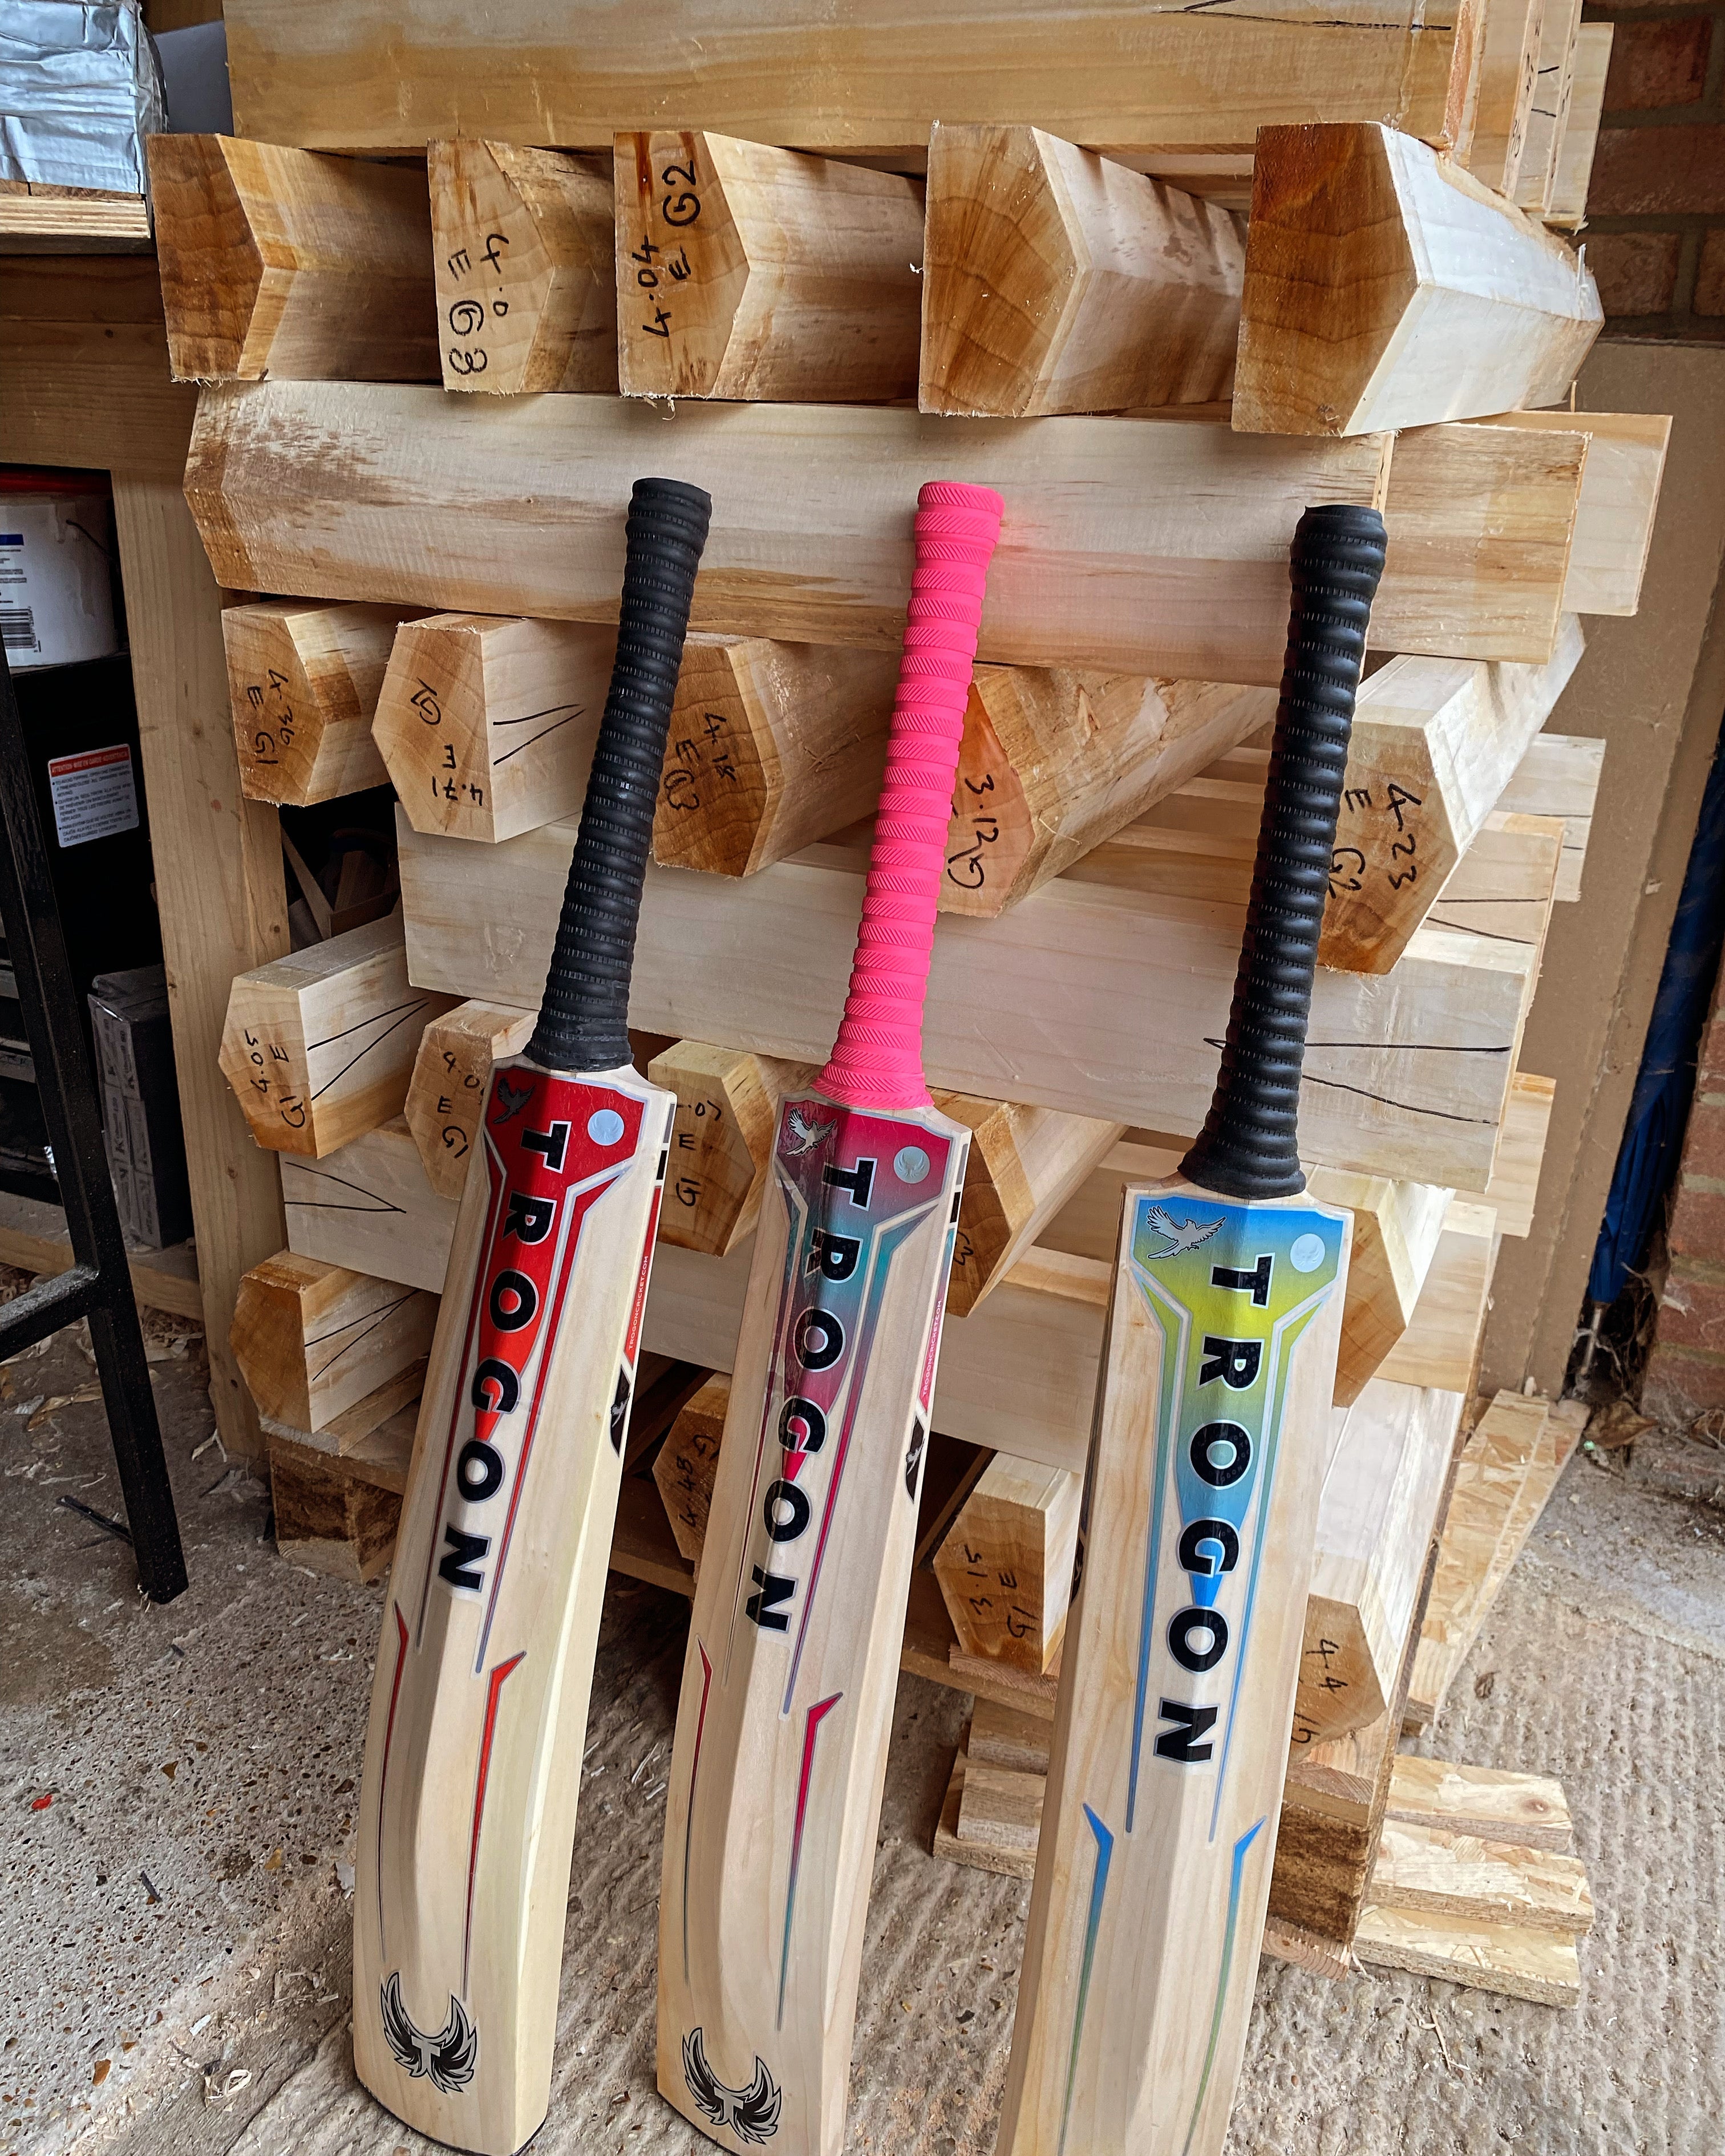
I have written an interesting article about the traditional tools we use at Trogon, you can read it here - a selection of which can be seen in the image below.

Right, now we come onto the importance of cricket bat preparation.
The Importance of Cricket Bat Preparation
Cricket bats, as products of natural materials, are subject to wear and tear, especially if you are using the same bat in training and matches.
Willow, will inevitably show signs of use over time. Indentations, edge marks, and bruising are all part of the bat’s lifecycle and do not necessarily indicate any defects.
Even the application of face protection coverings, often used to protect the face, cannot fully prevent these markings, but in my opinion these anti scuff sheets are worth it.
Understanding that these changes are normal can save players unnecessary concern. Most bats returned due to wear and tear are perfectly fine and reflect the natural characteristics of willow.
Proper preparation, however, can help mitigate this wear and extend the bat’s lifespan.
The below image shows a cricket bat that came through out workshop a few months back. The bat was 4-5 years old, after removing the anti-scuff sheet you can see some surface cracks which are completely normal, this bat was in great condition as the owner had looked after it properly.

Oiling Your Cricket Bat
Oiling is a crucial step in bat preparation. It helps maintain the bat’s moisture content, preventing it from becoming brittle and prone to cracking.
Use raw linseed oil or a linseed wax or specialized bat oil. Here’s how to do it:
- Apply a thin, even coat of oil to the face, edges, and toe of the bat using a clean cloth or your fingers. Avoid the splice and handle.
- Allow the bat to absorb the oil by placing it in a slightly elevated horizontal position, with the handle pointing downward.
- Let each coat dry for at least 24 hours before applying another. Two or three coats are generally sufficient.
Remember: Over-oiling can harm the bat, so use moderation.
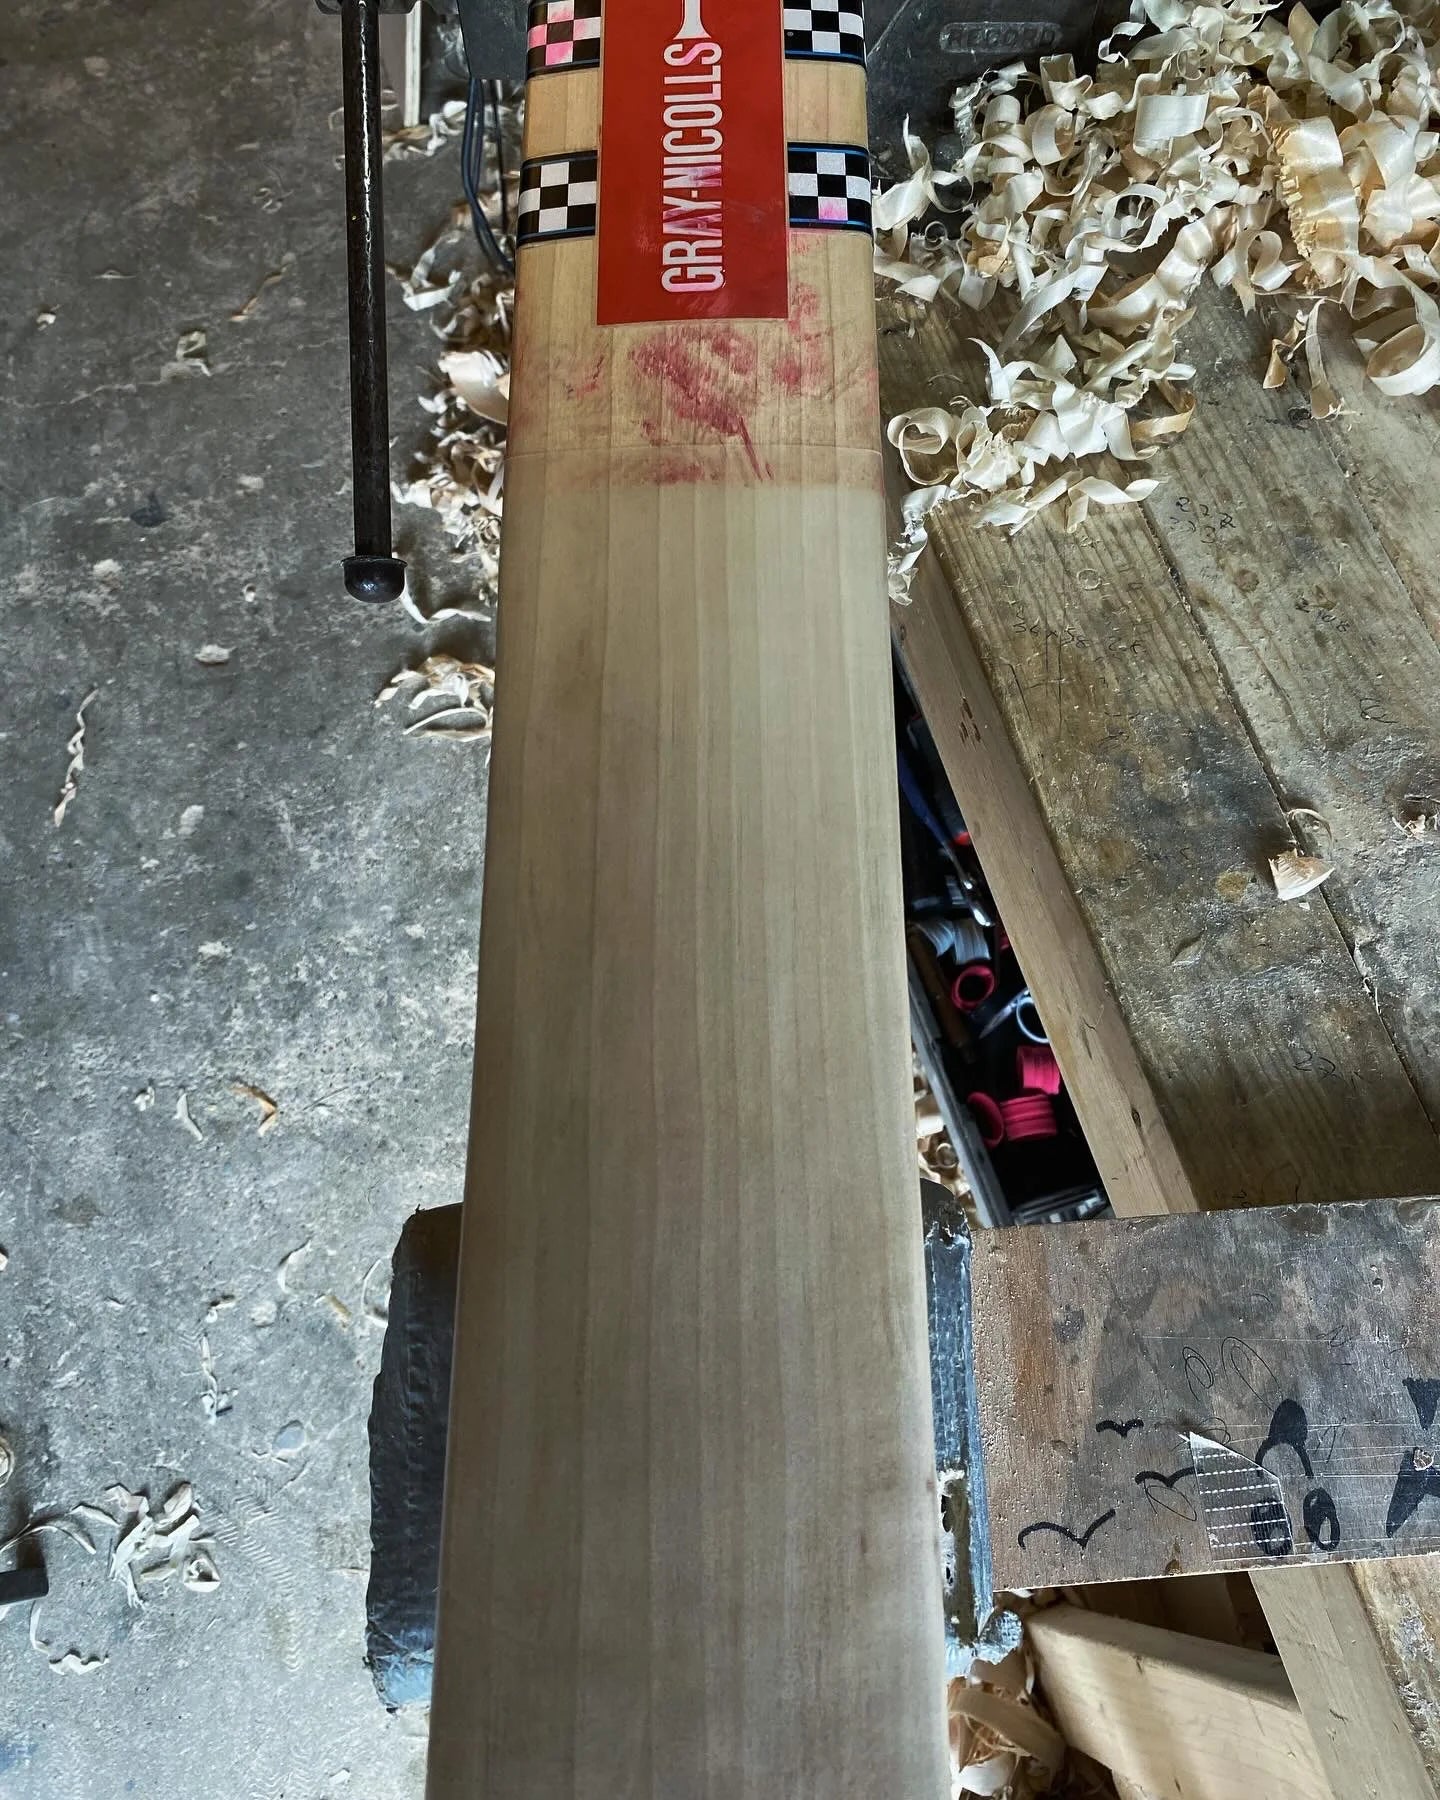
The below image shows me oiling a cricket bat, you can see the amount of oil used.

The new image shows the difference in colour once I've rubbed the oil into the bat. You can see I haven't oiled the splice area at the top of the bat.

Knocking in Your Cricket Bat
Knocking in is the process of compressing the fibers in the bat’s face and edges, preparing it to withstand the impact of a cricket ball.
It is a time-consuming (circa 5-6 hours) but vital process to improve the bat’s durability and performance.
Stage One: Initial Knocking In
- Use a bat mallet or an old, quality cricket ball.
- Strike the bat repeatedly, starting with light force and gradually increasing. Focus on the face and edges but avoid hitting the edges directly at a right angle.
- Spend approximately six hours on this stage, ensuring thorough coverage.
Stage Two: Gentle Practice
- Progress to light catches with an old ball. If seam marks appear, return to Stage One for further conditioning.
- Spend about an hour at this stage.
Stage Three: Net Practice
- Begin using the bat in nets with an old, soft cricket ball. Play defensively and avoid facing fast bowlers initially.
- If seam marks still appear, resume the knocking-in process.
Ok, so you have now oiled and knocked in your new bat, so its ready. But before starting with it in the nets, its worth understanding what you shouldn't do with you new bat.
Keep reading.
What Not to Do With Your Bat
Proper care also means avoiding actions that can damage your bat, that will require a cost repair job or in the worst case scenario a completely new bat.
Here are some critical points to keep in mind:
- Never Over-Oil: Excessive oil can make the bat too heavy and reduce its performance.
- Don’t Store Vertically After Oiling: Always store it horizontally in a dry place.
- Never Hit the Edges at Right Angles: This can cause splitting.
- Don’t Hit the Back of the Bat: The spine is not designed to take impact and may crack and + it will look terrible.
Conclusion
Preparing your new cricket bat is a labor of love that pays off in the long run. By understanding your bat, oiling it correctly, and taking the time to knock it in, you’re setting it up for success at the crease.
Buying With Confidence from Trogon
If you've reached this point, I sincerely thank you for reading it all through. Your interest and support mean the world to me and the team at Trogon Cricket, and it's greatly appreciated.
Whether you're here to learn more about our cricket bats or other products or just out of curiosity, your engagement makes a real difference. Thank you for being part of our Trogon journey.

Trogon Product Guarantee
6-month guarantee on all cricket bats. That means if you purchase a bat through us and it breaks, as long as it has been knocked in properly, we will replace it like for like. This is our commitment to you on top of your statutory protections when buying products online.
Here at Trogon we have beautiful handmade cricket bats in all adult and junior sizes, with different shapes and weights to suit all players. Click on the below links and have a look at what we offer.


