When purchasing a cricket bat, particularly a junior cricket bat, many parents and young cricketers wonder:
Do you need to knock in a junior bat? The short and straightforward answer is yes.
Regardless of its size, grade, or whether it’s labeled as “pre-knocked in,” every cricket bat requires some form of knocking in.
This process is essential for all bats, from size 3 junior bats to full-sized adult bats, and skipping it could lead to disappointment and even irreparable damage.
In this blog post, we’ll delve into the importance of knocking in a junior cricket bat, what happens if you skip the process, why choosing a reputable bat supplier matters, and finally, a step-by-step guide to knocking in a cricket bat correctly.
So grab a cup of coffee, strap in and keep reading.
Why Do You Need to Knock-In a Cricket Bat?
Knocking in is the process of compressing the fibers in the face and edges of the bat, preparing it to withstand the impact of a cricket ball.
Cricket bats, particularly those made from English willow, are naturally soft so without knocking in, the bat’s surface remains fragile, making it susceptible to cracks, splits, and premature wear when faced with the hard impact of a cricket ball.
The knocking-in process achieves the following:
- Fiber Compression: It strengthens the bat’s surface by compacting the soft willow fibers, reducing the risk of cracking.
- Shock Absorption: It prepares the bat to absorb and disperse the energy of a ball strike, preventing damage to the blade.
- Optimal Performance: A properly knocked-in bat offers a better “ping,” ensuring a smoother and more powerful response when striking the ball.
Now, each manufacture is slightly different. Some sell their bats already knocked in, maybe they have a knocking-in machine or some press the wood incredibly hard, meaning the level of knocking-in is smaller - either way, we recommend spending a little bit of time making sure you are comfortable that the bat has been knocked-in - especially if there is a warranty on the bat, which we come onto later in this piece.
Moving on....
What Happens if You Don’t Knock In a Cricket Bat Properly?
Failing to knock in your cricket bat, or doing it incorrectly, can have consequences, including:
-
Cracks and Splits:
- Without sufficient preparation, the bat’s surface is prone to cracking, especially when facing fast bowlers or hard cricket balls - we all know that person in the winter nets that has a harder ball, it looks like its been baked like a Conker.
- Edges and toes are particularly vulnerable as these areas bear the brunt of mishits.
-
Reduced Longevity:
- A poorly prepared bat won’t last long. The absence of proper knocking in accelerates wear and tear, potentially rendering the bat unusable after just a few matches.
-
Performance Issues:
- A bat that isn’t knocked in won’t “ping”, leading to the bat under performing. Shots will feel dull, and the ball won’t travel as far as it could with a well-prepared bat.
-
Warranty Concerns:
- Many manufacturers offer a warranty on their bats, but these warranties often exclude damage caused by improper or incomplete knocking in. Using an unprepared bat effectively voids any warranty, leaving you without recourse if damage occurs.
You can read our Trogon Cricket Bat Warranty.
Buying From a Reputable Supplier: Warranty and Beyond
When buying a cricket bat—junior or adult—it’s essential to choose a reputable supplier that offers a warranty and provides clear guidelines on bat preparation.
Here’s why this matters:
-
Warranty Coverage:
- Understand what the warranty covers. Most warranties protect against manufacturing defects but exclude damage resulting from improper use, including failure to knock in the bat.
-
Expert Guidance:
- Reputable suppliers often provide detailed instructions on knocking in or offer pre-knocking-in services. This ensures the bat is ready for use or at least reduces the effort required at home.
-
Quality Assurance:
- Purchasing from a trusted brand guarantees that the bat is made to the highest standards and designed to meet the demands of cricket matches and practice, whether for juniors or adults.
At Trogon Cricket, for instance, we ensure that every bat, whether a junior cricket bat or a players-grade adult bat, is made with care and comes with clear guidelines for preparation.
Additionally, we stand behind our products with a robust warranty, giving all our buyers peace of mind.
How to Knock In a Cricket Bat: A Step-by-Step Guide
Knocking in a cricket bat is an art that requires patience, the right tools, and attention to detail.
Here’s how to knock in a junior cricket bat (or any cricket bat) properly:
Tools You’ll Need
- A cricket bat mallet (or an old cricket ball in a sock)
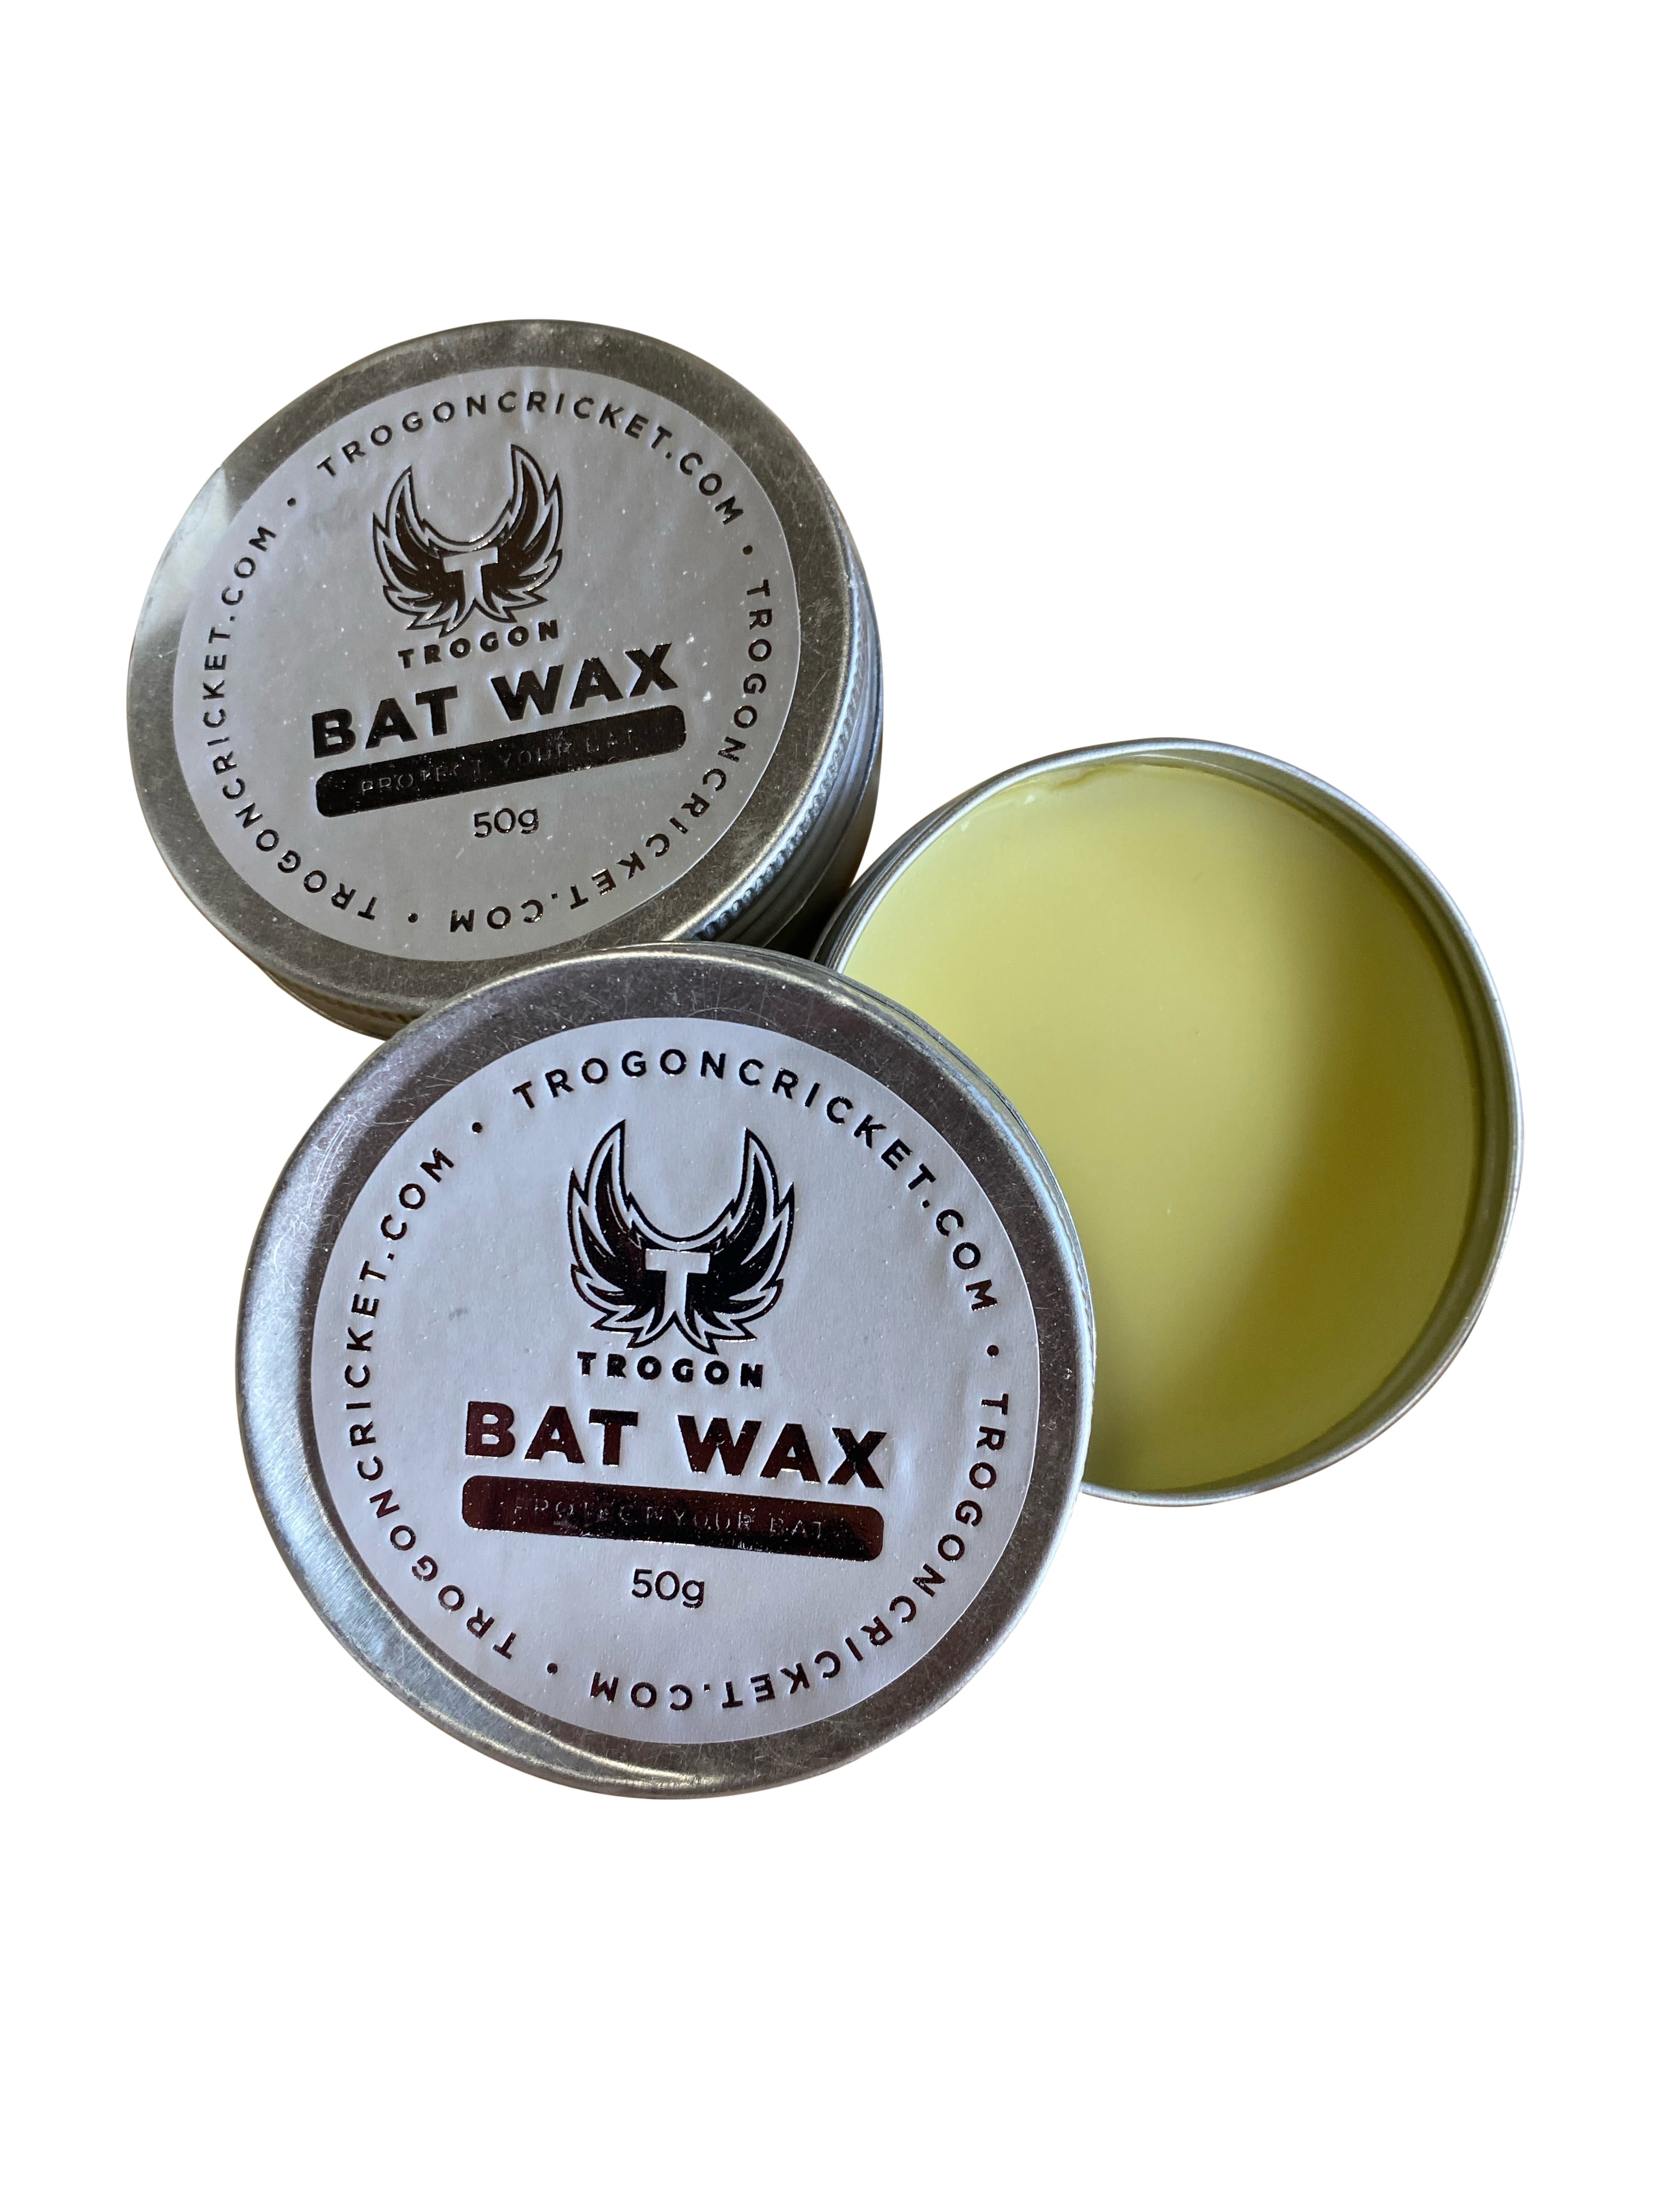
- Linseed oil / (Bat Wax - we have our own) (optional, for traditional bats)
- A soft cloth
- Protective bat tape (optional)
- A flat, clean working surface
Step 1: Oil the Bat (Optional)
If your bat requires oiling, apply a thin layer of linseed oil to the face, edges, and back of the bat (avoid the splice and handle).
- Use a soft cloth to spread the oil evenly.
- Allow the bat to absorb the oil for 24 hours before proceeding.

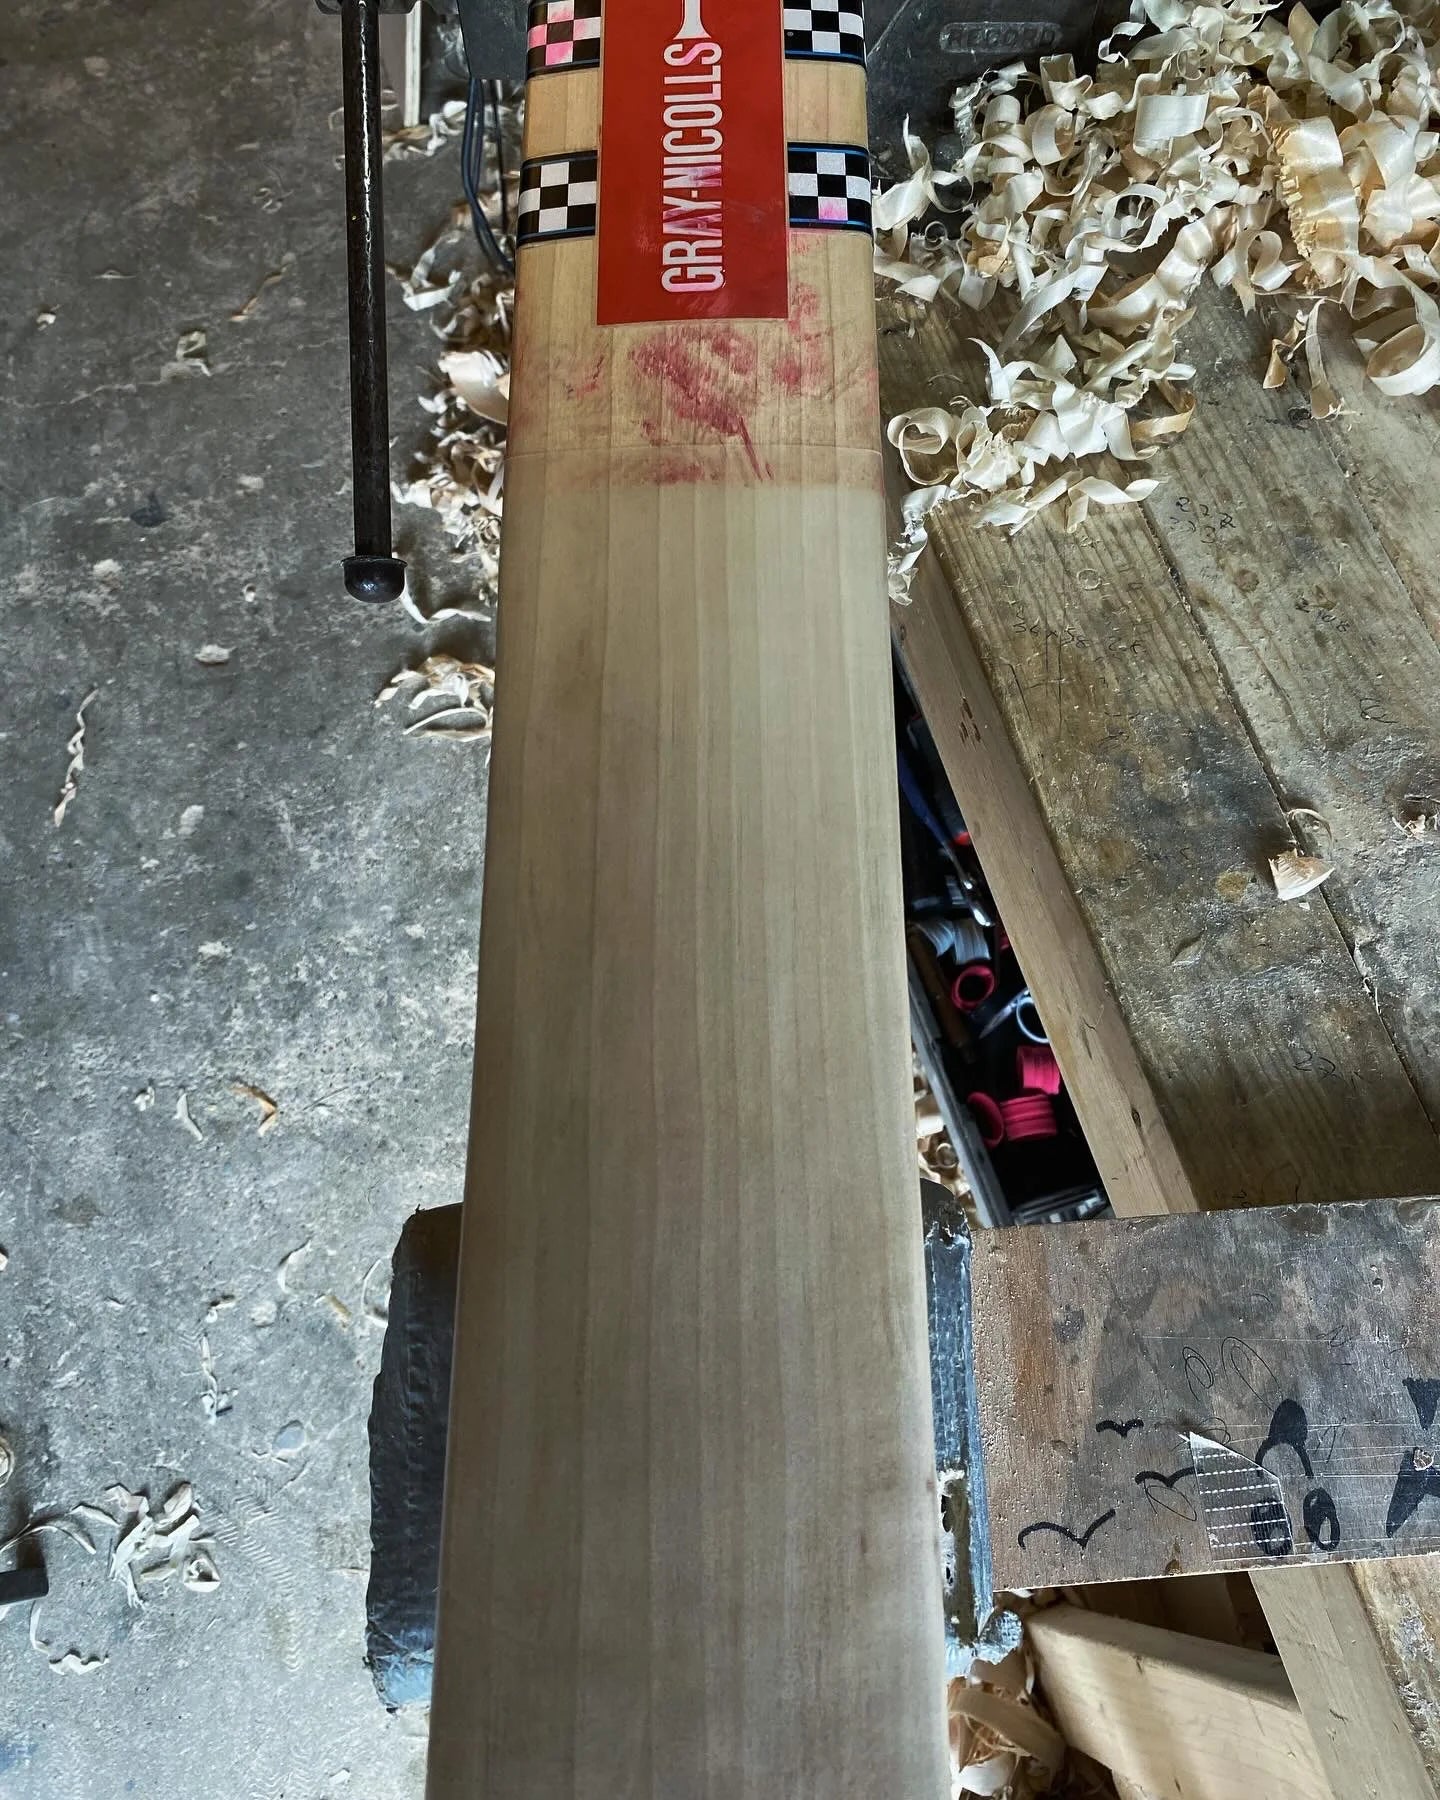
The above image shows a bat we oiled a few months back, as you can see we have only used a small amount of oil on the face of the bat.

The above image shows the different coloration of the willow once we rubbed in the oil.
Step 2: Start the Knocking-In Process
-
Work the Face:
-
Begin by gently tapping the face of the bat with a mallet. Use light, even strikes, gradually increasing the force as you go.
-
Avoid hitting the splice area where the handle meets the blade.
-
-
Focus on the Edges:
- Tilt the mallet slightly and knock along the edges. Never hit the edges directly with the mallet as this can cause splitting. Instead, focus on “rounding off” the edges to strengthen them.
-
Strengthen the Toe:
- Lightly knock the toe area, as it’s prone to cracks. Avoid striking it too hard to prevent splitting.
Step 3: Repeat the Process
- Continue knocking in the bat for 4 to 6 hours in total. This doesn’t have to be done in one sitting (that will drive your parents mad) —spread it out over several days for better results.
- Regularly check the surface for dents. These dents indicate areas that need more attention.
Step 4: Test the Bat
After knocking in, test the bat by gently tapping an old cricket ball against the face. Start with soft impacts and gradually increase the force.
- If any dents or marks appear, return to the knocking-in process.
Step 5: Net Practice
Once the bat passes the ball test, take it to the nets. Use it against older, softer cricket balls initially or bowling machine balls, to complete the preparation process.

Top Tip
Avoid using a brand-new bat without this final step in a match.
Optional: Apply Protective Tape
To add an extra layer of protection, consider applying clear bat tape to the edges and toe. This safeguards against mishits and prolongs the bat’s life.
I have written another blog post about benefits of cricket bat face protection, it's certainly worth a read.
Special Tips for Junior Cricket Bats
-
Adjust the Process for Smaller Bats:
- Junior cricket bats are lighter and smaller, so adjust the force of your strikes accordingly. The process remains the same but requires gentler handling.
-
Supervise Young Players:
- If you’re helping a junior cricketer, ensure they understand the importance of knocking in and supervise the process - even though it can be very annoying for others in the house.
-
Customization Options:
- At Trogon Cricket, we offer bats tailored for juniors, including pre-knocking-in services for added convenience.
Final Thoughts: Always Knock in a Junior Cricket Bat
In conclusion, knocking in a junior cricket bat is a non-negotiable step in preparing your new cricket bat.
It strengthens the bat, improves performance, and ensures it stands up to the rigors of cricket matches and practice.
By choosing a reputable supplier that offers guidance and warranty protection, and following the correct knocking-in process, you’ll ensure that your investment—whether in time, money, or effort—provides the best possible results at the crease.
If you have any questions about knocking in a junior cricket bat or need expert advice, feel free to contact us at Trogon Cricket.
Buying With Confidence from Trogon
If you've reached this point, I sincerely thank you for reading it all through. Your interest and support mean the world to me and the team at Trogon Cricket, and it's greatly appreciated.
Whether you're here to learn more about our cricket bats or other products or just out of curiosity, your engagement makes a real difference. Thank you for being part of our Trogon journey.

Trogon Product Guarantee
6-month guarantee on all cricket bats. That means if you purchase a bat through us and it breaks, as long as it has been knocked in properly, we will replace it like for like. This is our commitment to you on top of your statutory protections when buying products online.
As we mentioned throughout the post, the warranty is the most important element.


