At Trogon Cricket, we take immense pride in crafting high-quality cricket bats, carefully pressing each cleft to ensure durability and peak performance.
While our meticulous bat pressing process sets the foundation for each and every bat, the journey doesn’t end there. A critical next step is "knocking in," a process that might seem time-consuming but is essential for any cricket bat’s longevity and performance.
Bat what is the difference between pressing a cleft and knocking in a cricket bat?
Pressing a cleft compacts the wood fibers on a cricket bat's surface, enhancing durability and performance. Knocking in, done after pressing, further compresses these fibers, focusing on the toe and edges, to prepare the bat for game play, ensuring it can withstand repeated ball impacts without damage.
In this detailed blog post, we'll explore why knocking in is crucial, even after a company like us at Trogon has completed the bat pressing, and provide insights into how to do it effectively.
What is Bat Pressing?
Before delving into the knocking-in process, it's important to understand bat pressing. This is a procedure where a cricket bat's blade is subjected to controlled pressure, compacting the wood fibers to harden the surface.
Bat pressing serves several purposes:
- Durability: Hardening the bat’s surface helps it withstand the repeated impact of a cricket ball.
- Performance: Properly pressed bats offer better "ping," or rebound effect, enhancing shot power and distance.
- Preparation: Can reduce the amount of knocking in required before the bat can be match-ready (although a min of 4 hours is still recommended.
At Trogon Cricket, we utilize a custom-made pressing machine that allows us to precisely control the amount of pressure applied, ensuring that each bat is optimally pressed.
However, even with our bat-pressing techniques, the process of knocking in remains critical and shouldn't be missed.
The below image shows me pressing a raw cleft. Lots of people ask how much pressure do you use and when do you know a cleft has been pressed the right amount.
Both of these are hard to answer or give an exact answer too, mainly because every cleft is completely unique, I do my pressing by ear, I press then bounce a ball or hit with a mallet and I'm waiting for the 'ping' deep rich sound I'm looking for. I have written another blog post about pressing a raw cleft which is certainly worth a read.

The above image shows me pressing a raw cleft. This is the first process before I start handling and then shaping the cricket bat..
Why Knocking-In is Essential
1. Further Compaction of Wood Fibers
While bat pressing compacts the wood fibers, it primarily affects the bat’s outer layers. Knocking in complements this by further compressing these fibers, especially in areas that endure the most impact, such as the toe and edges.
This additional compaction helps distribute the force of ball impact more evenly across the bat, reducing the risk of cracking or damage.
2. Enhanced Durability
Knocking in a bat enhances its durability. Even with excellent bat pressing, a new bat's fibers need to be conditioned to withstand repeated impacts.
Knocking in helps achieve this, extending the bat's lifespan and maintaining its performance over time. At Trogon Cricket, we emphasize this step because it significantly reduces (doesn't remove) the chances of surface damage or deep cracks that could prematurely end a bat’s usability.
It has to be said, though, that a cricket bat is a natural product and has a life span, so at some point, it will crack and break. The idea with knocking in the bat is to prolong it, bat's don't last forever.
3. Optimal Performance
A well-knocked-in bat delivers optimal performance, but this takes time, roughly 4-6 hours of knocking-in with a mallet, but also then using the bat in the nets with throwdowns and or on a bowling machine.

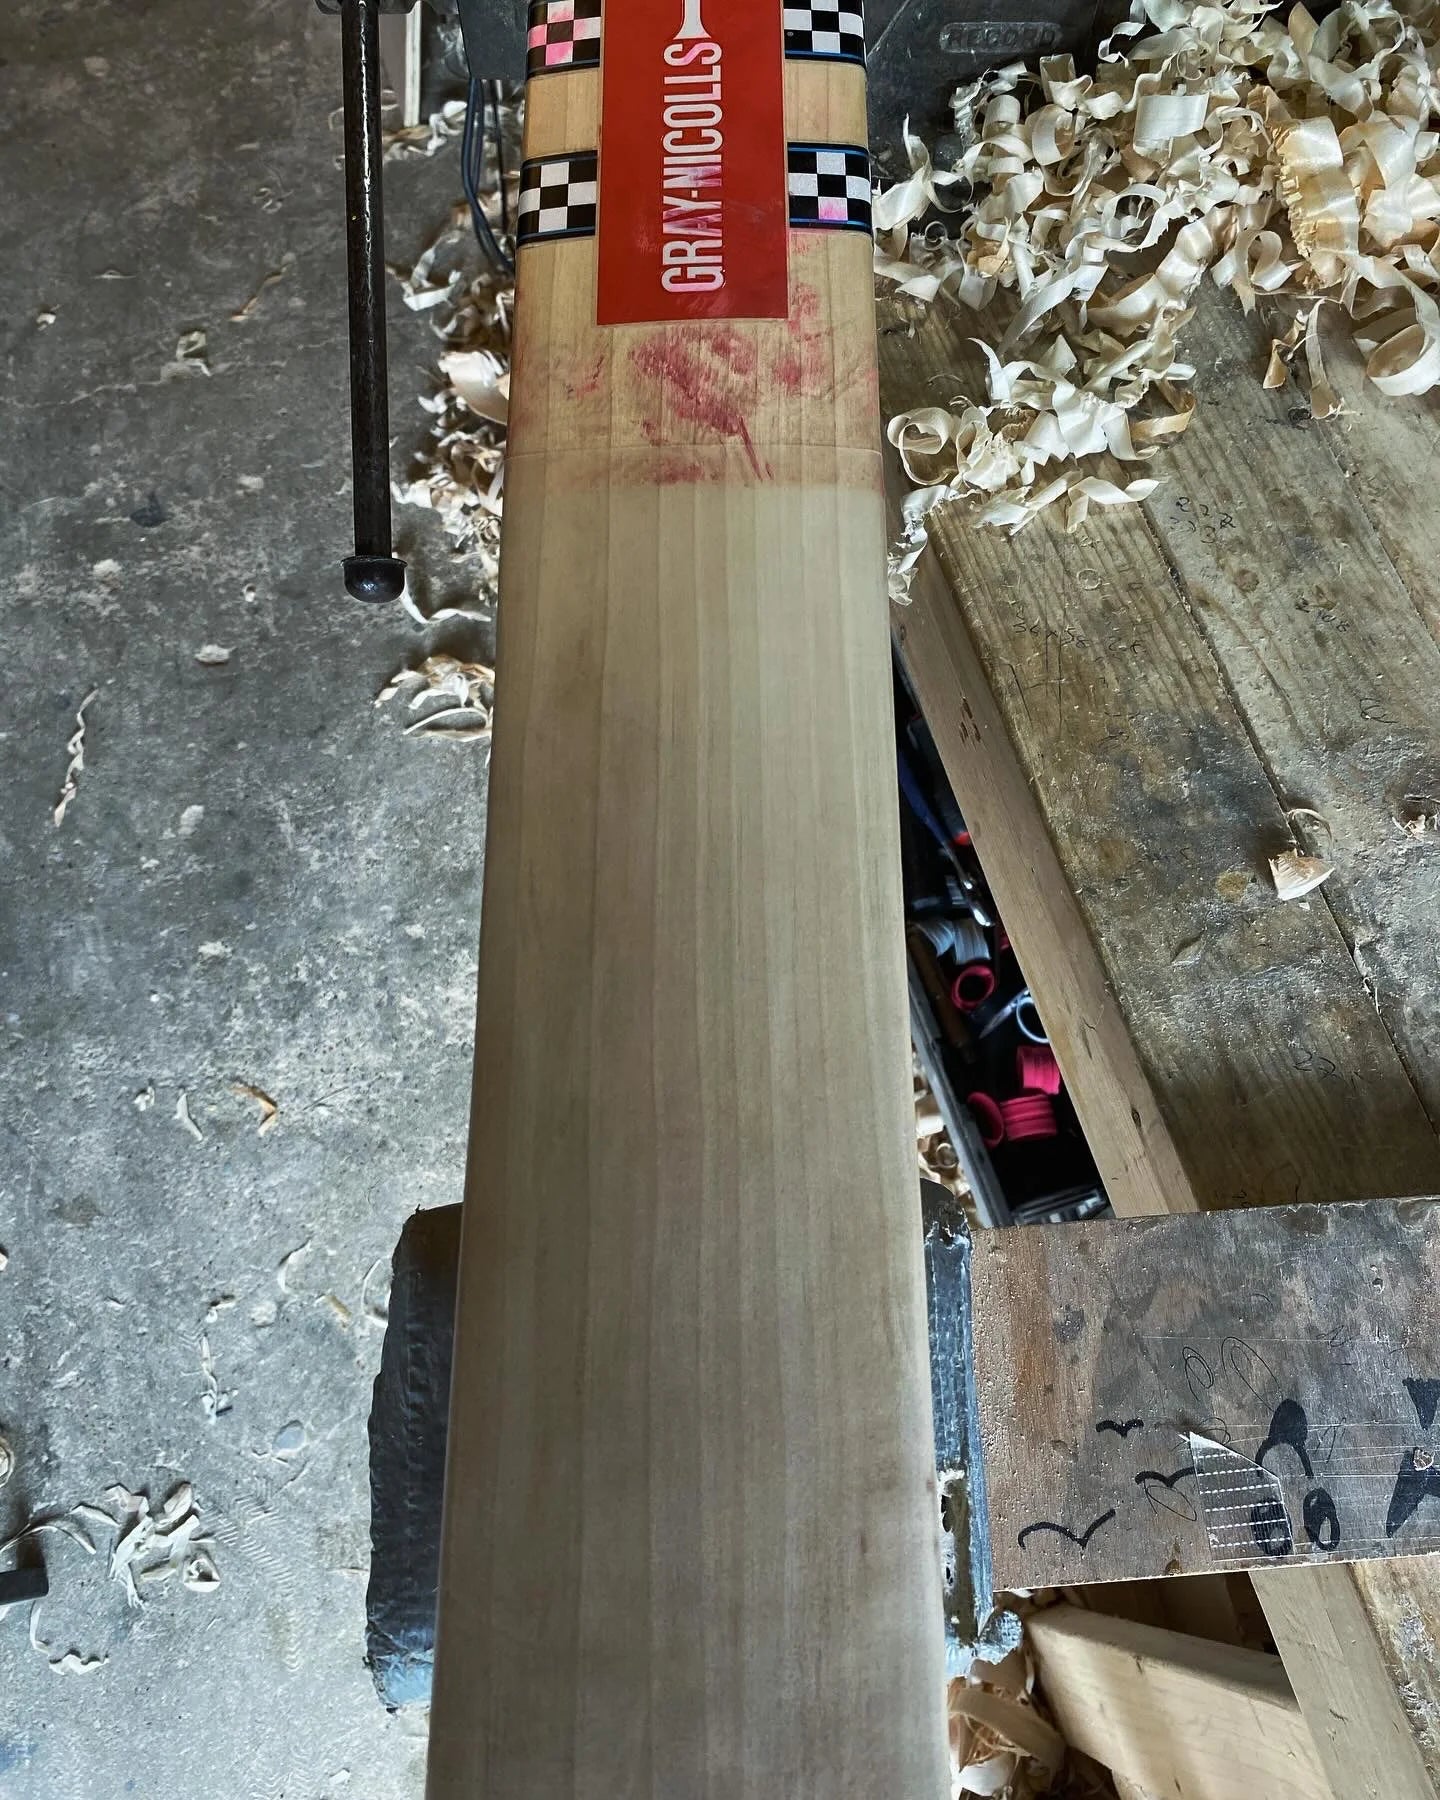
The above image shows me knocking a cricket bat. It's a service I offer for all custom-made cricket bat and I do it throughout the day when making and repairing bats. I use a grid formation on the bat to make sure I have covered all the areas and only ever using a glancing blow to the edges, I never hit them directly.
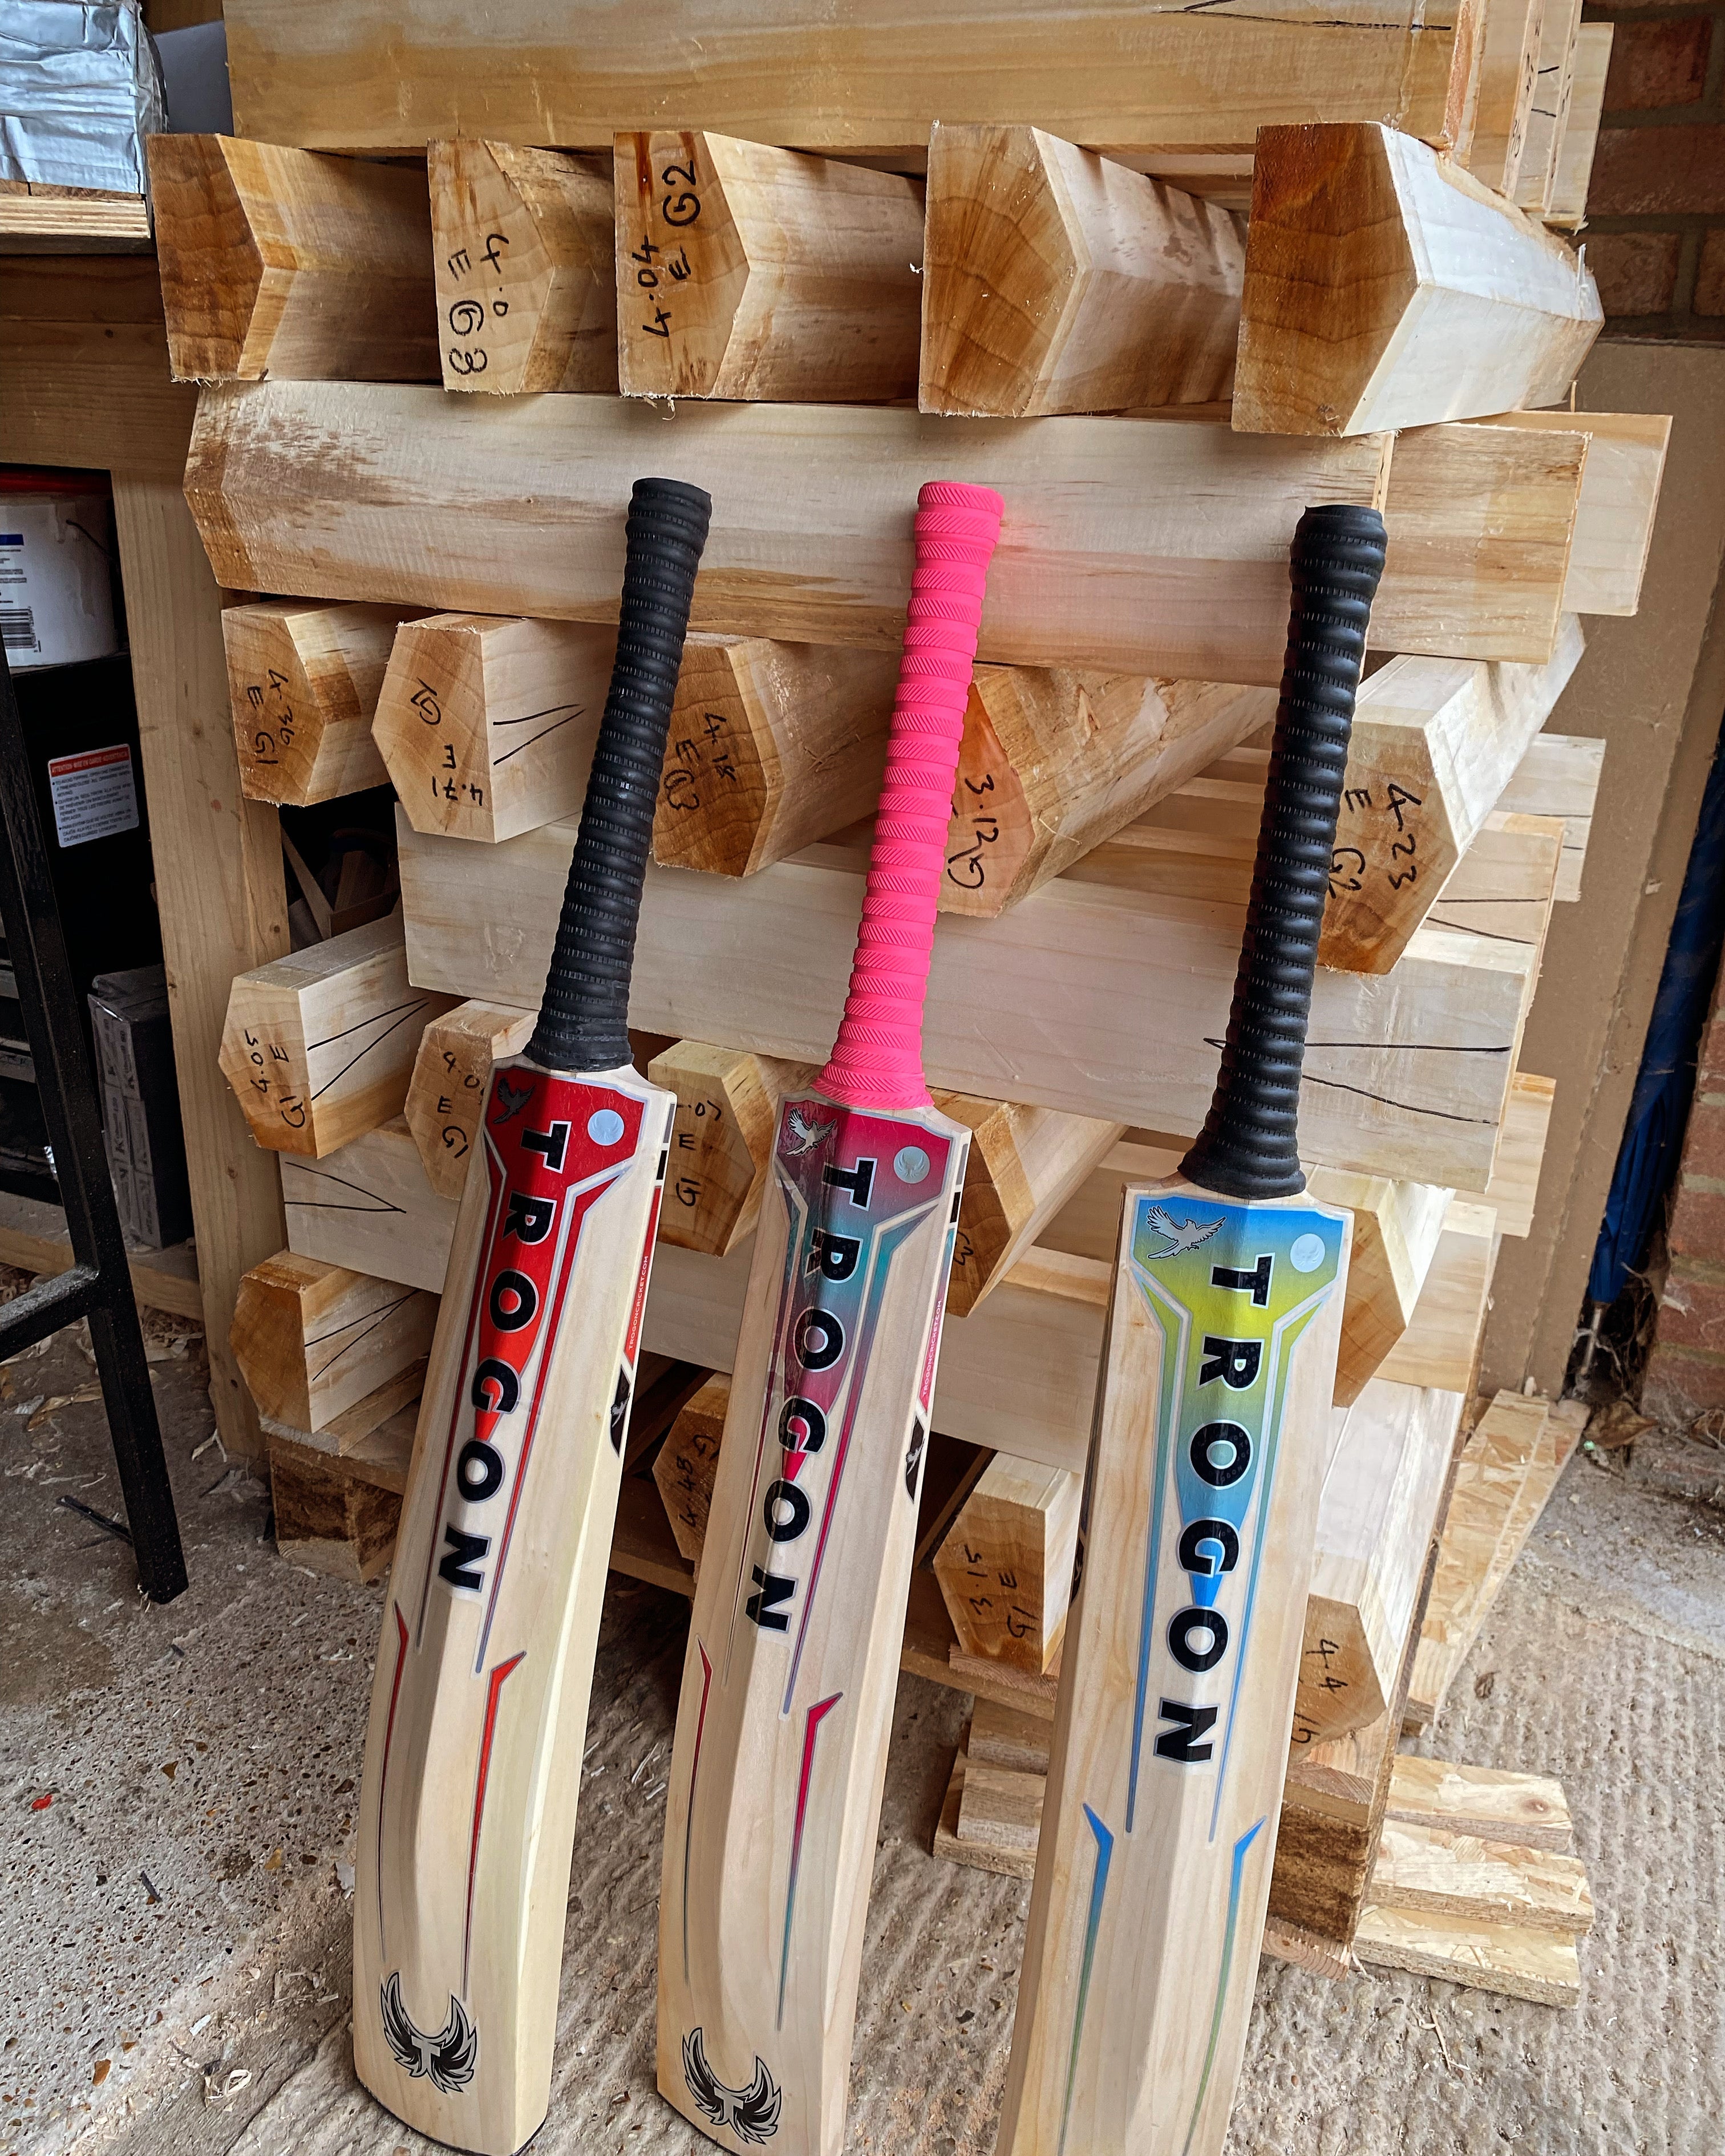
A New Cricket Bat, The Knocking-In Process

Trogon Top Tip
When knocking in your new cricket bat, our top tip is if you think you have finished knocking it in, do some more, you can never knock it in enough.
Knocking in a cricket bat is a gradual process that requires patience and careful attention. Here’s a step-by-step guide that we recommend at Trogon Cricket:
1. Preparing the Bat
Before starting, ensure your bat is clean and free from any dust or debris. Some players also apply a light coat of linseed oil to the bat’s face and edges to prevent the wood from drying out. However, be cautious not to over-apply, as excessive oiling can lead to softening of the wood.
2. Using a Wooden Mallet
A wooden mallet is typically used for knocking in. Start by gently tapping the bat’s face, gradually increasing the intensity over time. As mentioned above, avoid hitting the edges and toe with full force initially; these areas should be knocked in with extra care and never hit the back of the sides of the bat, this will cause damage.
You can see the wooden mallet I'm using above, this is a heavy mallet (and quite expensive) however you can pick up a wooden mallet on Amazon for less than £20.00 and they are just as good.
3. Focus on High-Impact Areas
Pay particular attention to the bat’s edges and toe, as these areas are more susceptible to damage. For the edges, use a glancing technique, angling the mallet to avoid direct hits that could cause cracking. The toe should be knocked in more lightly, as it is prone to splitting if overworked but gradually increase the strength of the hits.
4. Testing the Bat
After several hours of knocking in (typically around 4-6 hours depending on the bat), test the bat by hitting a few balls in the nets, use an old ball to start with or bowling machine balls.
This steps helps to identify any areas that may still need further knocking in. If the bat shows signs of wear or indentation, you can see these with a seam mark, it may require additional knocking in to ensure it is fully prepared for match conditions.
5. Gradual Integration into Play
Once the initial knocking-in process is complete, start using the bat in practice sessions before taking it into match play. This allows the bat to adjust gradually to the intensity of actual play, further ensuring its durability and performance.
Common Mistakes to Avoid When Knocking-in a Cricket Bat
1. Skipping Knocking In
One of the most common mistakes players make is skipping the knocking-in process, assuming that bat pressing is sufficient. This can lead to premature damage and suboptimal performance.
At Trogon Cricket, we strongly advise against this, as proper knocking in is crucial for any new bat. We all know that pro's don't sit there for hours knocking in their new bats, however, pros can also pick up the phone to their sponsor and get 10 new bats delivered whenever they want so they don't need to knock them in.
Remember the knocking in process prolongs the lifespan of the bat!
2. Rushing the Process
Knocking in is a time-consuming process that cannot be rushed. Attempting to expedite it by applying too much force can damage the bat. Patience and a steady, methodical approach yield the best results. As touched on above, I use a visual grid process, I break the bat down into 6 areas and knock in each of these areas individually. It works for me, but whatever works for you!
3. Inconsistent Pressure
Applying inconsistent pressure while knocking in can lead to uneven compression, affecting the bat’s performance. It’s important to ensure that the entire surface, including the edges and toe, is uniformly knocked in.
Conclusion: The Trogon Cricket Approach
At Trogon Cricket, we understand the intricate balance between bat pressing and knocking in. Both processes are crucial in crafting a cricket bat that not only performs exceptionally well but also endures the rigors of regular use.
Our commitment to quality ensures that every bat we produce is pressed and custom-made bats are knocked into perfection, offering players the confidence and reliability they need on the field.
Knocking in may seem like an additional effort, but it is an investment in your bat’s longevity and performance. By following the proper knocking-in process, players can maximise their bat’s potential and enjoy a superior playing experience.
For more information on bat care and maintenance, or to discuss your specific needs, feel free to contact us at Trogon Cricket. We’re here to help you find the perfect bat and keep it in top condition for years to come.
Buying With Confidence from Trogon
If you've reached this point, I sincerely thank you for reading it all through. Your interest and support mean the world to me, and it's greatly appreciated.
Whether you're here to learn more about our cricket bats or other products or just out of curiosity, your engagement makes a real difference. Thank you for being part of our Trogon journey.

Trogon Product Guarantee
6-month guarantee on all cricket bats. That means if you purchase a bat through us and it breaks, as long as it has been knocked in properly, we will replace it like for like. This is our commitment to you on top of your statutory protections when buying products online.
Click on the link below and find more details about our cricket bat accessories